

Table of Contents
An LED mirror may look simple from the front, but several layers and electrical parts sit behind the glass. Each part has a clear job. The glass provides the reflection, the LED system produces light, the driver manages power, and the rear structure holds everything together.
So, what are the components of an LED mirror? Most models contain mirror glass, a reflective coating, protective backing, LED strips, a light diffuser, an LED driver, wiring, a control system, a supporting chassis, and mounting hardware. Models with extra features may also include a demister pad, color-temperature controller, memory module, clock, speaker, or motion sensor.
The exact layout varies between front-lit, backlit, edge-lit, and dual-lit mirrors. The basic parts remain similar even when their positions change.
1. Mirror Glass
Mirror glass forms the visible surface of an LED lighted mirror. Its flatness, thickness, and surface quality affect how natural the reflection looks.
A flat piece of glass produces a more accurate image. Uneven glass or pressure from the rear structure may create stretching, waves, or distortion around the edges.
LED mirrors may use standard mirror glass, tempered glass, or copper-free silver mirror glass. These descriptions refer to different aspects of the product:
- Tempered glass describes a type of safety treatment.
- Copper-free silver glass describes the reflective mirror construction.
- Safety backing refers to a separate film or protective layer behind the glass.
In a front-lit mirror, part of the reflective coating is removed or treated to create a light-transmitting section. This section often appears as a frosted band around the perimeter or along selected areas of the mirror.
The glass edges may be polished, beveled, or covered by a frame. Clean edge finishing improves appearance and reduces exposed rough areas.

2. Reflective Coating
Clear glass does not create a mirror image by itself. A reflective coating on the back of the glass produces the reflection.
Many household mirrors use a silver-based reflective layer. That layer is applied behind the glass, so the user looks through the glass toward the reflective surface.
The type and consistency of the coating affect reflection clarity. A damaged coating may create dark spots, cloudy patches, or blackened edges.
Bathroom humidity can speed up deterioration when moisture reaches exposed areas. Better edge protection and corrosion-resistant construction help protect the reflective layer.
The reflective coating is removed or modified in the illuminated areas of some front-lit LED mirrors. This allows light from the LEDs to pass through the glass instead of being reflected back into the mirror.
3. Protective Coating and Safety Backing
A protective coating covers the reflective layer and helps shield it from scratches, moisture, and oxidation. It is normally hidden inside the mirror and cannot be seen from the front.
Some products also include shatter-resistant backing or safety film. This backing is designed to help hold glass fragments together after damage, depending on the material and construction.
The protective coating and safety backing serve different purposes. The coating protects the reflective layer. The safety film relates to glass containment.
Safety backing does not make the mirror impossible to break. Product descriptions should identify the material clearly rather than relying only on terms such as “explosion-proof” or “shatterproof.”
4. LED Light Strips or Modules
The LED mirror light strip produces the illumination. It usually consists of small LED packages mounted along a flexible circuit board.
LED strips can be installed in several locations:
- Behind a frosted section of the mirror
- Around the outer rear edge
- Inside a metal lighting channel
- Along the edge of a light guide
- Behind both the front and rear lighting areas
Some mirrors use rigid LED bars or integrated modules instead of flexible strips.
The LEDs may produce a fixed color temperature or support several white-light settings. Adjustable models often contain separate warm and cool LED channels. The control system changes the balance between those channels to create warm, natural, or cool light.
The number of LEDs does not determine lighting quality on its own. Spacing, individual LED output, power, diffusion, and distance from the glass also affect brightness and uniformity.
The U.S. Department of Energy explains that LED fixture performance depends on the complete system, including the power supply and optical design—not only the LED source.
5. Light Diffuser or Frosted Lighting Area
LEDs are small point sources. Without a light diffuser, the light may appear as separate bright dots instead of a smooth illuminated band.
A light diffuser scatters and softens the light before it reaches the visible surface. Common diffuser materials include translucent acrylic and polycarbonate.
Some mirrors use a separate diffuser positioned between the LED strip and the glass. Others rely mainly on a frosted section within the mirror.
The diffuser works together with LED spacing and internal depth. A small gap between the LEDs and diffuser gives the light more room to spread. Closely spaced LEDs are also easier to blend into a continuous line of light.
A weak diffusion system may create:
- Visible LED dots
- Bright hotspots
- Dark gaps
- Uneven corners
- Harsh glare
- Inconsistent lighting around the frame
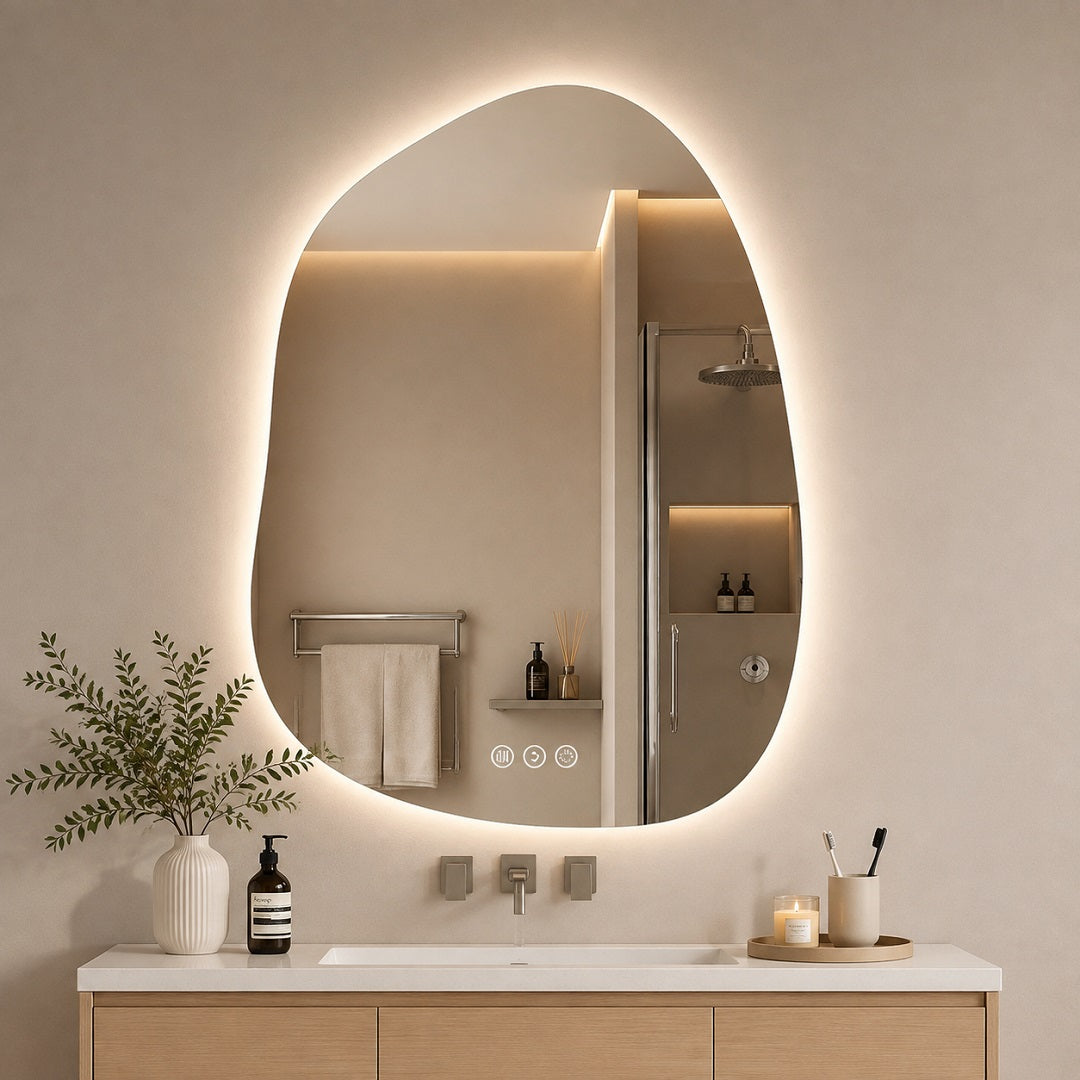
Backlit mirrors use the wall as part of the diffusion process. Light travels from the rear LED strip toward the wall, where it reflects around the mirror and creates a soft ambient glow.

6. LED Driver or Power Supply
LEDs cannot always use household electricity directly. The LED mirror driver converts or regulates the incoming power into the voltage or current required by the lighting system.
The power component may be described as:
- LED driver
- Transformer
- Power adapter
- Power supply
- Integrated power module
These terms are sometimes used interchangeably in product descriptions, but the actual electrical designs can differ.
The driver must match the voltage, wattage, and electrical requirements of the LED strip. Mirrors with dual lighting, high brightness, or several color-temperature channels may need a driver with a higher output capacity.
Dimming performance also depends partly on the driver. A mirror designed for touch-controlled dimming may use a different power system from a model intended for a compatible wall dimmer.
The driver is usually mounted inside the rear housing or attached to the backplate. Plug-in mirrors may use an external adapter instead.
7. Wiring, Connectors, and Electrical Protection
Wires carry power between the input connection, driver, control board, LED strips, and optional features.
A common power path looks like this: Household power → LED driver → control board → LED strip
The internal wiring may include:
- AC input wires
- Low-voltage LED wires
- Ground wire
- Quick-connect terminals
- Junction-box connections
- Insulated connectors
- Separate demister wiring
- Cables for sensors and displays
Protective housings keep wiring away from the glass and mounting surface. Insulation, strain relief, and secure connectors reduce the chance of loose or exposed connections.
A hardwired LED bathroom mirror may connect directly to a prepared junction box. Plug-in models use a power cord and wall outlet. Some mirrors support both methods.
Internal electrical work should only take place with the power disconnected. Hardwired installation and repairs need to follow the product instructions and local electrical requirements.
8. Touch Sensor
The illuminated symbol on the mirror is usually a capacitive touch sensor positioned behind the glass. It detects touch without requiring a mechanical button to pass through the mirror surface.
Depending on the product, a touch sensor may control:
- Light on and off
- Brightness adjustment
- Color temperature
- Defogging functions
- Night light mode
- Memory settings
The sensor is only the user-facing part of the system. A cable usually connects it to a control board behind the mirror.
Not every mirror uses touch controls. Other models may use a wall switch, physical switch, motion sensor, infrared sensor, remote control, or mobile app.
Some designs use separate touch buttons for lighting and defogging. Others combine several actions into one button, such as tapping to change color and pressing longer to adjust brightness.
9. Control Board
The LED mirror control board receives commands from the sensor and operates the connected features.
It may manage several functions at once:
- Switching the LED strip
- Adjusting brightness
- Changing color temperature
- Activating the demister
- Saving the previous setting
- Running an automatic timer
- Controlling a digital display
The control board is normally mounted behind the glass or inside the rear chassis. Its design depends on the number of functions included in the mirror.
A basic lighted mirror may use a small switch module rather than a complex board. A smart mirror with lighting, defogging, a clock, and Bluetooth connectivity needs more control circuitry and wiring.
10. Frame, Chassis, and Backplate
A frameless LED mirror still has a hidden supporting structure.
The frame, chassis, or backplate performs several jobs:
- Supports the mirror glass
- Holds the LED strips in position
- Secures the driver and control board
- Organizes internal wiring
- Protects electrical parts
- Creates space between the mirror and wall
- Provides mounting points
- Helps manage heat
Common materials include aluminum, steel, plastic, and composite backing.
Aluminum is frequently used because it is relatively lightweight, rigid, and resistant to corrosion. It can also help move heat away from the LEDs and driver as a heat sink.
ENERGY STAR notes that LED performance and useful life are affected by heat. A suitable rear structure and enough space for heat dissipation help the lighting system operate more consistently.
The backplate also determines how far the mirror sits from the wall. Backlit LED designs need enough distance for the light to spread around the perimeter.

11. Mounting Hardware
Mounting hardware connects the LED mirror securely to the wall. Depending on the model, the system may include:
- Wall brackets
- French cleats
- Mounting plates
- Hooks
- Screws
- Wall anchors
- Safety cables
- Positioning templates
The hardware must support the mirror’s complete weight, including the glass, frame, lighting system, and electrical parts.
Wall material also matters. Drywall anchors, wood-stud screws, and masonry fasteners are not interchangeable.
Some mirrors can be installed vertically or horizontally. The hanging points must support the selected direction. Electrical cable placement and junction-box position also need to match the orientation.
12. Anti-Fog Demister Pad
An LED mirror demister pad is an optional heating element attached to the back of the glass. It gently raises the temperature of the covered area, reducing condensation after a hot shower.
The pad usually does not cover the entire mirror. Its anti-fog effect is limited to the heated section.
A complete defogging system may contain:
- Heating pad
- Power wiring
- Touch switch
- Control relay
- Automatic shutoff timer
- Temperature protection
The demister can operate separately from the lighting system. This allows the lights to remain functional even when the heating pad or its control circuit has a problem.
An anti-fog pad does not remove humidity from the bathroom. It helps keep the heated part of the glass clearer.
13. Color-Temperature Controller
Mirrors with several white-light settings use a color-temperature controller to switch or blend LED channels.
Common settings include:
- Warm light (e.g., 3000K)
- Natural light (e.g., 4000K)
- Cool light (e.g., 6000K)
A basic model may switch between fixed channels. A more advanced controller can blend warm and cool LEDs to create intermediate color temperatures.
The controller may be integrated into the main touch-control board. It also needs an LED strip designed to support adjustable white light.
14. Dimming and Memory Modules
A dimming module changes the electrical signal sent to the LEDs, allowing the user to adjust brightness levels.
Dimming may be controlled through:
- A touch button
- The main control board
- A compatible wall dimmer
- Remote control
- Mobile app
Not every wall dimmer works with every LED mirror. Compatibility depends on the driver and control design.
The memory module stores a previous setting, such as the last brightness level or color temperature. Some mirrors remember the setting after the wall switch cuts power. Other models retain it only while the mirror remains connected to continuous power.
15. Optional Smart Components
Some LED mirrors include extra modules that are not required for basic lighting.
- A digital clock may include a display panel, time-setting controls, temperature sensor, and separate power connection.
- A Bluetooth mirror may contain a receiver, speakers, audio-control board, amplifier, and extra wiring.
- Motion sensors or proximity sensors can turn the light on without touching the glass.
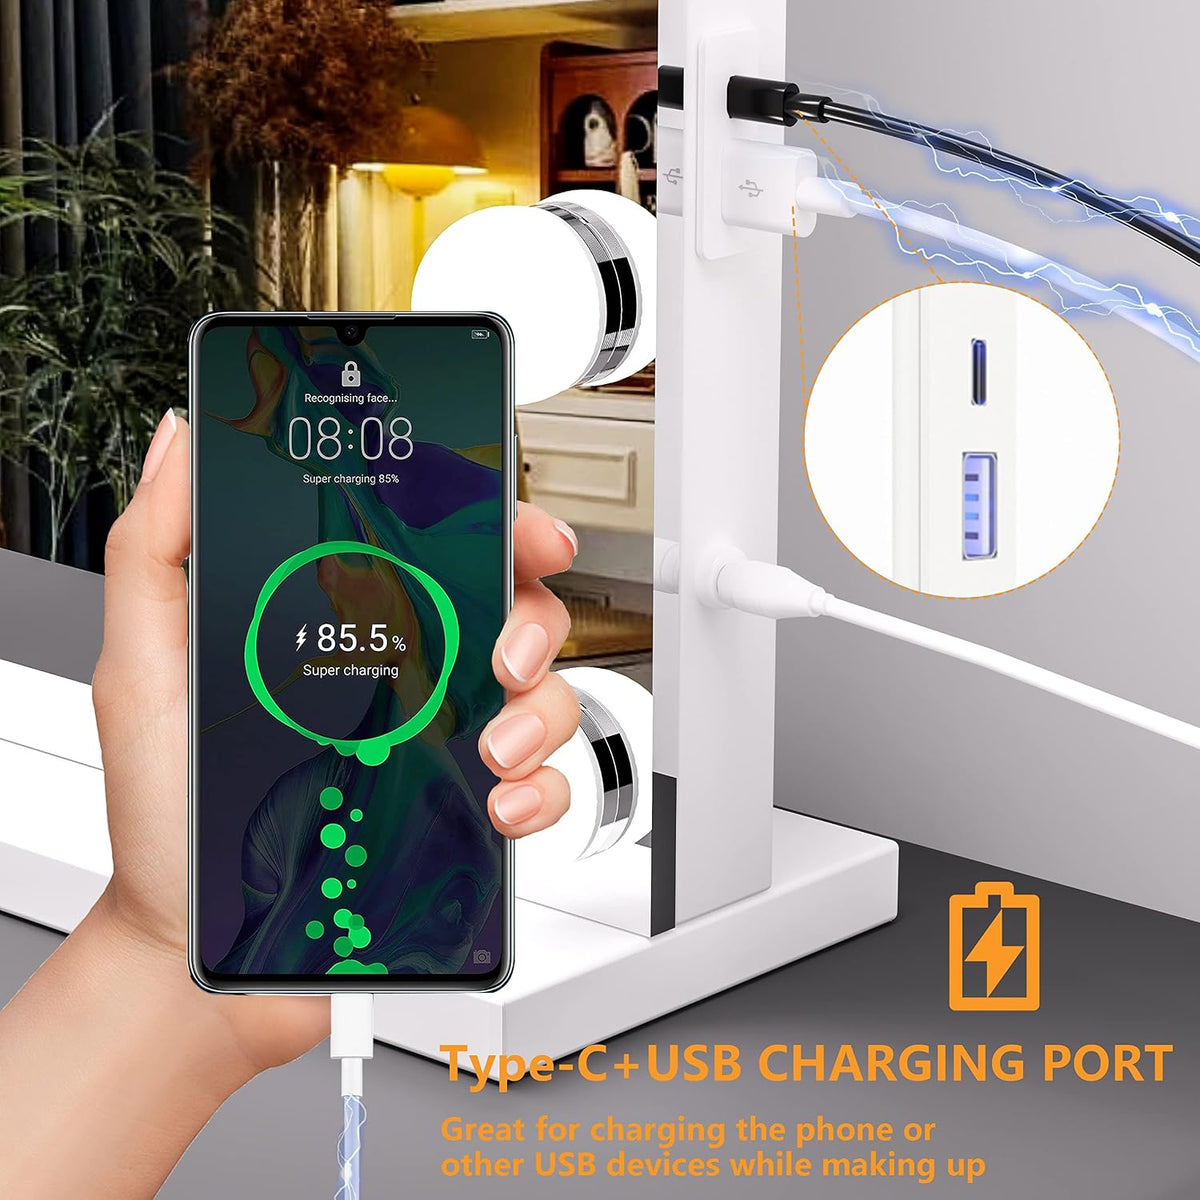
- USB ports and charging modules are more common in makeup mirrors, mirror cabinets, and salon mirrors. Bathroom products need suitable electrical construction and IP-rated safety certification for their intended location.
- Magnifying inserts may include a separate mirror, integrated light ring, and independent wiring.
These features make the internal structure more complex. They should be treated as optional additions rather than standard LED mirror parts.

Final Thoughts
The main components of an LED mirror can be grouped into four areas:
- Optical Structure: includes the glass, reflective coating, protective layers, and frosted lighting area.
- Lighting System: includes the LED strips and light diffuser.
- Electrical System: contains the driver, wiring, touch sensor, and control board.
- Structural System: includes the hidden frame, backplate, and mounting hardware.
Demister pads, color controls, memory, clocks, speakers, and motion sensors are optional modules that vary by model.
Hasip LED mirrors combine these parts into a single design built for clear reflection, practical lighting, and everyday use. Understanding what sits behind the glass makes it easier to compare different models and recognize what each feature actually requires.
Frequently Asked Questions
1. What are the essential components that make up an LED mirror?
An LED mirror is built with four main systems: the optical structure (mirror glass, reflective coating, and frosted areas), the lighting system (LED strips and light diffusers), the electrical system (LED driver, wiring, touch sensors, and control board), and the structural frame (rear chassis, backplate, and mounting hardware). Optional features like demister pads or smart controls can also be added.
2. What is the difference between front-lit, backlit, and dual-lit LED mirrors?
The difference lies in where the LED light strips are positioned and how the light is directed. Front-lit mirrors pass light directly through a frosted band on the glass surface for task lighting (e.g., applying makeup). Backlit mirrors project light from behind the frame onto the wall to create a soft ambient glow. Dual-lit mirrors combine both designs for maximum front visibility and room atmosphere.
3. How does the anti-fog demister pad work in a bathroom LED mirror?
An anti-fog demister pad is an optional heating element attached directly to the protective backing behind the mirror glass. When activated via a touch switch or wall control, it gently warms the surface of the glass above the dew point, preventing steam and condensation from settling on the heated section during or after hot showers.
4. Can I hardwire an LED bathroom mirror, or do I need a plug-in outlet?
Most high-quality LED bathroom mirrors support both hardwired installation and plug-in setups. Hardwiring connects the mirror’s internal LED driver directly to a household junction box behind the wall for a seamless look, while plug-in models use a standard electrical outlet. Always ensure installation follows local safety codes and IP rating guidelines for wet environments.
5. Why is the LED driver/power supply so important for mirror performance?
The LED driver converts household alternating current (AC) power into the stable low-voltage direct current (DC) required by the LED strips. A reliable driver ensures consistent brightness, protects against power surges, prevents visible light flickering, and directly impacts the smooth functionality of touch-controlled dimming and color-temperature adjustments.