

Table of Contents
A bedroom can have room for a bed, a dresser, and barely anything else. A full-length mirror ends up on the wish list because every available wall already has a job.
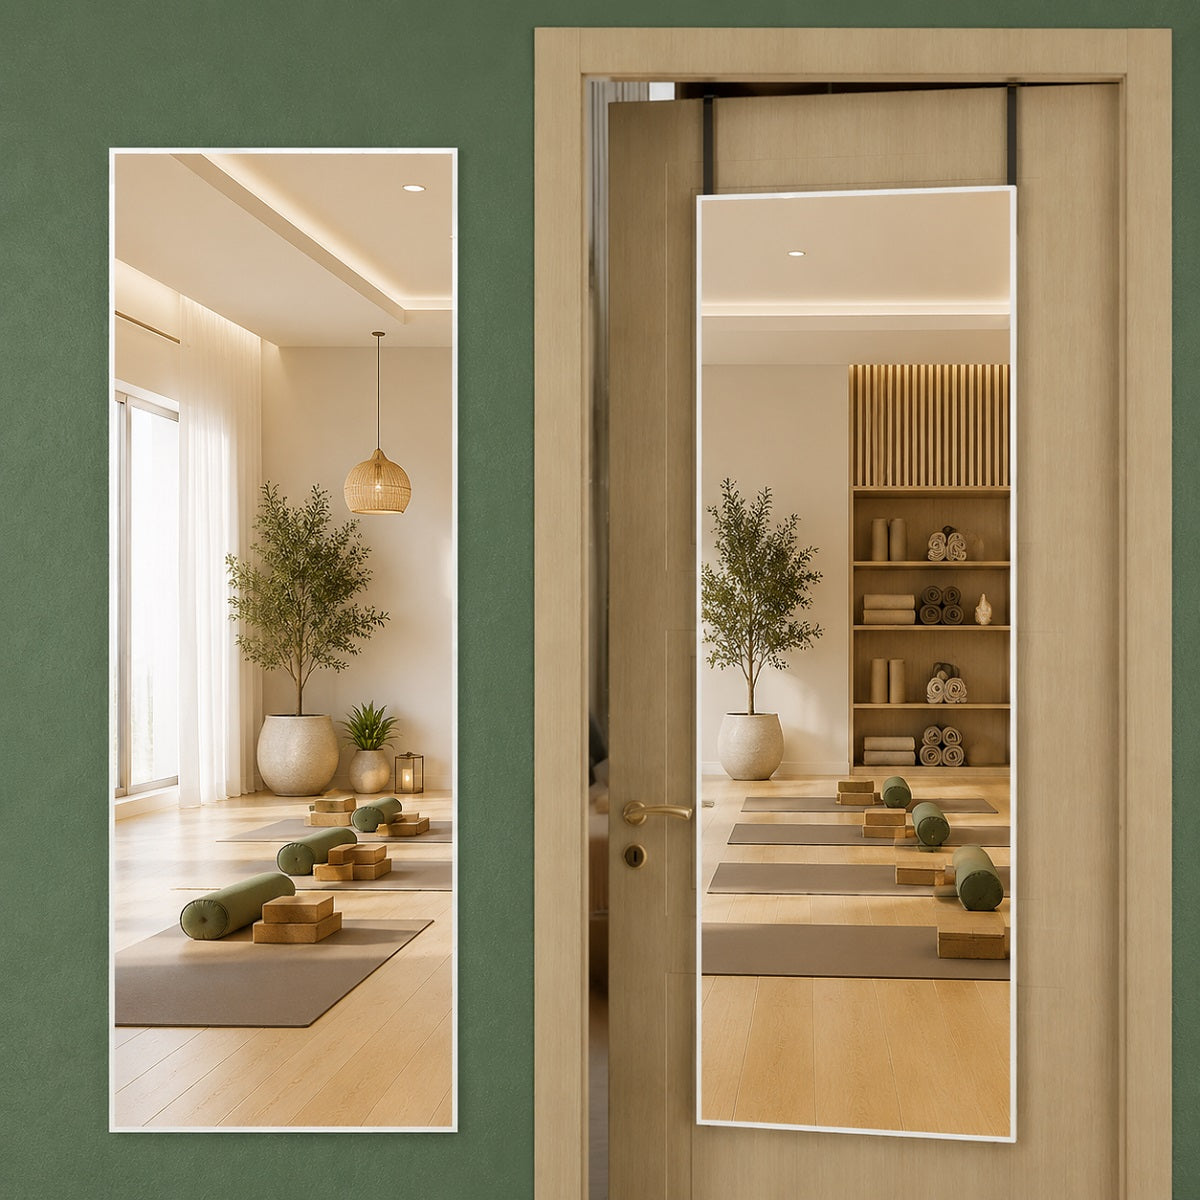
An over-the-door mirror puts that unused door surface to work. But the pretty frame is only part of the purchase. The mounting brackets have to fit, the door still needs to close, and the reflection should show your shoes without making you crouch.
This Hasipu guide walks through the measurements, lighting decisions, and installation details to check before ordering.
The best fit is an over-the-door full-length mirror designed for door mounting, with brackets that match your door thickness and top clearance, a usable reflective area at the right height, and secure support as the door moves. Built-in lighting is optional; a clear, well-lit view is the goal.
Start With the Door You Actually Use
Picture getting dressed on a weekday. Where would you stand? Would you close the bedroom door, open the closet, or squeeze between the bed and dresser?
A full-length door mirror works best where you can use it comfortably without blocking a walkway. Check the room with the door in the position you expect to use for outfit checks. A mirror on the inside of a closet door may be convenient while choosing clothes, but that open door could also block your light.
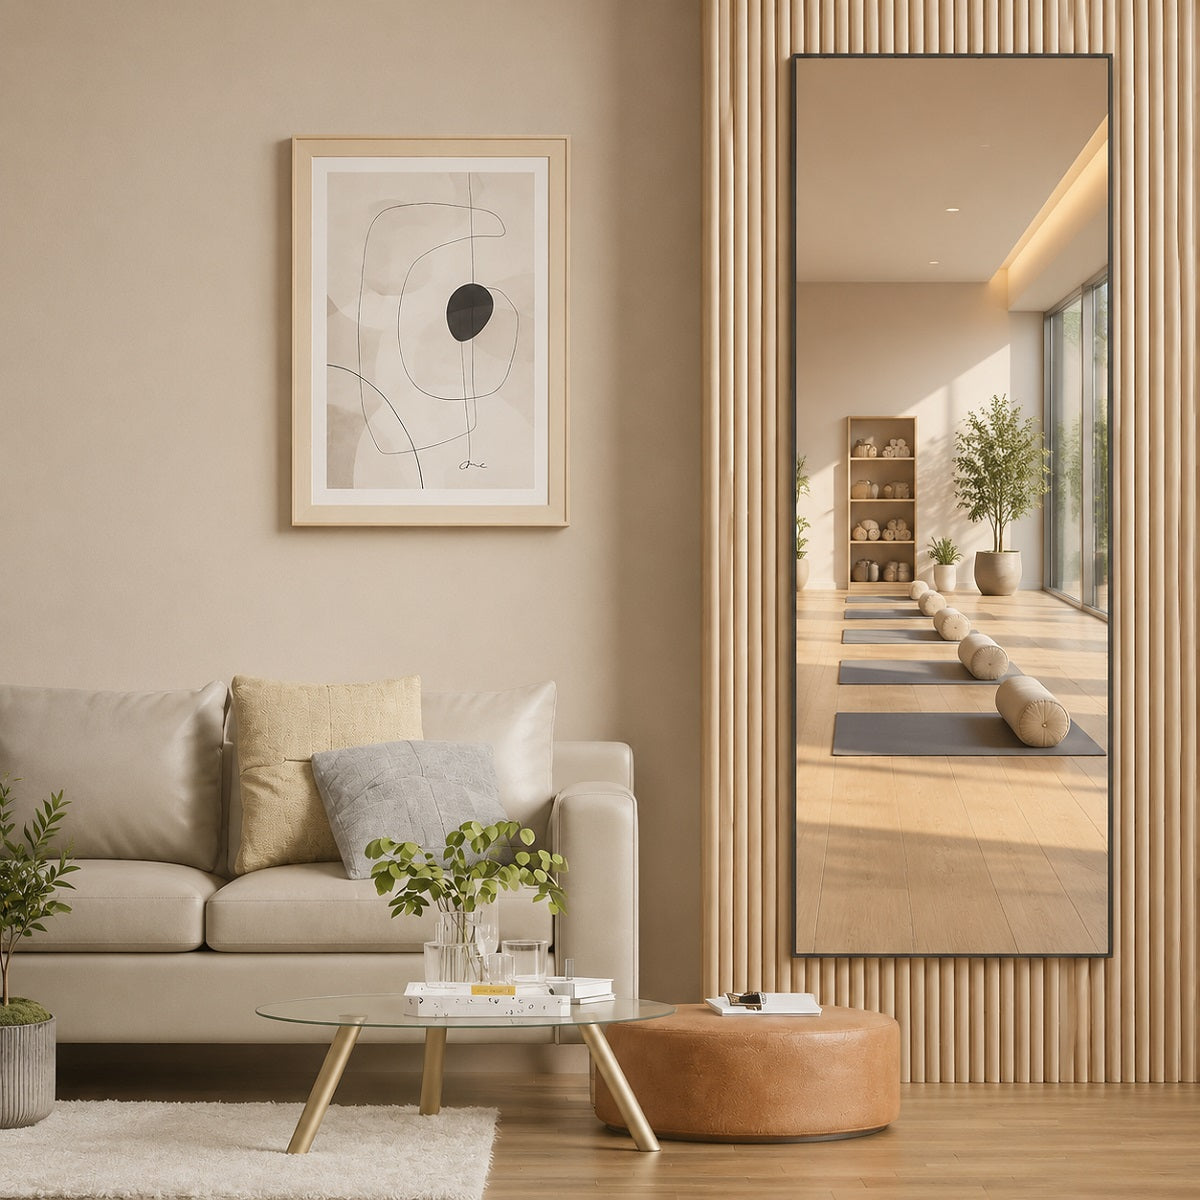
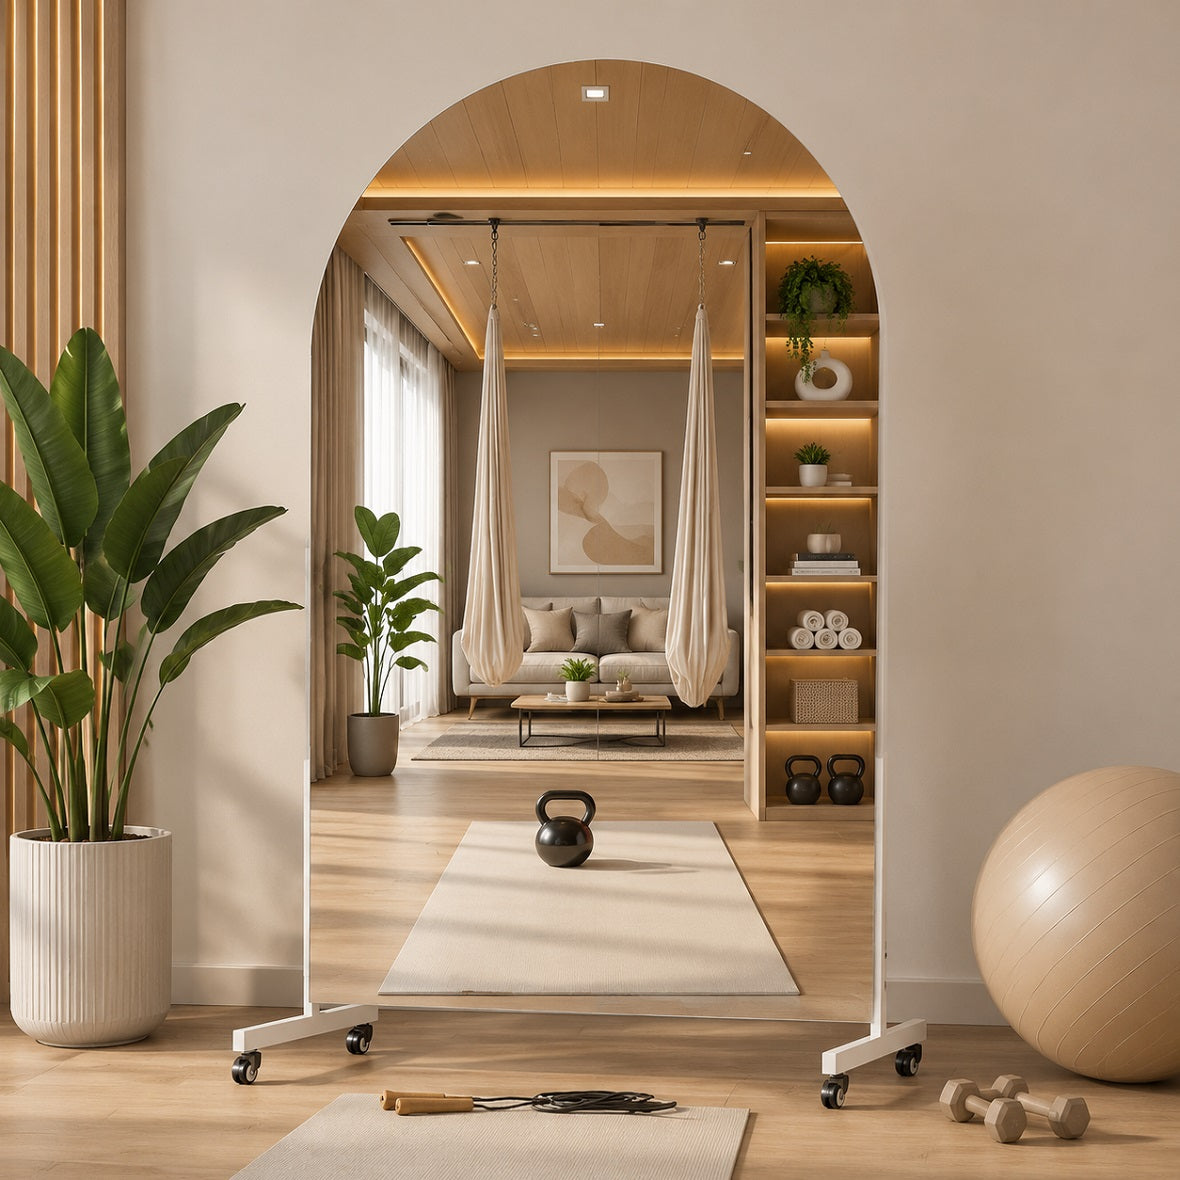
The door may turn out to be less convenient than the wall beside it. Comparing leaning, freestanding, and wall-mounted mirrors can help you find a placement that fits the way you move through the room.
Confirm that the mirror is explicitly approved for over-the-door installation. A wall mirror with hanging hardware is not automatically suitable for a moving door. Sliding, pocket, and bifold doors also need their own compatibility check; ordinary over-door brackets should not be assumed to fit them.

Measure More Than the Mirror Width
Keep a tape measure nearby while shopping. Product photos rarely show the narrow gap above a door or how far the frame projects from its surface.
| What to check | What it tells you |
|---|---|
| Door thickness at the top | Whether the bracket opening will fit properly |
| Clearance between the door and upper jamb | Whether the door can close with the bracket in place |
| Usable door width | Whether the frame clears the knob, trim, and other hardware |
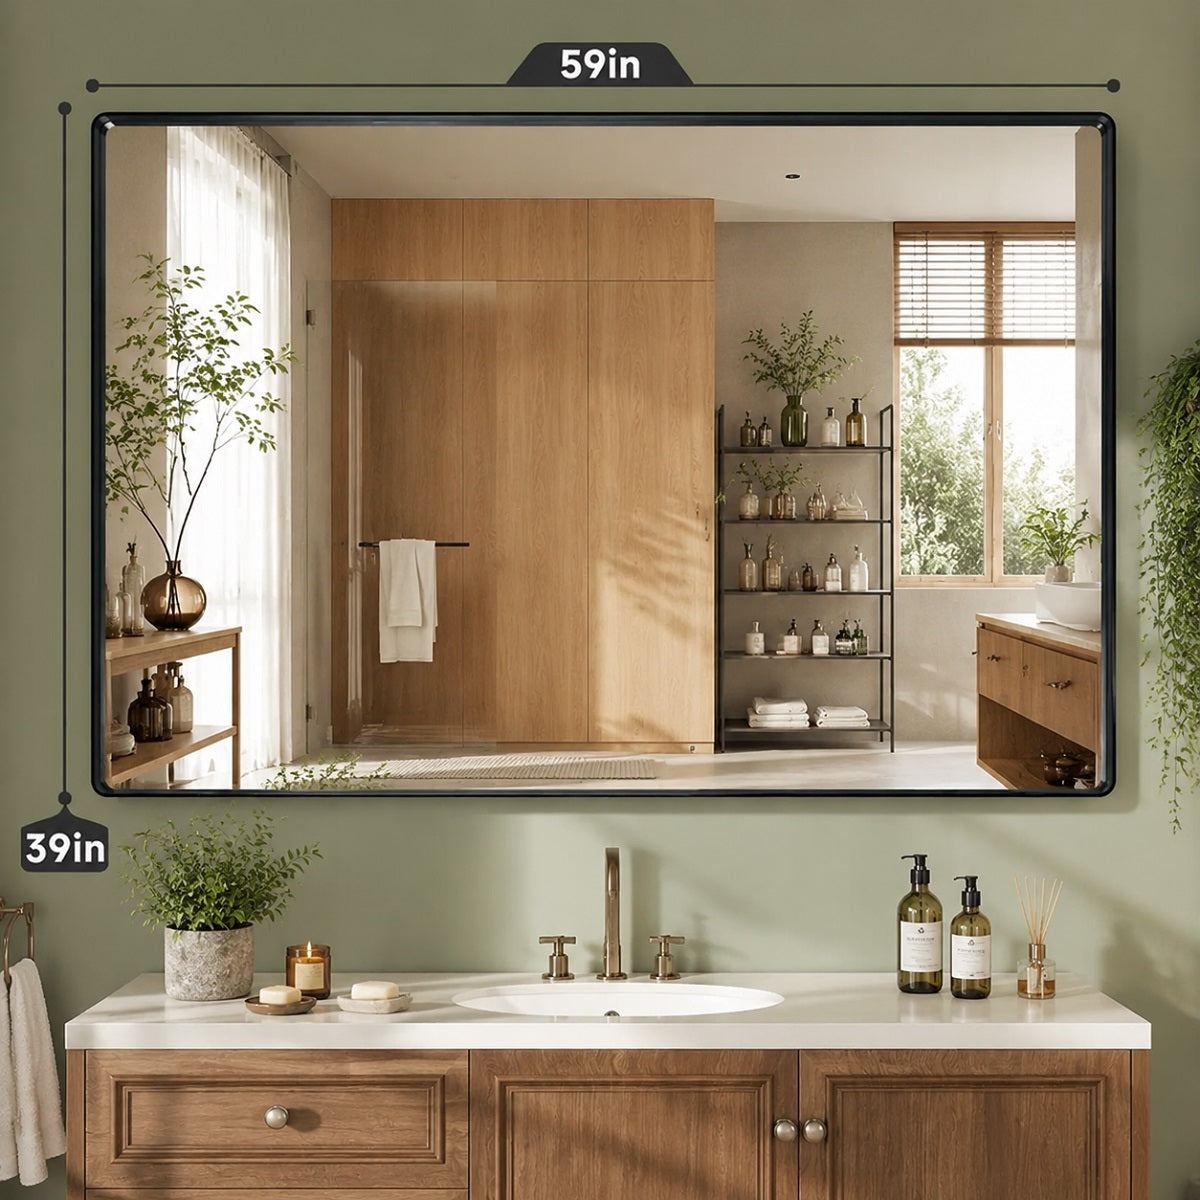
| Overall mirror height and width | Whether the complete frame fits the available surface |
| Reflective glass dimensions | How much viewing area remains inside the frame |
| Bracket drop or height adjustment | Where the mirror will sit after hanging |
| Mirror weight and mounting requirements | Whether the specified setup is appropriate for the door |
| Clearance through the full door swing | Whether the mirror could strike a wall, hook, or furniture |
Door thickness and top clearance are separate measurements. A bracket can fit over the door yet still be too thick for the gap above it. Compare both measurements with the manufacturer’s specifications. A vague “fits most doors” statement does not confirm your setup.
Compare the Glass Area With the Frame Size
A listing's dimensions may describe the outside frame rather than the reflective glass. Two mirrors with the same outer width can give you different views when one has a much wider border.
For outfit checks, prioritize the usable glass area. A narrow frame can leave more room for your reflection, while a wider frame may suit the decor better. Neither choice fixes a mirror that hangs too high.
To check physical fit, outline the listed outer dimensions on the door with finish-safe painter's tape, testing a hidden spot first. Include the bracket drop shown in the installation drawing. The outline helps you assess space and handle clearance; it cannot confirm the actual reflected view.
Check Where the Top and Bottom Will Land
“Full length” does not mean the mirror needs to be as tall as you. Its vertical position matters, especially when several people share it.
Ask for the hanging-height range before buying. After mounting, check that the tallest user can see their head and the shortest user can see their shoes while standing normally. Approved adjustable brackets can make this easier.
Avoid choosing a size solely from your height. Door fit, glass dimensions, mounting position, and the room's usable standing area all belong in the decision.
Get the Lighting Right Before Paying for LEDs
Look at your chosen spot in the morning and after dark. A bright room can still leave your reflection in shadow when the strongest light is behind you.
Stand facing the door where the mirror will hang. Notice whether light reaches your face and clothes or falls mostly on your back. Soft light from in front of you or slightly to the side often gives a more useful outfit view than a bright window directly behind you.
An Unlit Mirror May Be All You Need
An over-the-door mirror without lights keeps the setup simple when the room already has useful illumination. There is no power cord to manage across a moving door and no battery to charge.
A nearby lamp may improve the viewing area, but position it so you do not stare at an exposed bulb in the reflection. Keep its cord out of the doorway.
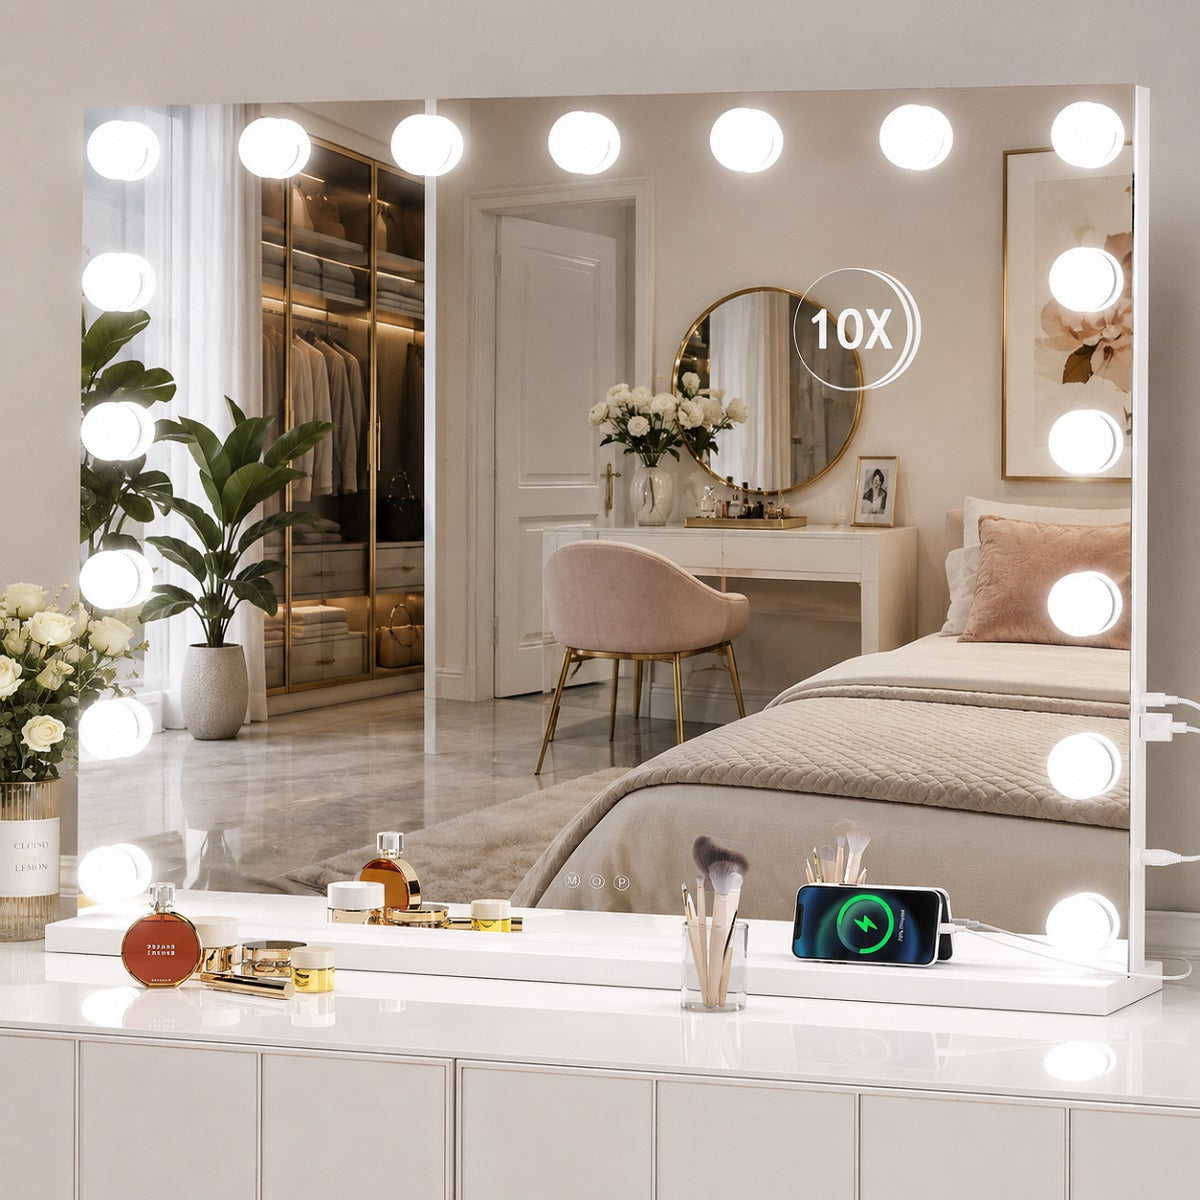
For a Lighted Mirror, Look Beyond the Glowing Border
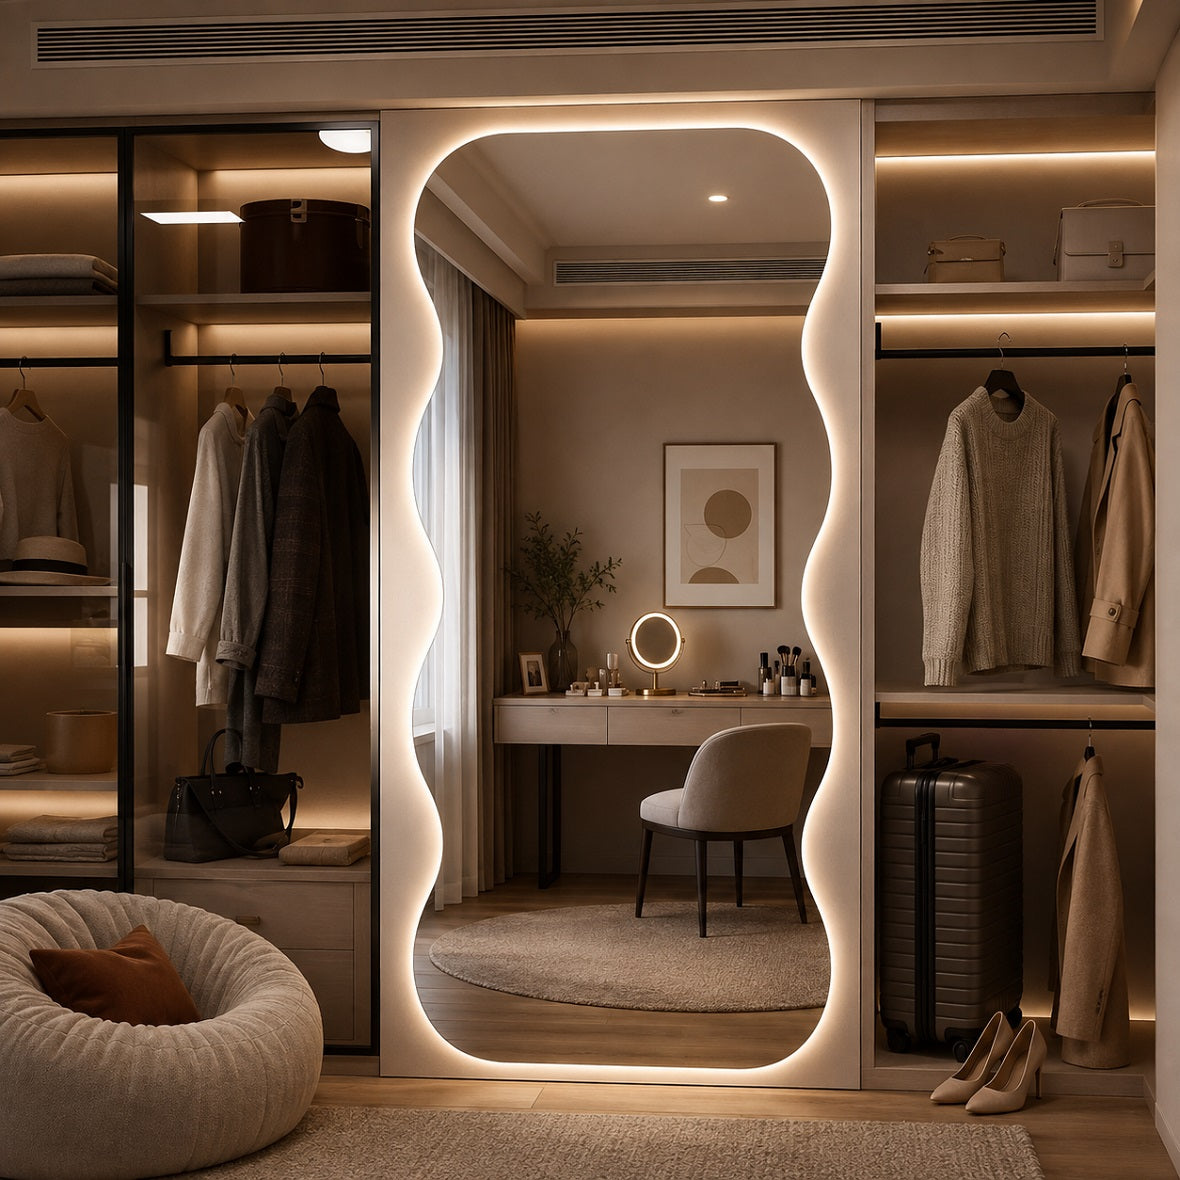
An over-the-door mirror with lights deserves a closer look at how the light reaches the person using it. A decorative glow behind the mirror may look attractive without providing enough light for getting dressed.
Check for adjustable brightness, the direction of the light, and an explanation of the available color settings. Compare customer photos cautiously; camera exposure can make a modest light look much brighter than it is.
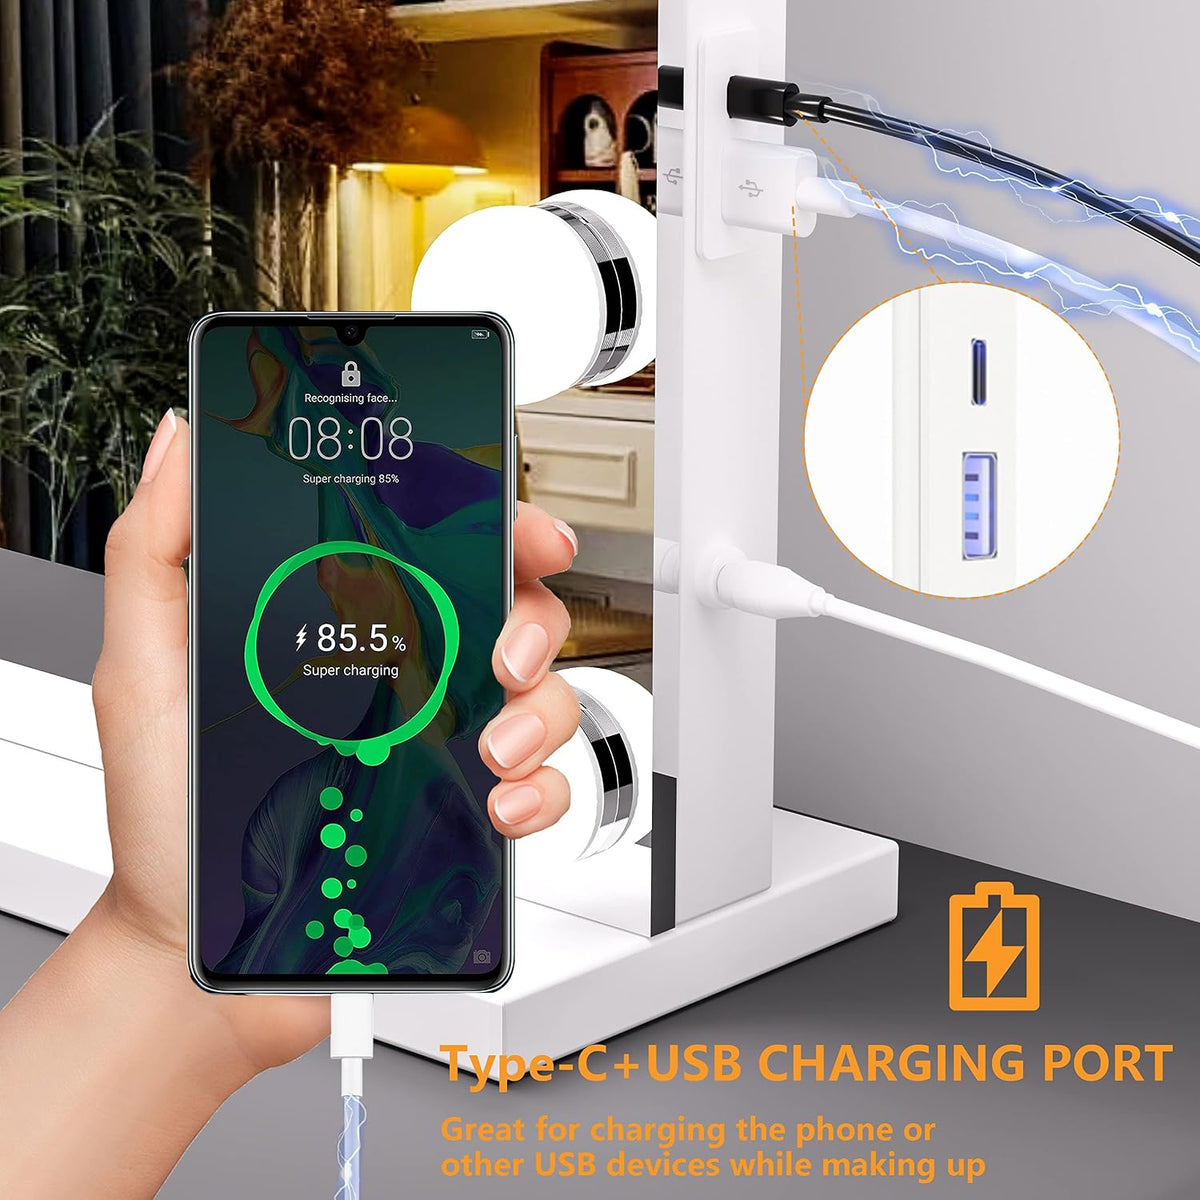
The power arrangement also needs to work with the door. A plug-in model should have a manufacturer-approved cable route that avoids pinching, rubbing, pulling, and trip hazards throughout the door's movement. For a rechargeable model, find out how you access the charging port and whether charging requires removing the mirror.
Do not assume that a lighted full-length mirror will replace a close-up makeup mirror. Viewing distance and light placement serve different tasks.

Choose a Frame That Belongs in the Room
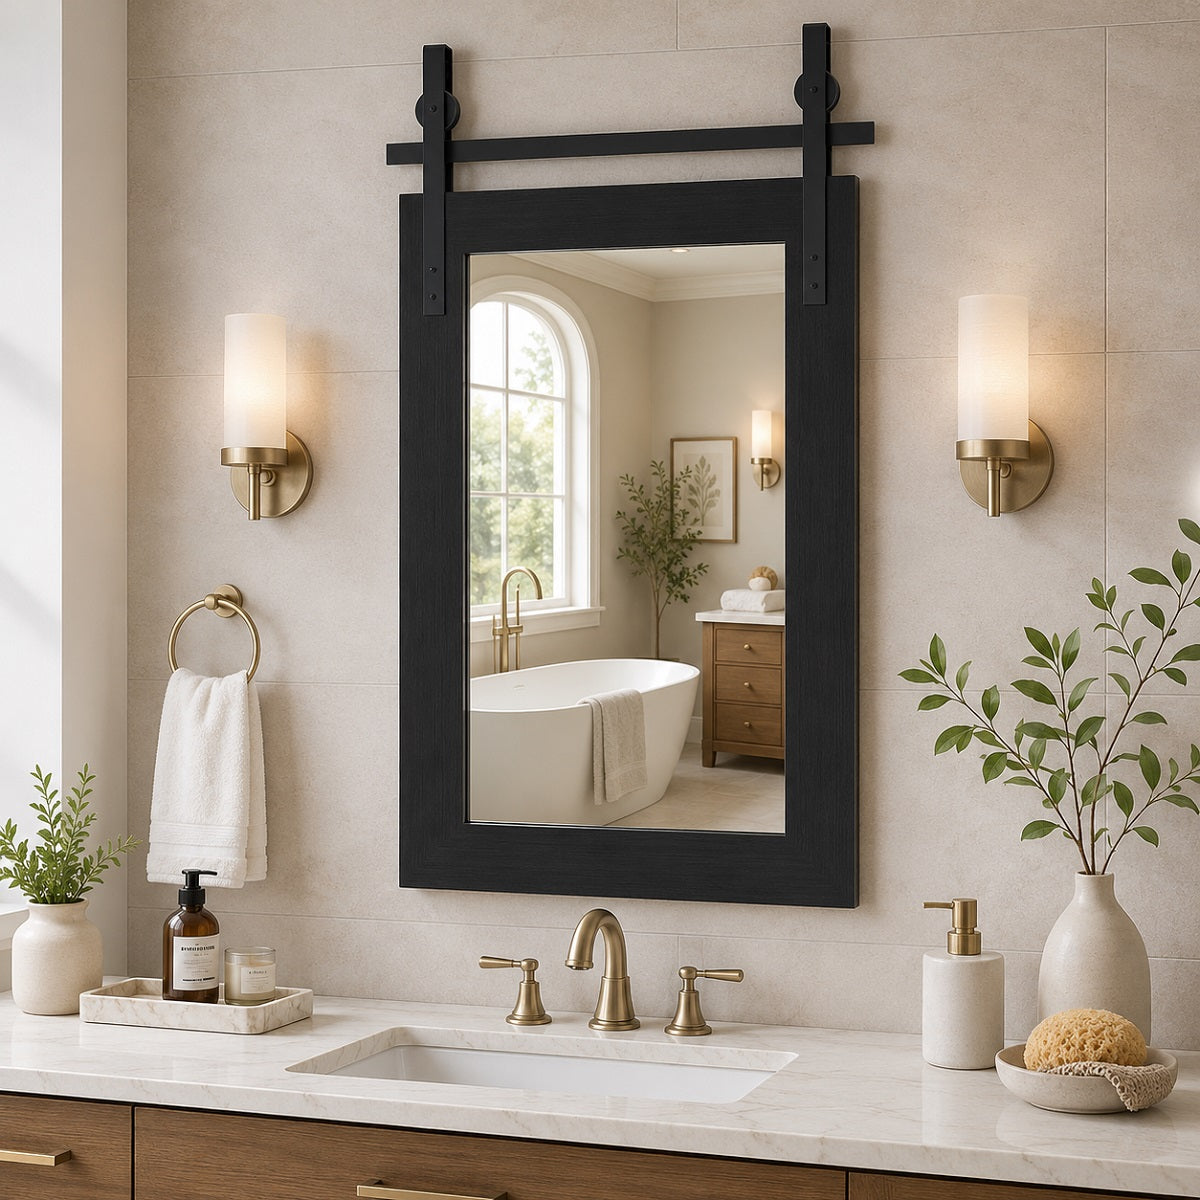
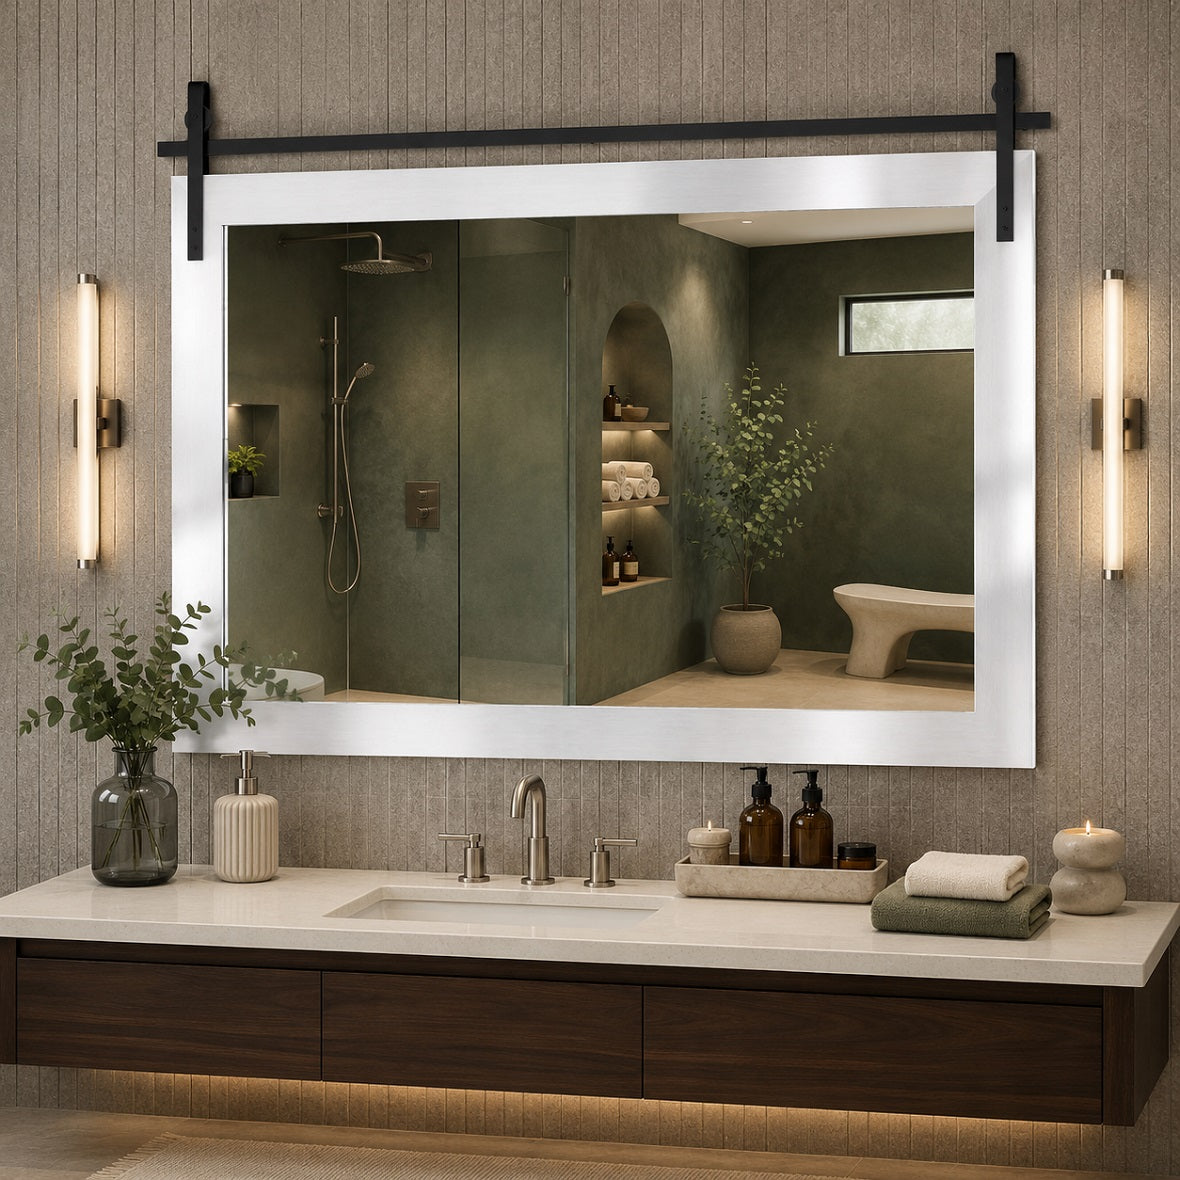
A door mirror is easier to integrate when its finish picks up something already nearby. Black can echo a curtain rod or bed frame. White can blend with a painted door. A warm metallic finish can relate to dresser pulls or a bedside lamp.
Color is only part of the look. A broad frame can feel prominent on a narrow door, while a slim border leaves more visual breathing room. Our guide to choosing a mirror frame’s material, size, and style explores these details further.
Check the hardware visible from the other side of the door, too. The front may look neatly finished while the exposed brackets feel out of place in the hallway.
Frame depth matters as much as color. Open the door fully and check where the mirror would travel. A frame that fits neatly on the door face can still collide with a wall-mounted hook behind it.
Read the Mounting Details Before Checkout
“No drill” can mean that you do not drill into the door. You may still need to attach the supplied brackets to the mirror with screws.
Before ordering a no-drill door mirror, confirm what comes in the box, how the brackets attach, and whether the instructions require additional stabilization. Check the return policy for poor fit and the process for reporting shipping damage.
Look for clear information about the glass and backing. A safety backing film and tempered glass describe different features; one does not prove the other is present. Treat terms such as “shatterproof” cautiously and read the actual construction details.
For a specific option to compare with your measurements, review the Hasipu GM006 over-the-door mirror. Check its dimensions and mounting information, then confirm bracket fit and top clearance for your door before ordering. Installation details should always come from the exact model’s instructions.
How to Install an Over-the-Door Mirror
Use the instructions supplied with your model. The sequence below is a planning checklist, not a replacement for its mounting directions.
- Inspect the mirror before lifting it. Check the glass, frame, brackets, and attachment points. Stop if anything is cracked, bent, loose, or missing.
- Check the door's condition. It should open, close, and latch normally before installation. Resolve existing rubbing, loose hinges, or damage before adding weight.
- Attach the supplied hardware as directed. Use the specified fasteners and matching height positions. Get help lifting a mirror that is awkward to handle safely.
- Hang and stabilize the mirror. Seat the brackets fully and install any supplied pads or restraints in their designated positions. Pads should not substitute for required fasteners.
- Move the door slowly through its travel. Check top clearance, the latch, frame contact, and any cable route. Never force the door closed against a bracket.
- Check the reflected view. Confirm head-to-toe visibility from a normal standing position. Make height adjustments only in the way the instructions allow.
Inspect the setup again after initial use. Persistent rattling, shifting, or scraping calls for checking the fit and installation rather than adding improvised padding or bending the brackets.
Final Thoughts
An over-the-door mirror should make getting dressed easier without getting in the way. Check your door’s measurements and mounting compatibility, then choose a size and lighting setup that give you a comfortable head-to-toe view. When comparing Hasipu mirrors, let those practical details guide your choice before deciding on a finish.

Frequently Asked Questions
1. Can an over-the-door mirror go on a hollow-core door?
It depends on the mirror, mounting method, and door. Confirm compatibility with both manufacturers when it is unclear. Do not assume a lightweight door can support any mirror, or that ordinary screws will hold securely in a hollow panel.
2. Will a no-drill mirror damage the door?
It can. Poorly fitting brackets, movement, and unsuitable adhesive pads may mark the finish. Correct fit and approved protective components help, but “no drill” does not guarantee damage-free removal. Renters should also check their lease or housing rules.
3. Can I use adhesive strips instead of the brackets?
Only when the mirror manufacturer approves that exact mounting method and the adhesive is rated for the mirror, surface, and moving-door application. A weight rating alone does not establish compatibility.
4. Is an over-the-door mirror suitable for a bathroom?
Check the exact model's suitability for humidity and, for a lighted version, its approved electrical location and power setup. A bedroom mirror should not be assumed to be bathroom-ready.