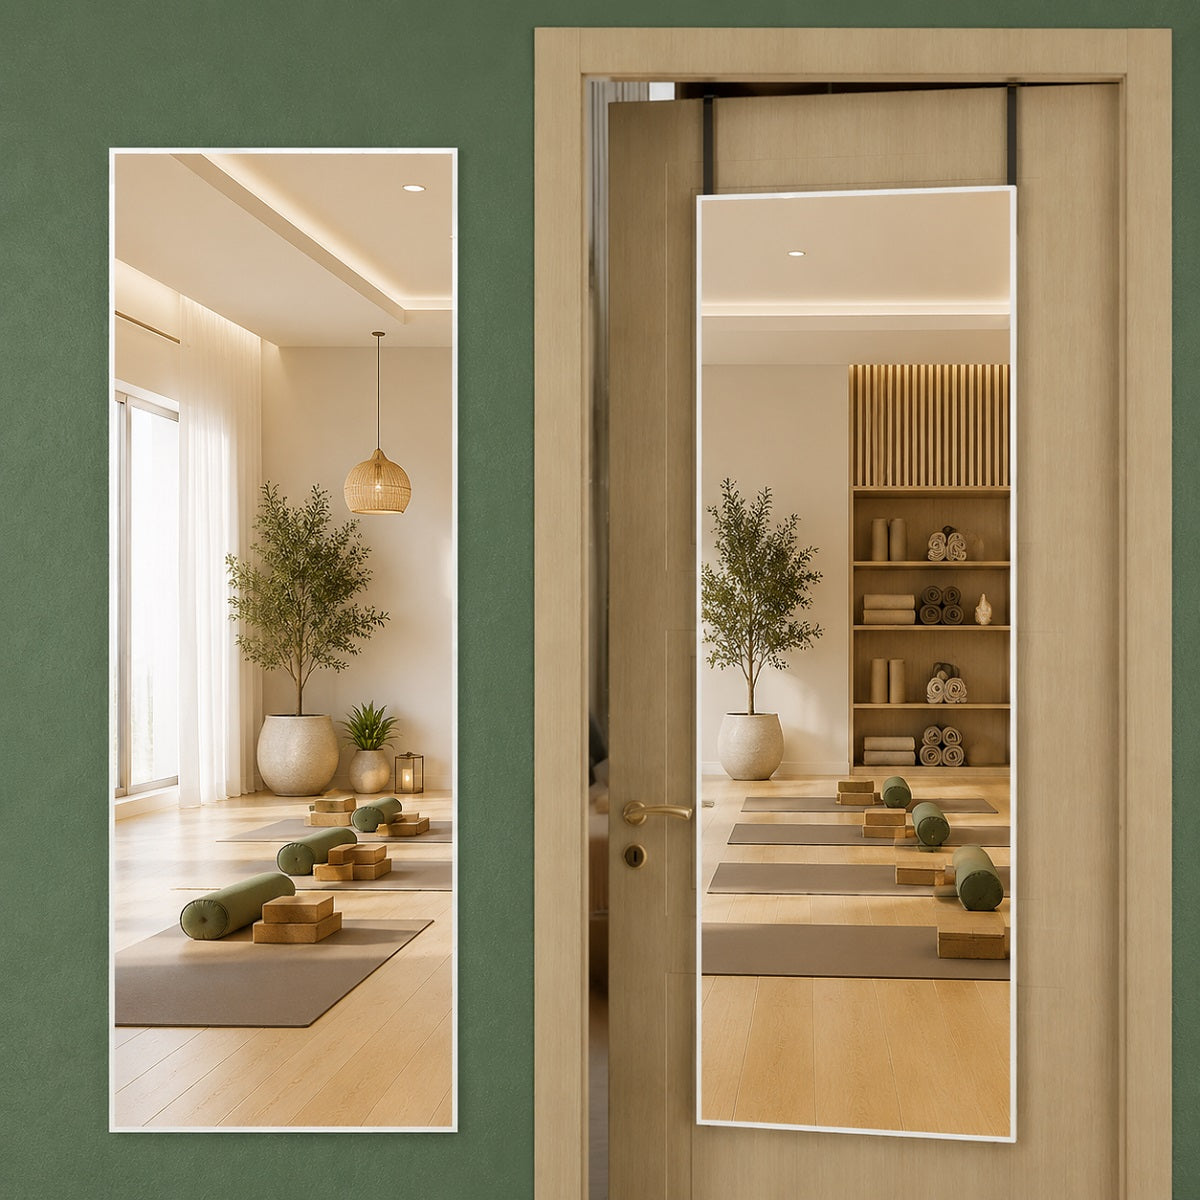


Table of Contents
A heavy wall mirror needs a mounting system supported by a suitable wall: often wood studs, securely installed blocking, or sound masonry. Some mirrors can use rated hollow-wall anchors when their instructions allow it. Behind the mirror itself, keep the factory backing and any specified spacers or bumpers in place. A separate plywood panel is not automatically necessary.
The question usually comes up after you've found the perfect spot above a console or bathroom vanity. The mirror looks right there. Then you turn it around, see the mounting brackets, and wonder what those screws will actually hold onto.
Before drilling, separate two jobs: supporting the mirror's weight and protecting the surfaces behind it. A piece of padding can help with the second. It cannot do the first.
Start With the Wall Behind the Paint
The finish you see tells only part of the story. Painted drywall may cover wood studs, metal framing, or a shallow space in front of masonry. Tile adds another layer to investigate.
Use the wall construction to narrow down the installation plan:
| Wall construction | Support to investigate | What to check |
|---|---|---|
| Drywall over wood studs | Fasteners into studs or properly installed blocking | Mounting locations, fastener specifications, and wood engagement |
| Hollow drywall between studs | A mounting system and hollow-wall anchors approved for the application | Wall thickness, condition, cavity clearance, and allowable load |
| Plaster and lath | Studs or a fixing system specifically suitable for that wall | Plaster condition and the material behind it |
| Brick or concrete | Anchors specified for the actual masonry | Solid versus hollow construction, embedment, and edge distances |
| Tile over a framed wall | An approved connection to the supporting wall assembly | What's behind the tile and how penetrations must be treated |
This table helps identify what to investigate; it does not establish a weight rating for your wall.
For hanging a heavy mirror, our starting recommendation is to look for a suitable connection to the wall framing. A wood stud gives the specified fastener something substantial to engage. Metal studs require a fastening approach suited to their construction; a wood-screw method does not automatically carry over.
A stud finder can help locate framing, but it cannot certify that a drilling spot is free of pipes or wiring. Resolve uncertain readings before making holes, especially around a bathroom vanity.

Do You Need Wood Blocking or Plywood?
Wood blocking behind a mirror is reinforcement installed between framing members and securely connected to them. It provides an attachment location where the mirror's mounting points would otherwise fall between studs.
During a remodel, plan that reinforcement while the wall is open. Give the installer the actual mirror dimensions and mounting diagram before the drywall goes up. Blocking at the wrong height can miss the brackets entirely.
Plywood backing can also form part of a planned support system. Its thickness, extent, attachment to the framing, and connection to the mirror hardware all need to suit the load.
A board added to the face of the wall needs the same thought. Simply putting plywood behind a mirror does not establish a sound connection to the building. It also moves the mirror outward, which can affect the bracket fit and the finished appearance.
For a finished room, ask an installer whether the existing mounting arrangement can reach framing, whether an approved rail can bridge suitable attachment points, or whether reinforcement is needed. Opening the wall is a decision to make after checking those details.
Can a Heavy Mirror Hang Without Studs?
Sometimes, provided the mirror instructions and the selected mounting system permit it.
Certain heavy-duty drywall anchors engage the back of the wallboard using a metal channel or toggle. Their suitability depends on more than the mirror's weight: the wall thickness, condition, hole size, and available space inside the wall also matter. The anchor must fit and deploy as designed. TOGGLER's installation specifications show how these requirements vary by anchor.
Read load information carefully. An ultimate test load is the load reached during testing, not an everyday working allowance. The manufacturer's guidance must account for the application and wall material. TOGGLER explains this distinction in its load-rating guidance.
For planning, treat the mirror, its hangers, the wall hardware, and the wall as one system. Do not assume that two anchors with the same individual rating automatically provide twice that capacity.
Soft, crumbling, water-damaged, or poorly repaired wallboard needs assessment before installation. Buying a stronger-looking anchor does not resolve the condition of the wall.
Match the Hardware to the Back of the Mirror
Turn the mirror over before shopping for extra hardware. Its existing attachment points should guide the choice.
French cleats and mounting rails
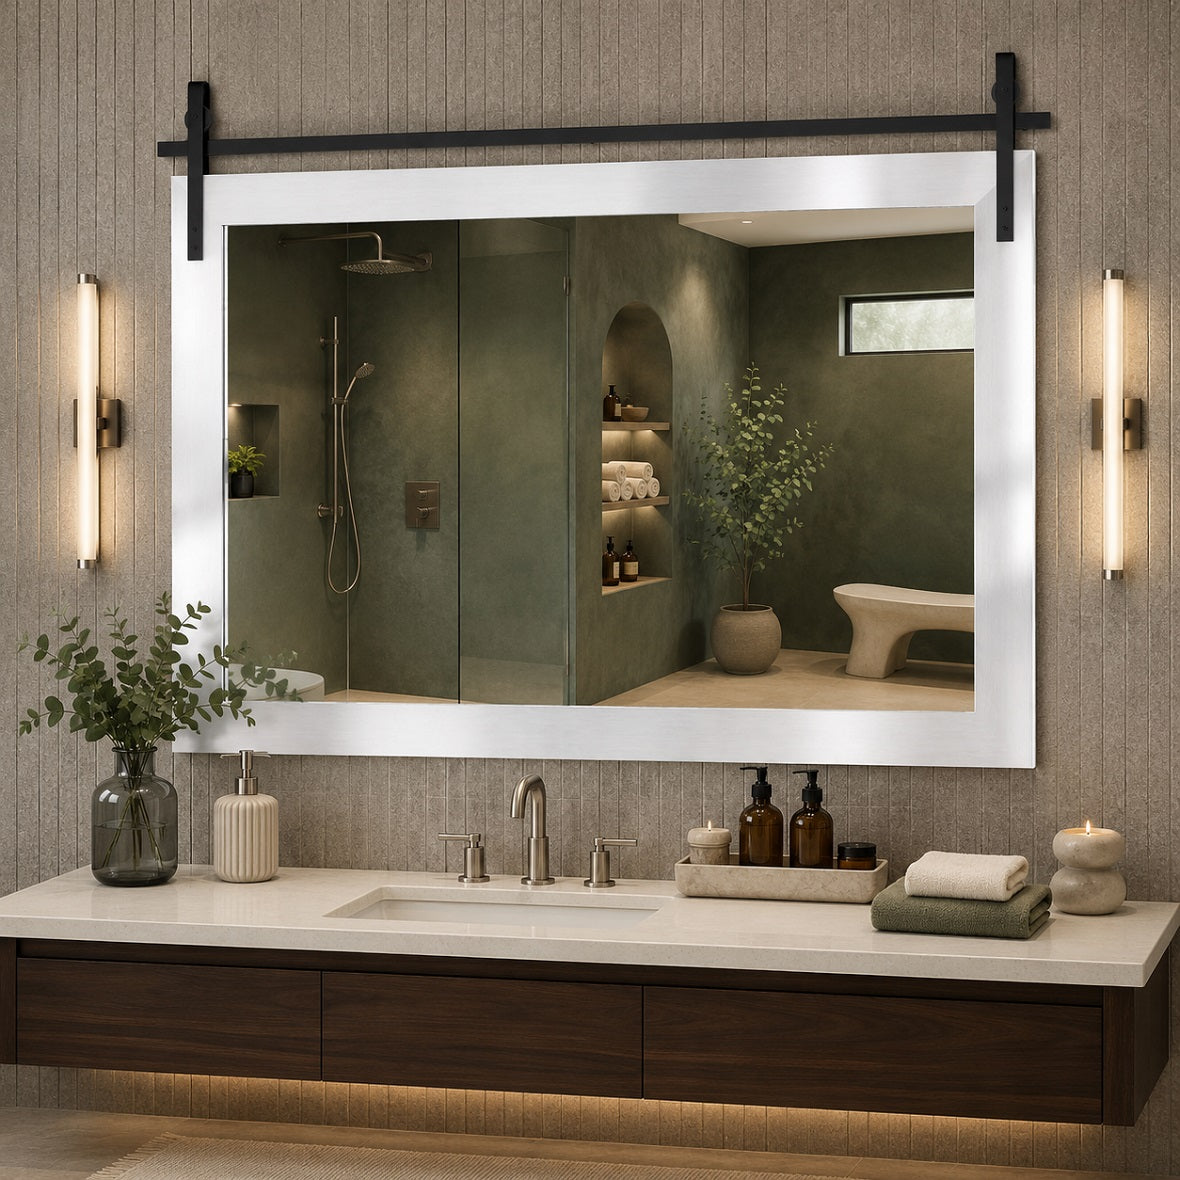
A French cleat for a heavy mirror uses two interlocking parts, with one attached to the wall and the other attached to the object. Commercial versions can provide several wall attachment positions and help keep a wide mirror aligned. Hangman's French cleat system illustrates this arrangement. Compatibility still matters. A strong wall bracket cannot compensate for an unsuitable attachment to the mirror. Do not screw a new cleat into a thin backing panel, decorative trim, or an electrical enclosure unless the mirror manufacturer expressly allows that connection.
D-rings, keyholes, and supplied brackets
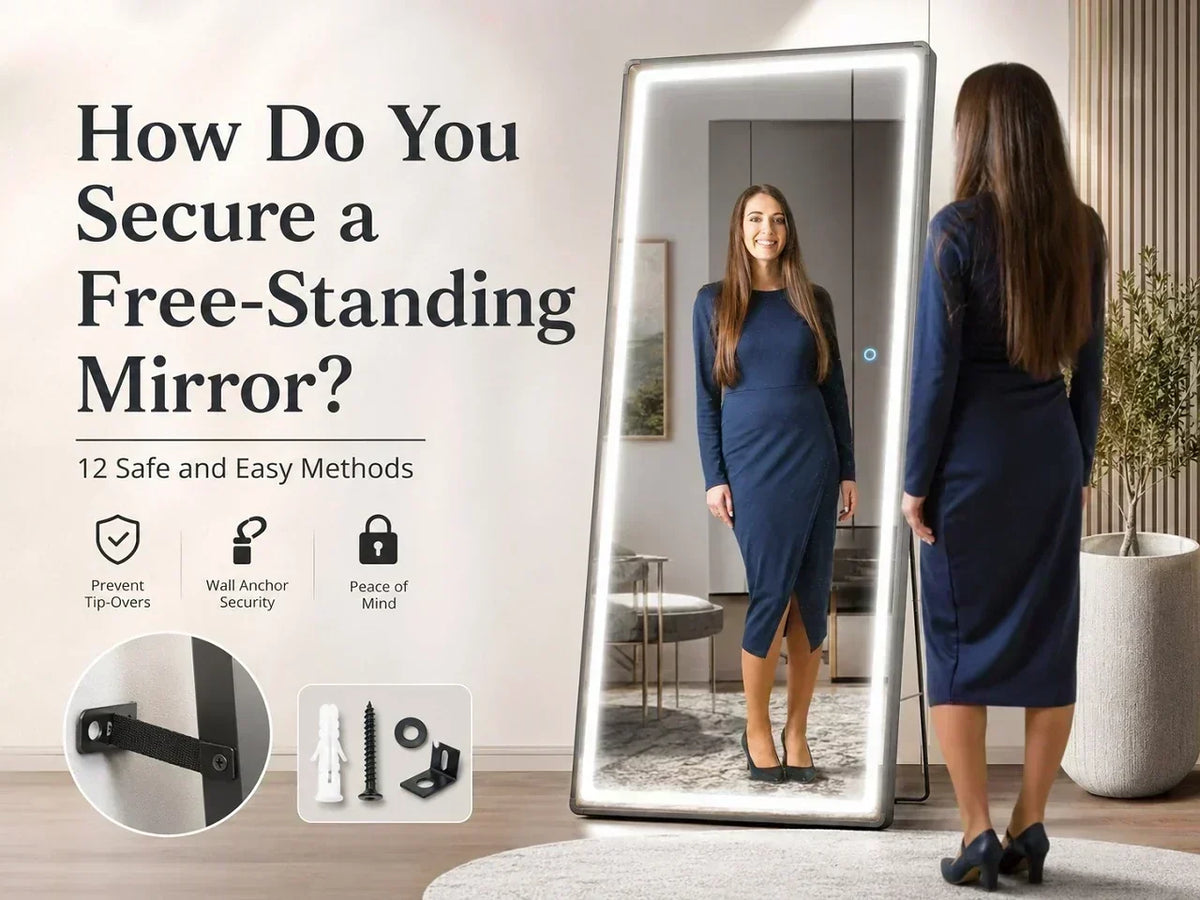
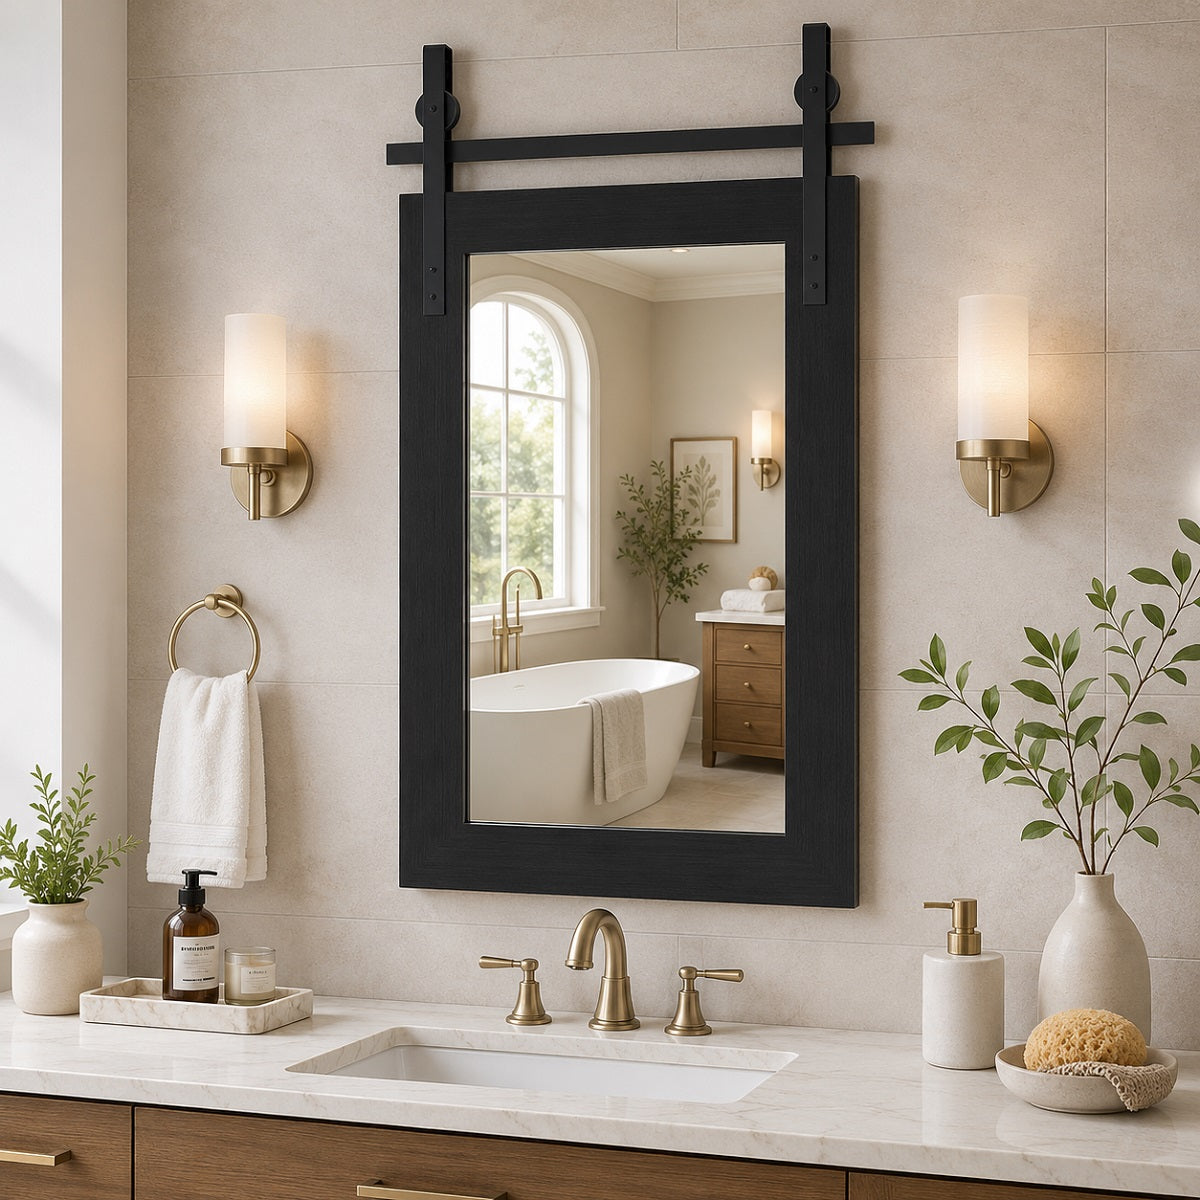
Keep the mounting arrangement specified for the model. Two separate hanging points may require two matching wall fasteners at a particular spacing. Do not add wire between those points unless the instructions permit wire hanging. Changing the arrangement changes how the mirror loads its hangers. For a Hasipu mirror, look up the exact model in the Hasipu user manual library. Confirm the permitted orientation and mounting method before marking the wall. A similar-looking mirror's instructions may describe different hardware.

Frameless mirrors
A frameless wall mirror may use clips, channels, bonded rear fittings, or another supplied mounting system. Follow the specified arrangement, including any protective inserts or setting blocks. Keep metal contact and clamping pressure within the manufacturer's instructions. Avoid improvising holes or new attachment points in the glass.
What Belongs Between the Mirror and the Wall?
Some installations use small bumpers or spacers to protect surfaces and accommodate the intended position of the mirror. Use the supplied parts, or replacements approved for the model, at the designated locations.
Avoid stuffing towels, cardboard, or thick foam behind the glass to make it feel more secure. Added material can interfere with the mounting fit.
A dry, prepared wall matters, too. For bonded glass mirror installations, incompatible chemicals and trapped moisture can damage the backing. Follow the specified surface preparation and spacing. Gardner Walker's mirror installation guidance discusses these concerns.
Should You Use Adhesive Behind a Heavy Mirror?
Use mirror-safe adhesive only when the mirror's installation instructions allow it. The adhesive must also be compatible with the mirror backing and the wall surface. General-purpose glue is not an automatic substitute; some ingredients can attack mirror coatings. Gardner Walker explains adhesive compatibility here.
Do not choose adhesive as the sole support for a heavy mirror unless both manufacturers approve that exact application. Follow requirements for preparation, application pattern, curing, and temporary or permanent mechanical support.
Adding glue to a mirror designed to lift off a bracket can also complicate future removal. Check the installation method before adding anything.
Bathroom and LED Mirrors Need a Little More Planning
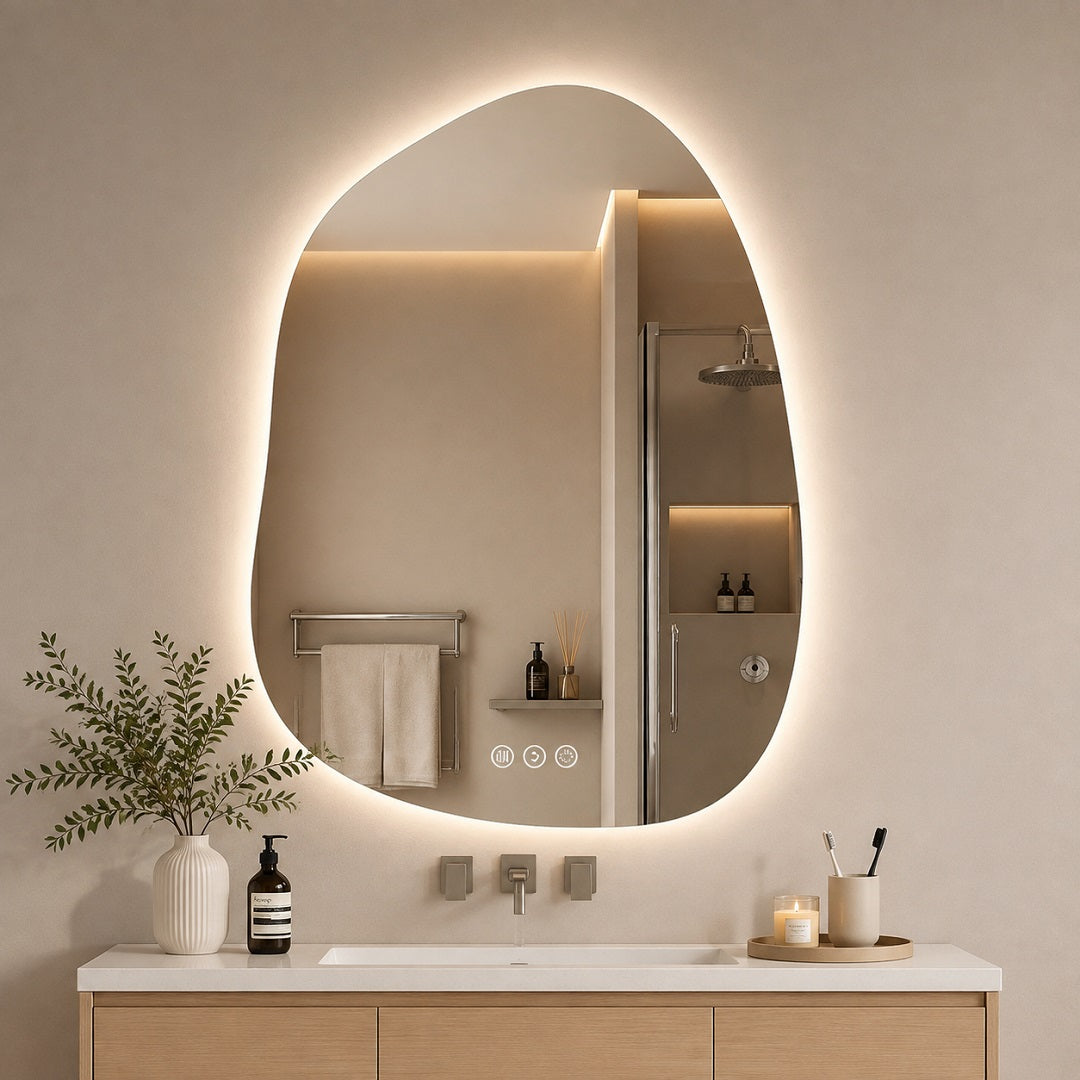
For an LED bathroom mirror, map out the mounting points and power connection together. A bracket and an electrical connection cannot occupy the same space.
Preserve the model's required clearances and factory spacing. Avoid placing extra backing, padding, or adhesive over electrical components or areas that need ventilation. Have a qualified electrician handle hardwired connections.
The right distance from the wall depends on the product's design. Use the model's instructions instead of choosing a gap just because it looks tidy from the side.
Before You Lift the Mirror Into Place
Settle the installation details while the mirror is still safely supported:
- Confirm the actual product weight. A shipping weight includes packaging and may not describe the installed load.
- Check the mounting diagram. Measure the attachment points, including their distance from the top edge.
- Identify the wall assembly. Verify the supporting material and check for concealed services.
- Confirm the complete hardware arrangement. Resolve missing parts, uncertain ratings, or incompatible fasteners with the manufacturer or installer.
- Plan the lift. Arrange enough capable help for the mirror's size and weight, protect your hands, and clear the route.
- Check engagement before releasing support. Follow the manual to seat brackets and secure any retaining features.
A paper outline is useful for checking the look above a console. Marking the actual mounting points on that outline makes the next conversation with your installer much more useful.
When browsing Hasipu wall mirrors, compare the mounting requirements alongside the shape and dimensions. Knowing how a mirror will attach lets you plan its position with confidence before it arrives.

Frequently Asked Questions
1. Does every heavy wall mirror need a plywood backing board?
No. A heavy wall mirror does not automatically need a separate plywood panel. The mounting system may attach to suitable studs, masonry, or approved hollow-wall anchors. Plywood is useful when it forms part of a properly designed support arrangement connected to the wall framing.
2. How thick should plywood backing be for a heavy mirror?
There is no single plywood thickness that suits every mirror. The mirror's weight, panel dimensions, fasteners, and attachment to the framing all affect the design. Have the installer specify these details together. A thicker board alone does not establish a safe installation.
3. Can I attach hanging hardware directly to the mirror's back panel?
Only when the mirror manufacturer identifies that panel as a mounting surface and provides instructions for attaching hardware. A protective back panel may not be designed to carry the mirror's weight. Use the designated mounting points, and avoid drilling into an unfamiliar panel or electrical enclosure.
4. Should a heavy wall mirror sit completely flush against the wall?
Follow the spacing built into the mirror's mounting system. Brackets, spacers, and bumpers may create an intentional gap. An LED bathroom mirror may also have model-specific clearance requirements. Do not remove supplied parts or force the mirror flat to eliminate that gap.
5. Are the wall anchors included with a mirror suitable for every wall?
No. Included anchors are intended for particular wall materials and installation conditions. Check the instructions against your wall construction and the mirror's weight before using them. For a Hasipu mirror, confirm the requirements for the exact model and ask for guidance when the supplied hardware does not match your wall.