
Table of Contents
The best lighting for a makeup mirror is bright, diffused LED light with a color temperature between 4,000K and 5,000K and a CRI of 90 or higher. This combination creates balanced white light, making skin tone, foundation, blush, and eye makeup easier to see without adding a strong yellow or blue cast.
That is the short answer. Real life is a little less tidy.
You might apply makeup early in the morning, get ready for dinner under warm restaurant lighting, or need a close view for eyeliner and brow work. One fixed light setting cannot accurately represent every environment. For most people, a dimmable makeup mirror with warm, neutral, and daylight settings is more useful than a mirror limited to one color.
What Color Light Is Best for Applying Makeup?
Neutral white light is usually the safest starting point. A setting around 4,000K to 5,000K shows detail clearly while keeping skin from looking overly warm or washed out.
Color temperature is measured in Kelvin, written as K. Lower numbers produce a warmer, more yellow appearance. Higher numbers look cooler and sometimes slightly blue.
Here is how the common settings work at a vanity:
| Color temperature | Appearance | Best use |
|---|---|---|
| 2,700K–3,000K | Warm, soft yellow | Evening makeup and warm indoor settings |
| 3,500K–4,500K | Neutral white | Everyday makeup and skincare |
| 5,000K–6,000K | Cool daylight | Foundation matching and detailed application |
A neutral or daylight setting helps you spot uneven foundation, unblended concealer, or an eyebrow that needs a little more work. Warm light is flattering, but it can hide small color differences. Very cool light reveals more detail, though it may make your complexion look paler than it will indoors.
Hasipu recommends beginning with neutral white light and then checking the finished look under the kind of lighting you expect to encounter later.

Get the Color, Brightness, and Placement Right
Good makeup mirror lighting is not only about choosing a warm or cool setting. Color accuracy, brightness, and the direction of the light all affect what you see in the mirror.
Use Daylight as a Reference, Not the Only Option
Indirect natural daylight gives you a clear and usually honest view of your makeup. When possible, place your vanity near a window and face it rather than sitting with the window behind you.
Direct sunlight is less useful. It creates glare and sharp shadows, and its brightness changes as the sun moves. Natural light is also unavailable before sunrise and after dark, so a good LED makeup mirror provides more consistent lighting from one day to the next.
Use a daylight or neutral setting for daytime makeup. Before an evening event, switch to warm light for a final check. This gives you a better idea of how your makeup may look in the place where you plan to wear it.
Look for CRI 90 or Higher
Color temperature tells you whether light looks warm or cool, but it does not tell you how accurately colors appear. That is measured by the Color Rendering Index, or CRI.
The CRI scale runs from 0 to 100. A higher rating generally indicates better color fidelity. For makeup application, choose CRI 90+ lighting when possible. It makes it easier to:
- Match foundation to your face and neck
- Identify warm, cool, and neutral undertones
- Blend blush, bronzer, and contour
- Compare lipstick and complexion shades
- Prepare makeup for photography or video
Two makeup mirrors may both produce bright white light while showing complexion products differently. Poor color rendering can make foundation appear correct at the vanity but too orange or pink once you step outdoors.
Some lighting specifications also include an R9 value, which provides more information about saturated red tones. These tones affect the appearance of lips, blush, blemishes, and many skin tones.
Choose Adjustable Brightness
A lighted makeup mirror should reveal small details without making you squint. More brightness does not always produce a better result.
A mirror set too high in a dark room can create glare and make colors appear stronger than they will elsewhere. Lighting that is too dim may encourage you to apply more foundation, blush, or eye makeup than you really need.
Dimming control lets you adjust the mirror as your routine changes. Use a brighter setting for eyeliner, brows, and close detail work. Then lower the brightness and step back to judge the complete look.
The right level depends on the mirror’s size, your distance from the glass, the amount of daylight in the room, surrounding wall colors, and any other lights that are turned on.
Lumens measure the total output of a light source, but they do not explain how much of that light reaches your face. LED placement, diffusion, and viewing distance matter just as much. A wide dimming range is often more useful than one fixed lumen rating.
Make Sure the Light Reaches Both Sides of Your Face
Good makeup lighting should fall evenly across the face. A single ceiling fixture shines downward, creating shadows beneath the eyes, nose, cheekbones, and chin.
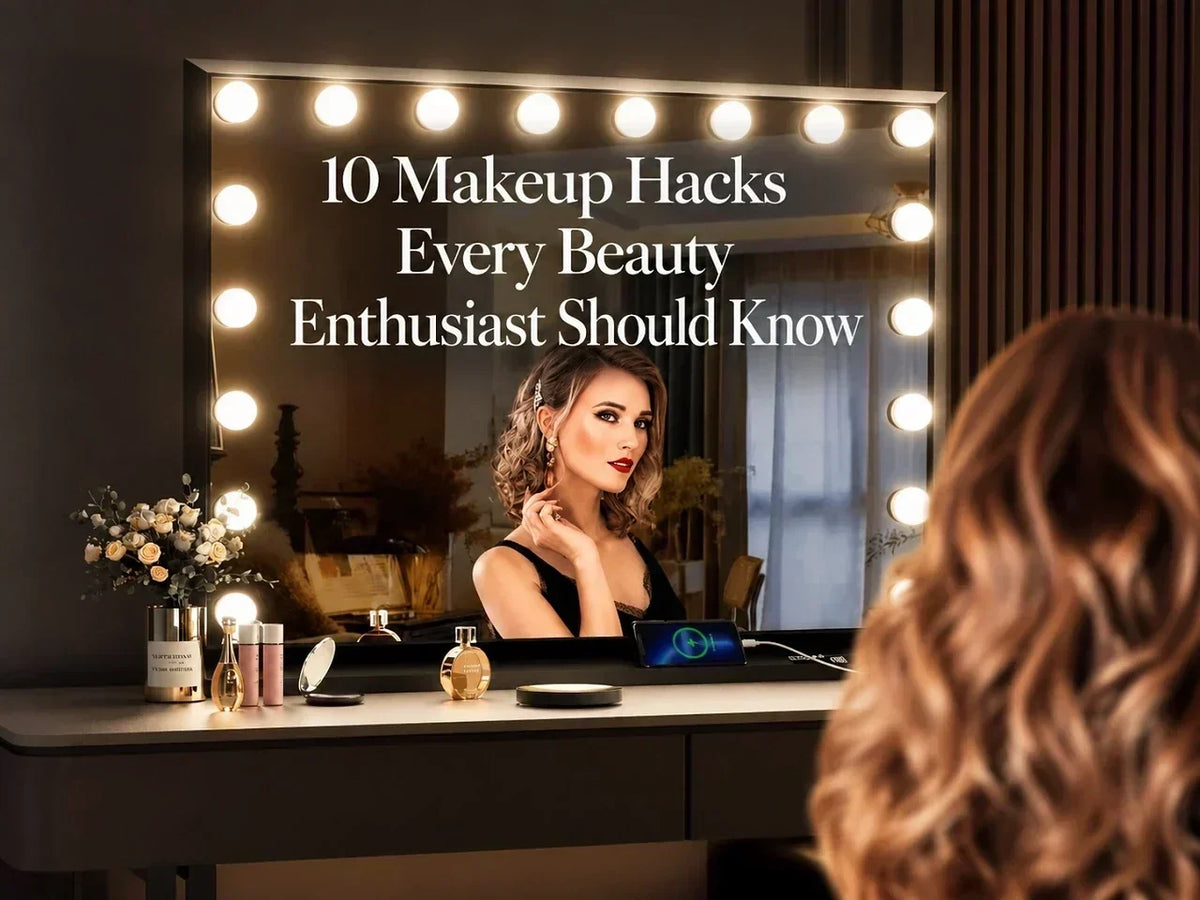
Hollywood-style bulbs work well because they surround the mirror and direct light toward the face from several angles. A front-lit LED border can provide similar coverage when the light is even and properly diffused.
Look for:
- Light reaching the left and right sides of the face
- Soft diffusion without harsh, visible LED points
- Consistent brightness around the mirror
- Minimal shadows under the eyes and chin
- Little glare reflected directly into your eyes
Side lighting is particularly helpful for blending foundation and contour. A light placed only above the mirror is better than a ceiling fixture, but it may still create noticeable under-eye shadows.
A backlit mirror provides attractive ambient lighting, but backlighting alone may not direct enough light toward your face. For makeup, front lighting is more practical. A mirror that combines front and back lighting can provide clear task lighting along with a softer glow around the vanity.
Match the Light to Your Makeup and Plans
A three-color makeup mirror does more than offer three different moods. Each setting helps you apply makeup for a particular time, place, or type of routine. Switching between them can also reveal blending and color problems that disappear under one fixed light.
Warm Light for Dinner and Evening Plans
Warm white light around 2,700K to 3,000K resembles the lighting found in many homes, restaurants, hotel rooms, theaters, and event venues. It creates a softer glow and works well when getting ready for a date night, dinner party, wedding reception, or another evening occasion.
Under warm light, deeper lipstick, bronzer, highlighter, and smoky eye makeup often look softer and more natural. This setting also helps you check whether your evening makeup appears too heavy in a dim indoor space.
Warm light can be flattering, but it may hide uneven blending and make warm-toned foundation look more natural than it will outdoors. Apply your base under neutral light, then use the warm setting as a final preview.
Best for:
- Dinner dates and evening events
- Party, wedding, and holiday makeup
- Deeper lipstick and smoky eye looks
- Checking makeup under warm indoor lighting
- A softer nighttime skincare routine
Neutral Light for Everyday Makeup
Neutral white light around 3,500K to 4,500K works well for daily makeup, skincare, hairstyling, and getting ready for work. It keeps colors balanced without adding a strong yellow or blue cast.
This setting makes it easier to judge whether foundation matches your neck, blush is applied evenly, and concealer is fully blended. It is bright enough for normal detail work without feeling as sharp as a cool daylight setting.
Neutral light is dependable when your day includes several environments, such as an office, coffee shop, store, or classroom. When you are not sure which setting to use, start here.
Best for:
- Everyday makeup
- Work, school, and casual outings
- Skincare and hairstyling
- Foundation and concealer application
- Getting ready in rooms with little natural light
Cool Daylight for Precision and Daytime Looks
Cool daylight around 5,000K to 6,000K produces a crisp white appearance similar to bright daytime light. It reveals fine details, makeup edges, skin texture, and areas that may not be completely blended.
Use this setting when applying eyeliner, shaping brows, covering blemishes, blending concealer, or checking the line between your foundation and neck. It also helps when preparing for outdoor activities, daytime photographs, video meetings, or spaces with bright white office lighting.
Daylight mode can expose mistakes that warm light hides, but an extremely cool setting may exaggerate redness, dryness, or skin texture. Use it for precision work, then step back and check your face from a normal distance.
Best for:
- Outdoor and daytime makeup
- Foundation shade checks
- Eyeliner, mascara, and brow shaping
- Concealing blemishes and discoloration
- Photography, filming, and video calls
- Checking for missed or poorly blended areas
For a more reliable result, move between the settings during your routine. Apply everyday makeup under neutral light, inspect the details under cool daylight, and use warm light to preview an evening setting. A Hasipu three-color makeup mirror makes these checks possible without moving from one room to another.

LED, Fluorescent, or Incandescent Lighting?
LED is the most practical choice for a modern vanity mirror with lights. It turns on at full brightness, uses relatively little energy, produces less heat near the face, and can support dimming and adjustable color temperature.
Incandescent bulbs create warm, flattering light, but they run hot and can shift the appearance of foundation and complexion products toward yellow. Fluorescent lighting may feel harsh or uneven, and its color quality varies widely.
Quality still matters within the LED category. An inexpensive LED with poor color rendering may be less useful for makeup than a well-made light with high CRI. Check the specifications rather than assuming every LED mirror produces the same result.
For a fixed vanity, steady power from a wall outlet is convenient. Rechargeable and battery-powered mirrors are easier to move, though their brightness may gradually drop as the battery runs low. A memory function is useful too, since the mirror can return to your preferred brightness and color setting each time you turn it on.
Should You Use Magnification?
Magnification affects visibility rather than light quality, but the two features work together.
A standard 1X reflection is best for foundation, blush, contour, and checking the balance of your full face. Moderate magnification helps with eyeliner, mascara, brows, contact lenses, and skincare. Strong magnification makes tiny details easier to see, though it may feel disorienting during normal makeup application.
A practical setup might include:
- 1X for viewing the complete makeup look
- 3X or 5X for most precision work
- 10X for close grooming and very small details
Stronger magnification has a shorter focal distance. You will need to move closer to the glass to see a sharp reflection. Bright, diffused light becomes even more useful at that distance because glare is more noticeable.
Common Makeup Mirror Lighting Mistakes
Even a good mirror can give you an inaccurate view when its settings or the surrounding light are working against you.
Using only the ceiling light. Overhead lighting creates shadows beneath the eyes, nose, cheekbones, and chin. Those shadows can make dark circles look more noticeable and lead to excessive concealer or uneven blending. Turn on the mirror lights even when the room already seems bright.
Choosing the brightest setting every time. Maximum brightness is useful for eyeliner, brow shaping, and other detailed work, but it may be too strong for the entire routine. Match the brightness to the room, then lower it and step back to see how the completed makeup looks from a normal distance.
Applying makeup with a window behind you. A bright window reflected in the mirror can leave your face in shadow. Place the vanity so you face the window. When that is not possible, close the curtain and use the mirror’s LED lights for more consistent illumination.
Trusting warm light for foundation matching. Warm light can make skin look smoother and more golden while hiding differences between your foundation, face, and neck. Match your foundation under neutral or daylight-colored light, then use the warm setting to preview the finished look in an evening environment.
Mixing lights with different color temperatures. A warm ceiling fixture paired with a cool mirror light can create uneven color across the face. Turn off competing lights or use room and vanity lighting with similar color temperatures while applying makeup.
Looking only at a magnified reflection. Magnification helps with eyeliner, brows, and close grooming, but it makes proportion and balance harder to judge. Return to the regular 1X reflection and step back before finishing your routine.
How to Choose the Best Lighted Makeup Mirror
Look beyond the shape and frame color. The lighting specifications determine how useful the mirror will be each morning.
A good everyday model should have:
- Three color modes covering warm, neutral, and daylight
- Adjustable brightness
- A CRI of at least 90
- Even frontal illumination
- Diffused LEDs that limit glare
- A reflective area large enough for your routine
- Simple, easy-to-reach controls
- A stable base or secure wall-mounting system
- A memory function for frequently used settings
Your available space matters too. A large Hasipu Hollywood vanity mirror can illuminate the entire face and provide room for hair and outfit checks. A smaller tabletop mirror fits more comfortably on a compact vanity. A folding or rechargeable design is easier to pack for travel.
Extra features such as USB or Type-C charging ports can keep your phone nearby during tutorials or video calls. They are convenient, but they should come after light quality. Accurate color, smooth dimming, and even illumination will improve your routine more than a long list of unrelated functions.
Create the Best Makeup Lighting Setup
The right mirror matters, but its position, settings, and surroundings also change how accurately you see your makeup.
Position the Mirror at Eye Level
Place the mirror directly in front of your usual seated or standing position, with its center close to eye level. This keeps your face within the most evenly lit area and saves you from leaning forward or tilting your head throughout the routine.
Light should reach the front and both sides of your face. Avoid placing the mirror where a ceiling fixture or bright window creates uneven shadows.
Change the Light as You Apply Makeup
Begin with neutral light at medium brightness. Apply foundation, concealer, and other base products, then switch to daylight mode to check the foundation line, under-eye blending, and overall color balance.
Before an evening event, use the warm setting for a final preview of how your makeup may look in a restaurant, hotel, or another softly lit space.
Step back before you finish. A close view helps with eyeliner, brows, and blemish coverage, while a normal viewing distance gives you a better sense of balance and proportion.
Keep the Area Around Your Vanity Neutral
The space around your vanity can influence how colors appear in the mirror. Bright red, green, blue, or yellow walls may reflect a slight color cast onto your face, making foundation and other complexion products harder to judge.
White, beige, light gray, and other muted shades create a more neutral background. When repainting is not practical, keep brightly colored curtains, artwork, and decorative objects away from the sides of the mirror.
Choose a Mirror With Flexible Lighting
For most people, the best setup is a dimmable LED makeup mirror with a CRI of 90 or higher and adjustable color temperatures from warm white to daylight.
Use 4,000K to 5,000K as your main setting. Make sure the light reaches the front and both sides of your face, and do not rely on a ceiling fixture alone.
Hasipu makeup mirrors with multiple color settings let you apply makeup under balanced neutral light, inspect small details in daylight mode, and preview the finished look under a warmer evening glow. That flexibility is more reliable than trying to use one fixed light for every room, time of day, and occasion.

Final Thoughts
The best makeup mirror lighting should help you see your skin and makeup clearly without glare, deep shadows, or an obvious color cast. Start with neutral light, adjust the brightness for the task, and check your finished makeup under warm or daylight settings when the occasion calls for it.
A Hasipu lighted makeup mirror with dimming, multiple color modes, and even illumination gives you the flexibility to handle everyday makeup, close detail work, and evening looks at the same vanity.
Frequently Asked Questions
1. Is warm or cool light better for makeup?
Neutral to cool white light is better for accurate application because it reveals color and detail more clearly. Warm light is useful for checking makeup intended for restaurants, parties, and other softly lit spaces.
2. Is 3,000K or 5,000K better for makeup?
A 5,000K setting is generally better for matching foundation and handling precision work. A 3,000K setting gives you a warmer preview of evening makeup. A mirror that provides both settings is more versatile.
3. Is 6,500K too bright for a makeup mirror?
Kelvin measures color temperature, not brightness. A 6,500K light can look very cool or blue even when its output is moderate. It may reveal detail well, but 4,000K to 5,000K usually feels more natural for everyday makeup.
4. How high should the CRI be for makeup lighting?
Choose CRI 90 or higher when possible. Better color fidelity helps you judge foundation, concealer, blush, lipstick, and skin undertones more accurately.
5. Are ring lights good for applying makeup?
A ring light can provide even frontal illumination and reduce shadows. Look for adjustable brightness, soft diffusion, and high color accuracy. A light border built into a mirror can provide similar coverage without requiring a separate stand.
6. Can a backlit mirror be used for makeup?
A backlit mirror adds ambient light, but backlighting alone may not send enough illumination toward the face. For regular makeup application, choose front lighting or a mirror that combines front and back lighting.