
Table of Contents
A gym mirror can look perfectly centered on the wall and still be awkward to use. You stand in front of it, and everything looks fine. Then you sit on your mat, and the part of the reflection you need disappears below the glass.
Getting the mirror installation height right starts with how you exercise.
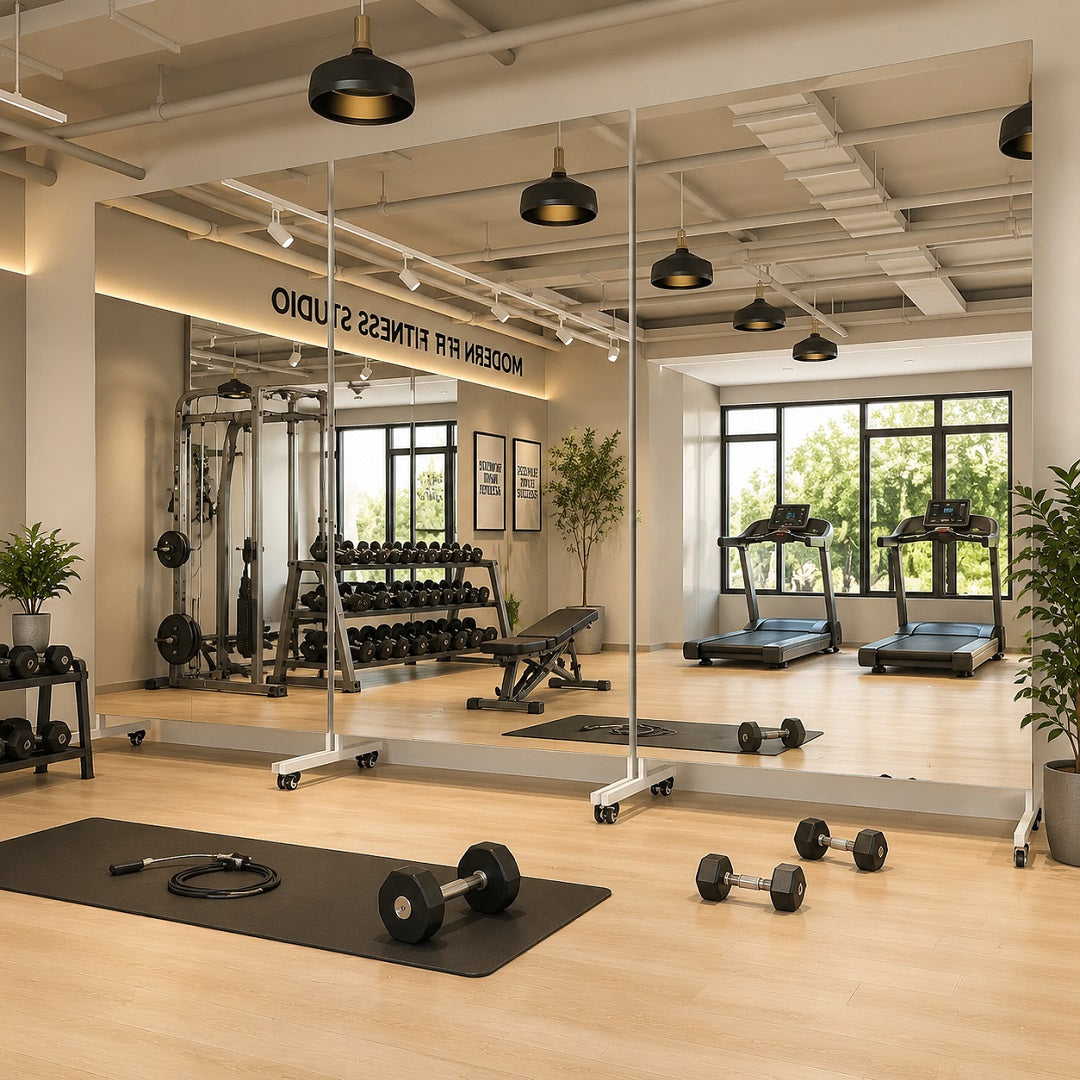
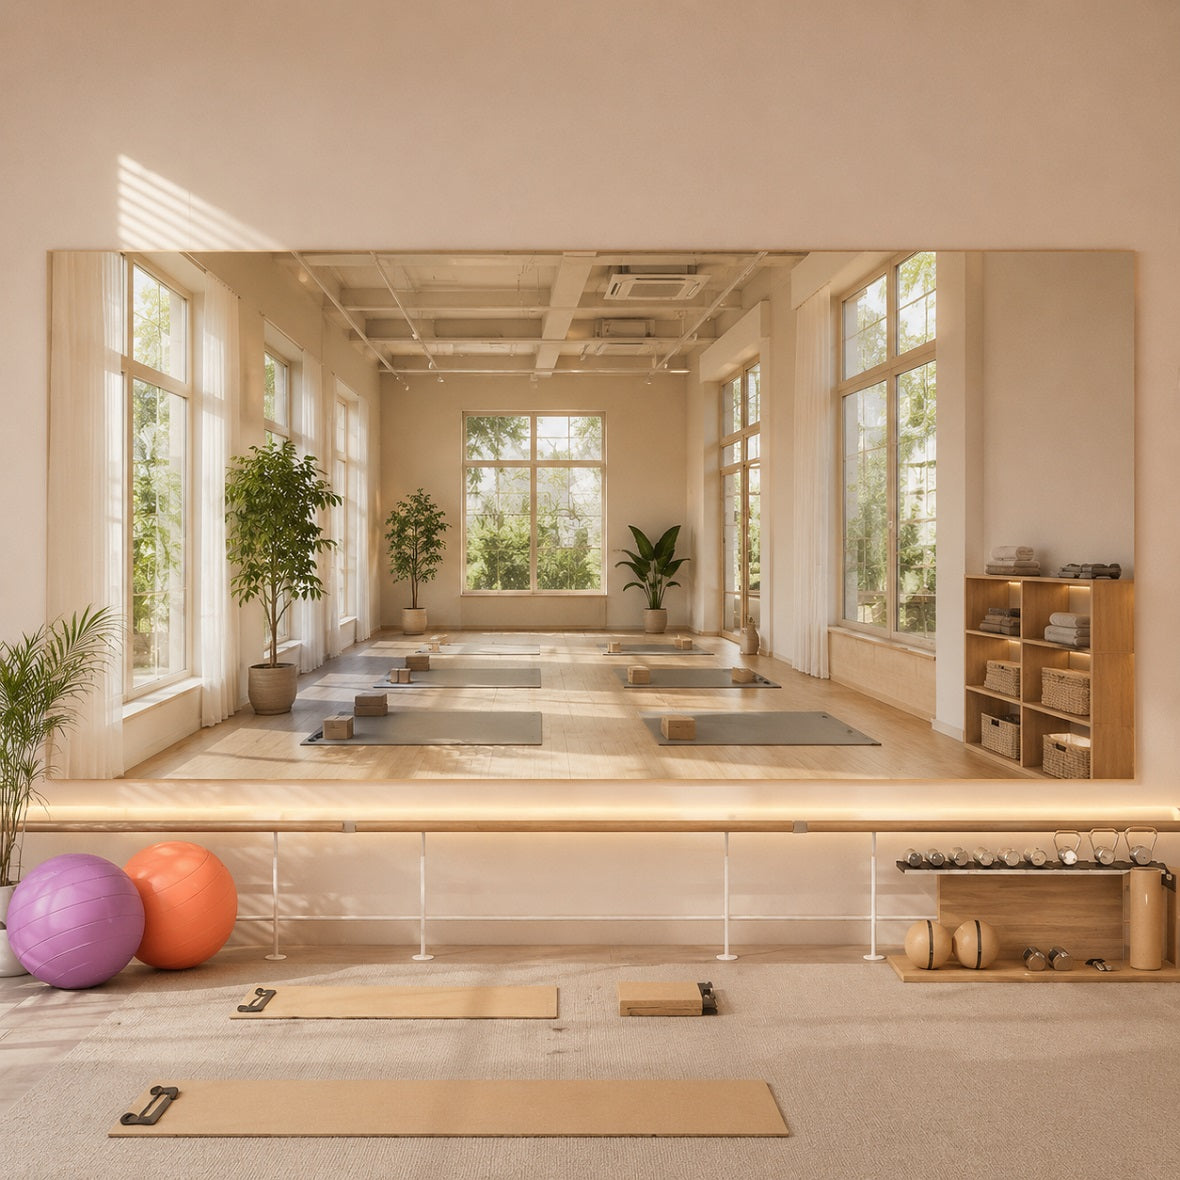
For standing workouts, start by planning the bottom edge of your home gym mirror about 12–18 inches above the finished floor. Treat that as a starting range, not a universal installation requirement. Yoga, seated exercises, and floor stretches may need a lower bottom edge for proper floor workout visibility. The mirror must also extend high enough for the tallest user and any overhead movements you want to see.
This Hasipu guide helps you work through those measurements before choosing a spot for the mounting hardware.
How to Measure Gym Mirror Height from the Floor
Three measurements often get mixed together:
- Mounting height: The distance from the finished floor to the mirror’s bottom edge.
- Mirror height: The vertical size of the panel in its installed orientation.
- Top-edge height: How far the mirror reaches up the wall once mounted.
For a frameless rectangular panel, the calculation is simple:
Bottom-edge height + mirror height = top-edge height
A 63-inch-tall mirror mounted 12 inches above the floor reaches 75 inches up the wall. Turn that same rectangular panel sideways, and its shorter dimension becomes the height.
With a framed or lighted design, check the usable reflective area too. An outer frame or light band can occupy space that is included in the overall dimensions.
Measure from the surface you actually exercise on. A permanent rubber floor or lifting platform changes that reference point.

Recommended Gym Mirror Mounting Height by Workout Type
The following layout suggestions combine published installation guidance with practical planning considerations. They are starting points to check against your room and your mirror’s instructions.
| How you use the space | Bottom-edge starting point | What to check |
|---|---|---|
| Mostly standing strength exercises | About 12–18 inches above the finished floor | Feet, knees, head, and the movements you want to observe |
| A mix of standing and seated exercise | Start near the lower end of that range, then assess seated sightlines | Whether lowering the panel improves the view without losing needed coverage at the top |
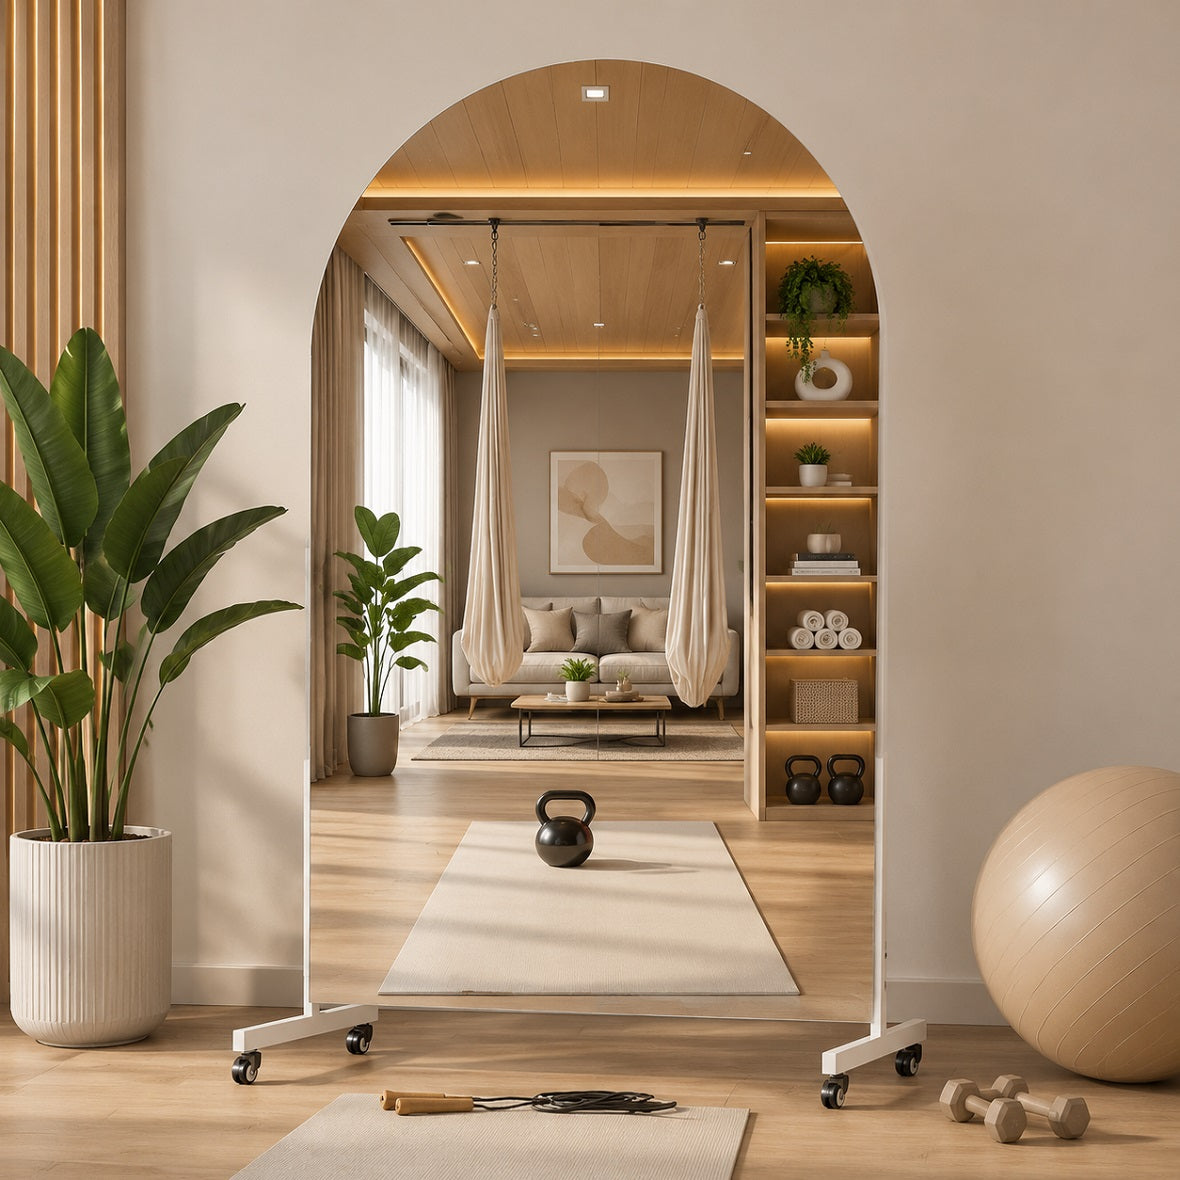
| Yoga, Pilates, and floor stretching | A lower position, as permitted by the mounting system and wall trim | Visibility from your actual mat positions |
| Dance or movements with raised arms | Choose the bottom and top edges together | Footwork, overhead reach, and movement across the width |
| A mirror behind exercise equipment | Work out the unobstructed sightline first | Whether the rack, console, or storage blocks the useful reflection |
A low installation can work well in a dedicated studio, but the hardware matters. Some professional installations use support rails just a few inches above the floor. That does not make the same clearance appropriate for every mirror or baseboard.
Standing workouts need more than a face-level view
For standing dumbbell work or bodyweight movements, think about the whole area you want to observe. A view that stops at your knees leaves out your stance.
Plan around your normal exercise position. Place the bench, mat, and rack where they will actually go instead of judging the mirror from the doorway.
Keep the glass outside the movement and storage area for weights. Raising the bottom edge a few inches does not make a mirror safe from a rolling dumbbell or a swinging bar.
Floor exercises change the sightline
Sit on your mat and look toward the proposed mirror wall. Your eyes are now much lower than they were while standing.
That is why a home gym mirror positioned for upright exercise may be less useful during seated stretches. A lower bottom edge gives you more reflective area near the floor, subject to the mounting system’s required clearances.
For movements performed facing the floor, do not plan on watching yourself continuously. Choose a layout that supports a comfortable glance when appropriate, without having to twist or lift your head out of position.
How Tall Should a Home Gym Mirror Be?
Lowering a mirror helps with low sightlines, but it also lowers the top. A taller panel can provide both kinds of coverage.
Here is how three example layouts compare:
| Vertical mirror height | Bottom edge above floor | Top edge above floor |
|---|---|---|
| 48 inches | 12 inches | 60 inches |
| 63 inches | 12 inches | 75 inches |
| 71 inches | 12 inches | 83 inches |
These are layout calculations, not guarantees of a complete reflection.
The 48-inch panel in this example may sit too low at the top for a taller person. Moving it higher could solve that problem while reducing coverage for seated exercise. A taller mirror gives you more room to accommodate both.
For a room shared by two people, plan around the taller person’s upper reach and the lower eye position used during seated workouts. Picking a mounting height halfway between their standing heights does not resolve those different needs.
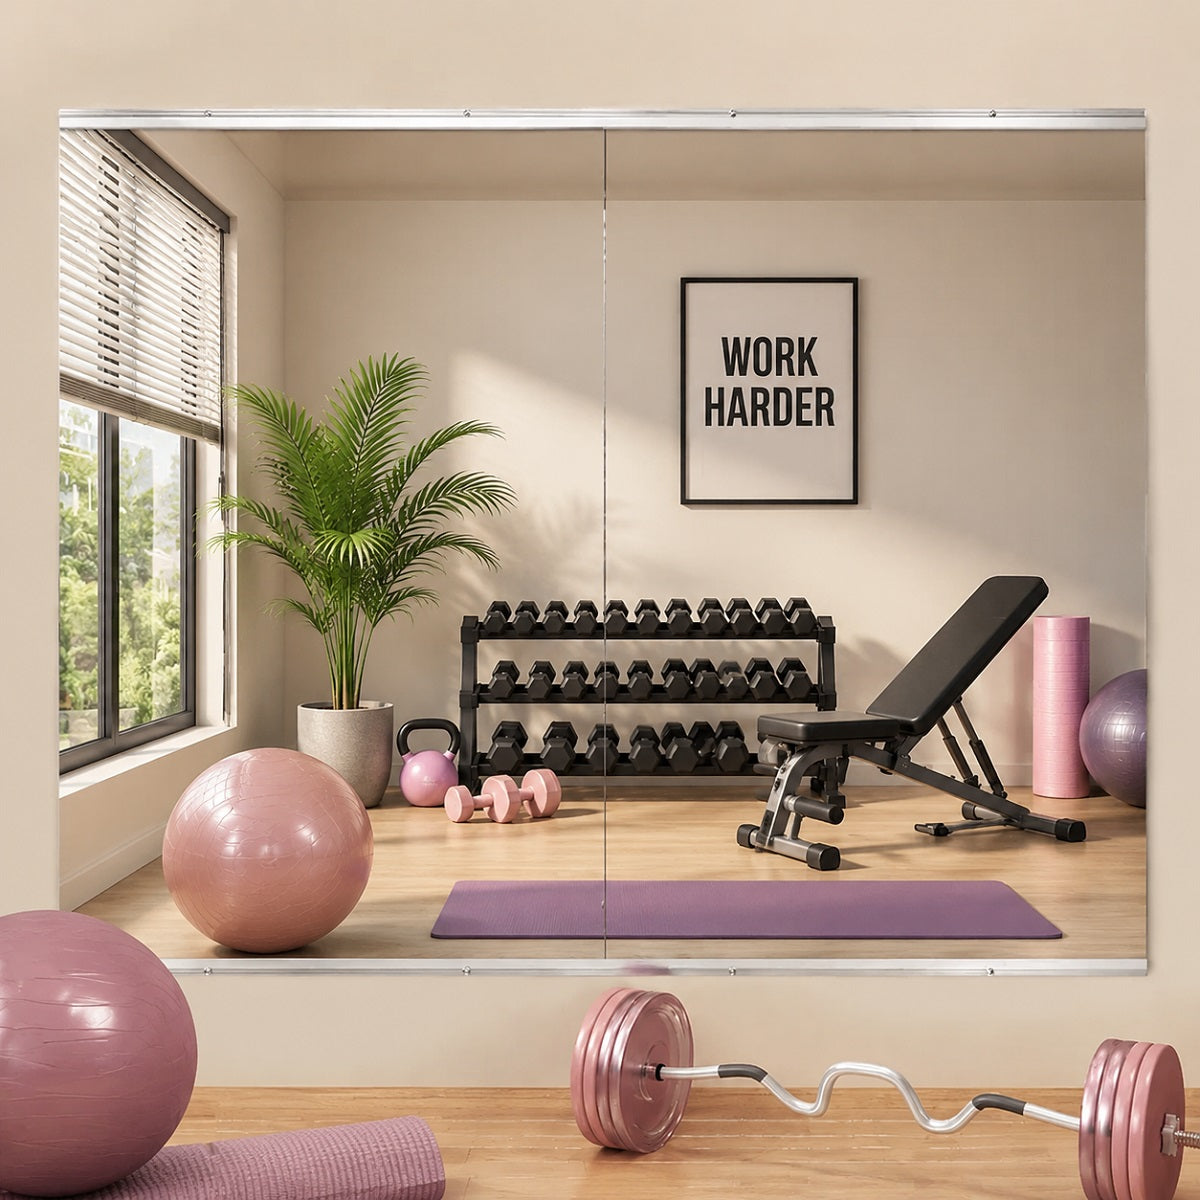
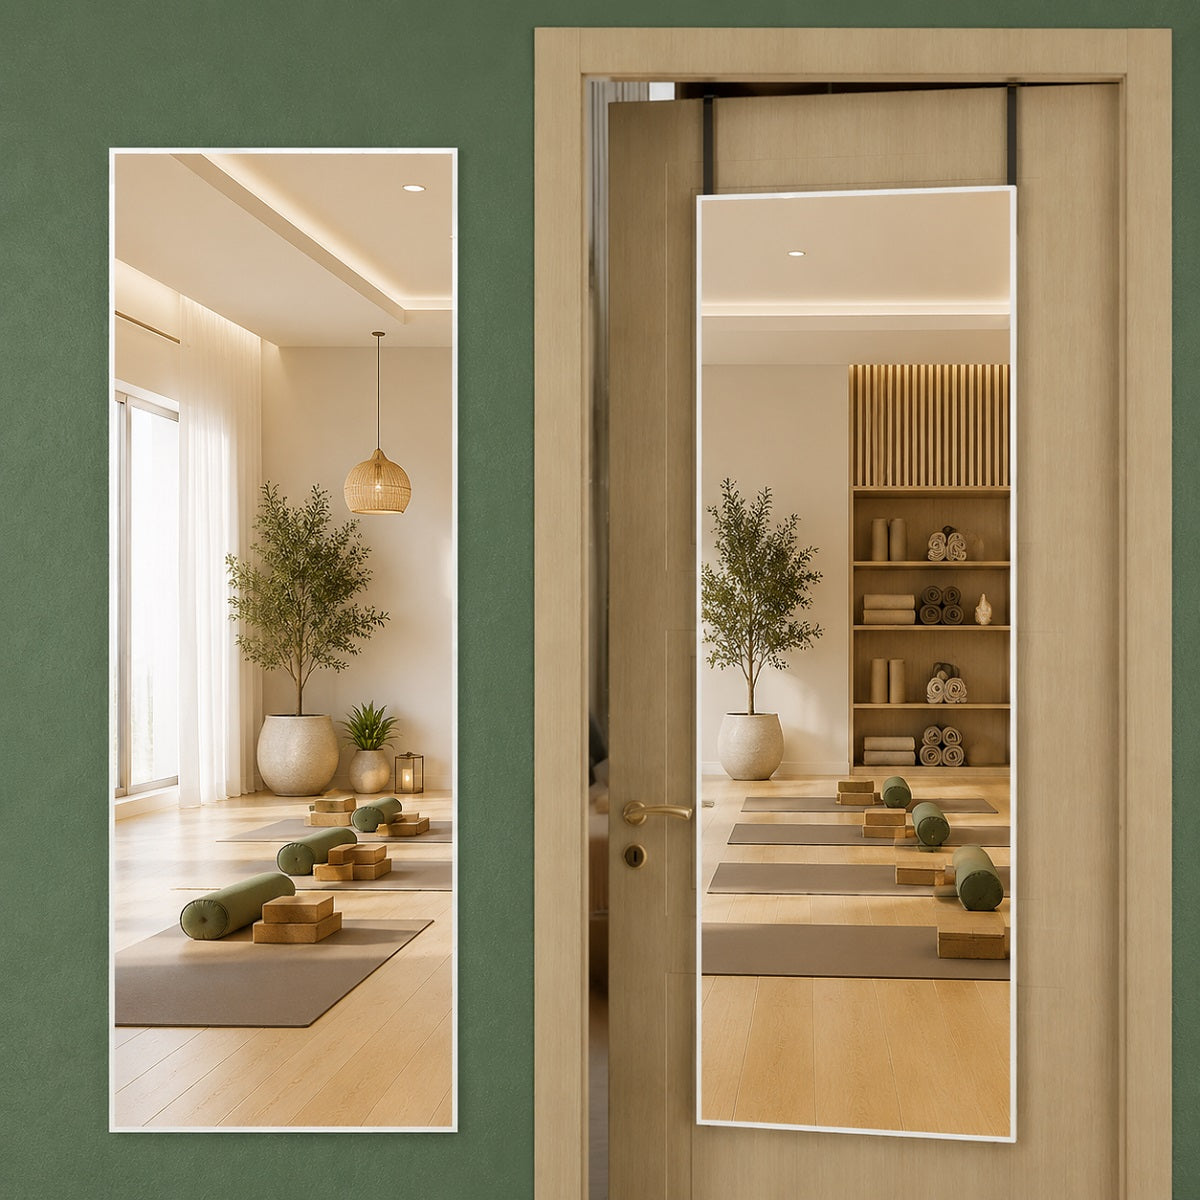
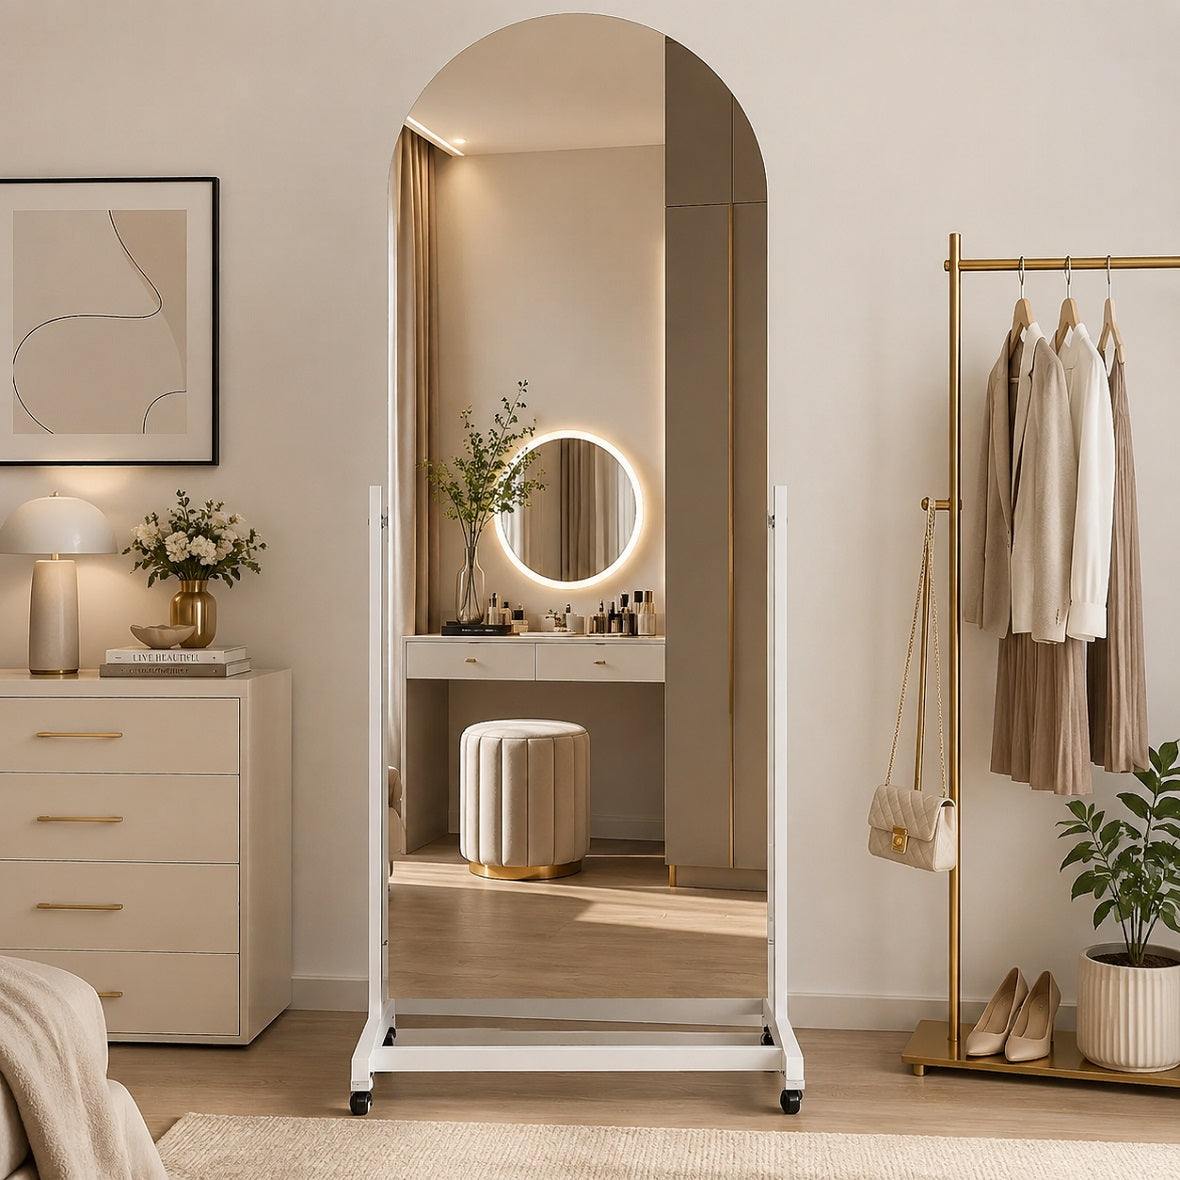
When comparing Hasipu frameless gym mirrors, check the selected panel dimensions and intended orientation together. The KM-YOGA-R product page lists multiple sizes and supports vertical or horizontal layouts; the usable height changes with the orientation.

Do You Need a Floor-to-Ceiling Mirror for a Home Gym?
A flat mirror can show more of your body than its physical height might suggest.
In the simplified case of a person standing upright, a correctly positioned mirror only needs to be about half the person’s height to show their full reflection. The reflection of the feet reaches the eyes through a point roughly halfway between eye height and the floor.
That explains why a mirror does not have to touch the floor to show your shoes.
A workout adds movement to that geometry. Your eyes drop during a squat, your hands rise overhead, and your feet move forward or sideways. The minimum mirror for a motionless standing pose is not a useful sizing target for every exercise.
Choose gym mirror coverage around your range of movement, with enough room above, below, and beside the reflection you normally use.
How to Plan Home Gym Mirror Placement Before Installation
A tape measure and painter’s tape can help you catch layout problems while they are still easy to change.
Outline the full panel. Mark its proposed bottom, top, and side edges. Include any frame and the clearance the mounting instructions require. Tape shows how the panel fits on the wall; it cannot confirm the reflection.
Put the room back into use. Move equipment into its planned location. Open nearby doors. Check that storage, plugs, and switches remain accessible.
Mark your exercise positions. Identify where you will stand, sit, and move sideways. Give the installer those positions so they can check the reflected sightlines against the proposed panel size and height.
Review the lowest and highest positions together. A layout that works while standing may still miss seated movements or raised hands. Adjust the panel size or location before finalizing the installation.
Avoid balancing a large loose mirror against the wall for a workout trial. Have it handled and supported according to its instructions.
Baseboards and outlets can change the plan
Measure the actual trim and outlet locations in your room. Do not assume another gym’s measurements will match yours.
A projecting baseboard can prevent a low panel from sitting in its intended mounting plane. An outlet behind the proposed glass may require a different panel arrangement or location.
Do not cover an outlet simply to keep the mirror wall looking uninterrupted. Have an installer assess the layout, and use an electrician when electrical work is needed.
Gym Mirror Installation: Wall Support and Mounting Hardware
The best gym mirror mounting height still depends on a suitable wall and mounting system.
Follow the instructions for the exact model. Different mirrors can use different brackets, rails, clips, backing, or attachment methods. A method shown for another product may not apply to yours.
Before installation, confirm:
- The wall construction and the support required for the mirror’s weight.
- The specified hardware, attachment points, and clearances.
- Whether adhesive is required or permitted for that model.
- The lifting and handling help needed for the panel.
Hasipu’s guidance calls for model-specific instructions and hardware appropriate for the wall. Use the Hasipu user manual page to look for your model, or contact support when the relevant instructions are unavailable.
Once the mirror is fully secured, check your planned viewing positions before putting the workout area into regular use.
Choosing the Right Gym Mirror Width and Lighting
Height will not solve a reflection that disappears off the side.
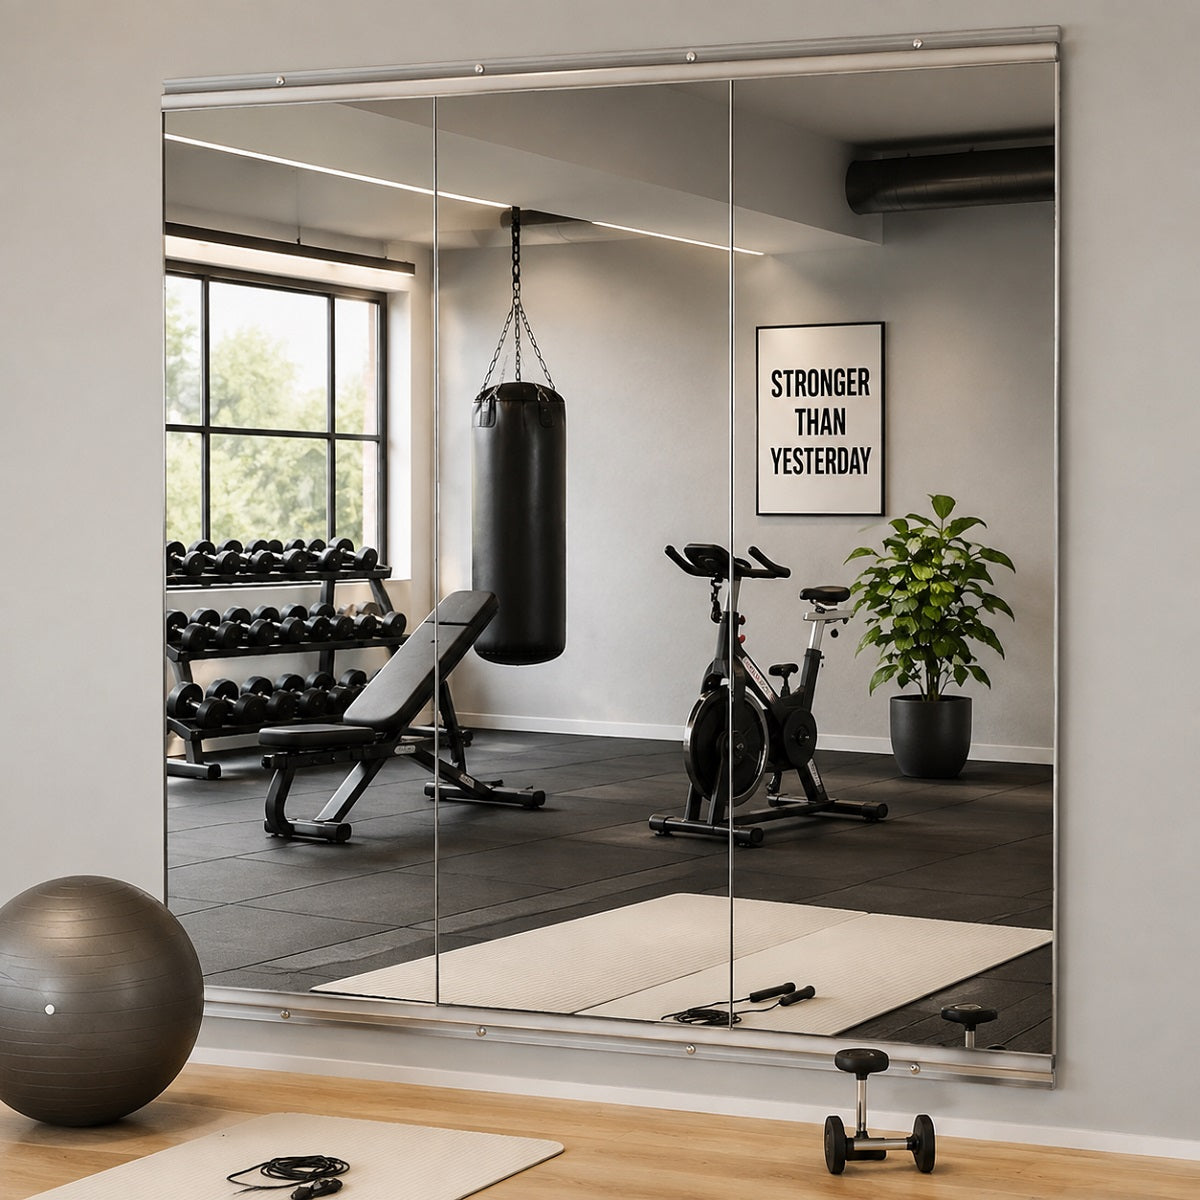
For lateral movements, lay out enough width for the exercise area you use. With several panels, consider where the joins fall relative to your usual position. Follow the specified panel spacing instead of forcing glass edges together.
Check the lighting from that same position. A bright window or exposed bulb in the reflection can be distracting even when the mirror is mounted at a useful height. Try the room with its normal lights on and the blinds in their usual position.
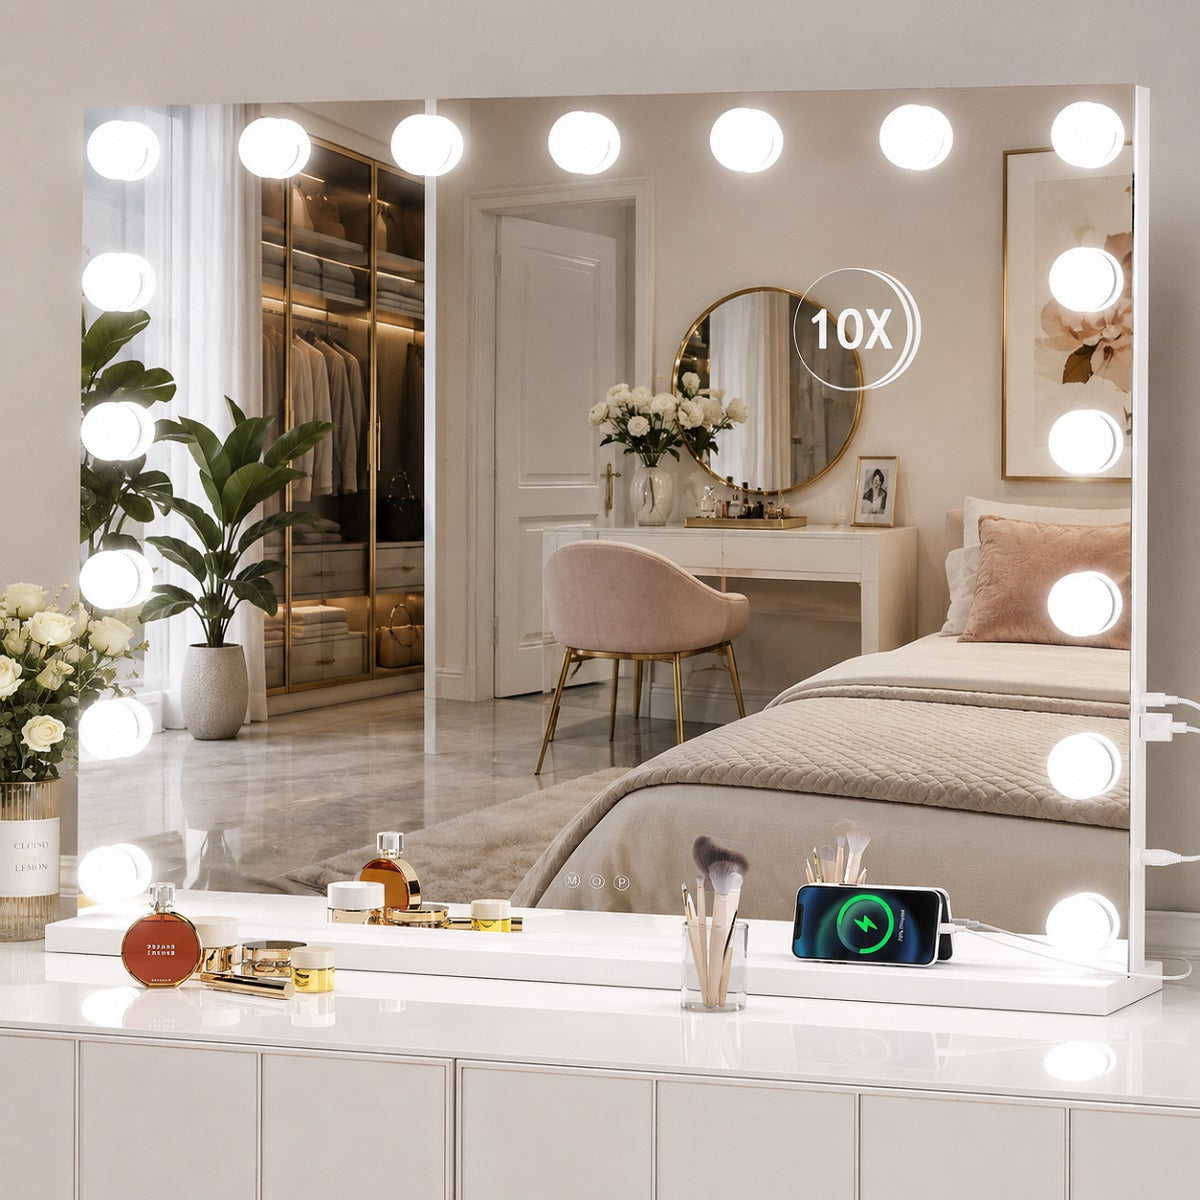
For a Hasipu gym mirror with lights, include the power connection and control access in the layout. Choose the viewing height first, then check that the electrical setup works for the selected model.

Final Thoughts: Choosing the Right Gym Mirror Height
Start with 12–18 inches above the finished floor as a planning range for standing workouts, then work through the positions you actually use. Floor exercise may call for a lower edge. Overhead movement may call for a taller panel.
Before choosing your Hasipu mirror, write down the proposed bottom height, the vertical panel size, and the resulting top height. Check those measurements against the room, the users, and the mounting instructions.
The right placement lets you see the parts of your movement you need without rearranging your workout around the mirror.
Frequently Asked Questions
1. Is 24 inches off the floor too high for a gym mirror?
It can work for standing exercise with a sufficiently tall panel, but it may leave out the view you want when seated or close to the floor. Check the lowest position you use before settling on a 24-inch bottom clearance.
2. Should you center a gym mirror at eye level?
Eye level is a useful reference, but the mirror’s center is not the main target. Plan the bottom and top edges around what you need to see. A mirror centered for a standing face-level view can leave too little glass below.
3. Will standing farther away fix a mirror that is mounted too high?
Do not rely on it. In the simplified upright, flat-mirror setup, moving farther away does not change the mirror heights needed to see your head and feet. A misplaced lower edge may need to be lowered, or the panel may need to be taller.
4. Can you mount a gym mirror directly above the baseboard?
Yes, when the model’s mounting system allows it and the panel can sit correctly. Account for the trim’s projection, support hardware, and required clearance. The baseboard itself should not be treated as the mirror’s support.
5. Should the mirror reach all the way to the ceiling?
Only when that extra coverage serves your layout. A smaller, properly positioned panel can provide the view you need. Tall users, raised arms, and a broad mix of exercises may justify more height.