

Table of Contents
A toddler reaches for the frame while learning to stand. A dog rounds the bedroom corner at full speed. A cat slips behind the mirror during a game of chase. These everyday moments are good reasons to check how your floor mirror is installed.
To make a floor mirror safer around children and pets, confirm its intended setup, secure it using the manufacturer’s approved method, and place it away from play areas and busy routes. Check the glass, frame, stand, and attachments before use. Non-slip pads and protective backing may address specific problems, but neither replaces proper anti-tip restraint.
What Makes a Floor Mirror a Safety Risk?
A floor mirror can look steady against a wall and still tip or slide when pulled or bumped. Glass and frame damage create additional concerns, while folding stands and power cords need attention in homes with curious children and pets.
Weight alone does not make a mirror secure. Even a mirror that takes two adults to carry needs proper installation. The American Academy of Pediatrics recommends securing mirrors with anti-tip devices; supervision cannot replace a safer setup. American Academy of Pediatrics.
Before buying hardware, find your mirror’s model number and instructions. Similar-looking mirrors may have different attachment points and installation requirements.
| Mirror type | What to check before installation |
|---|---|
| Leaning floor mirror | Whether leaning is permitted, where restraints attach, and how the mirror should be positioned |
| Freestanding mirror with a rear stand | How the stand opens or locks, suitable floor conditions, and the approved anti-tip method |
| Mirror approved for wall mounting | Mirror weight, permitted hanging orientation, designated mounting points, and suitable wall hardware |
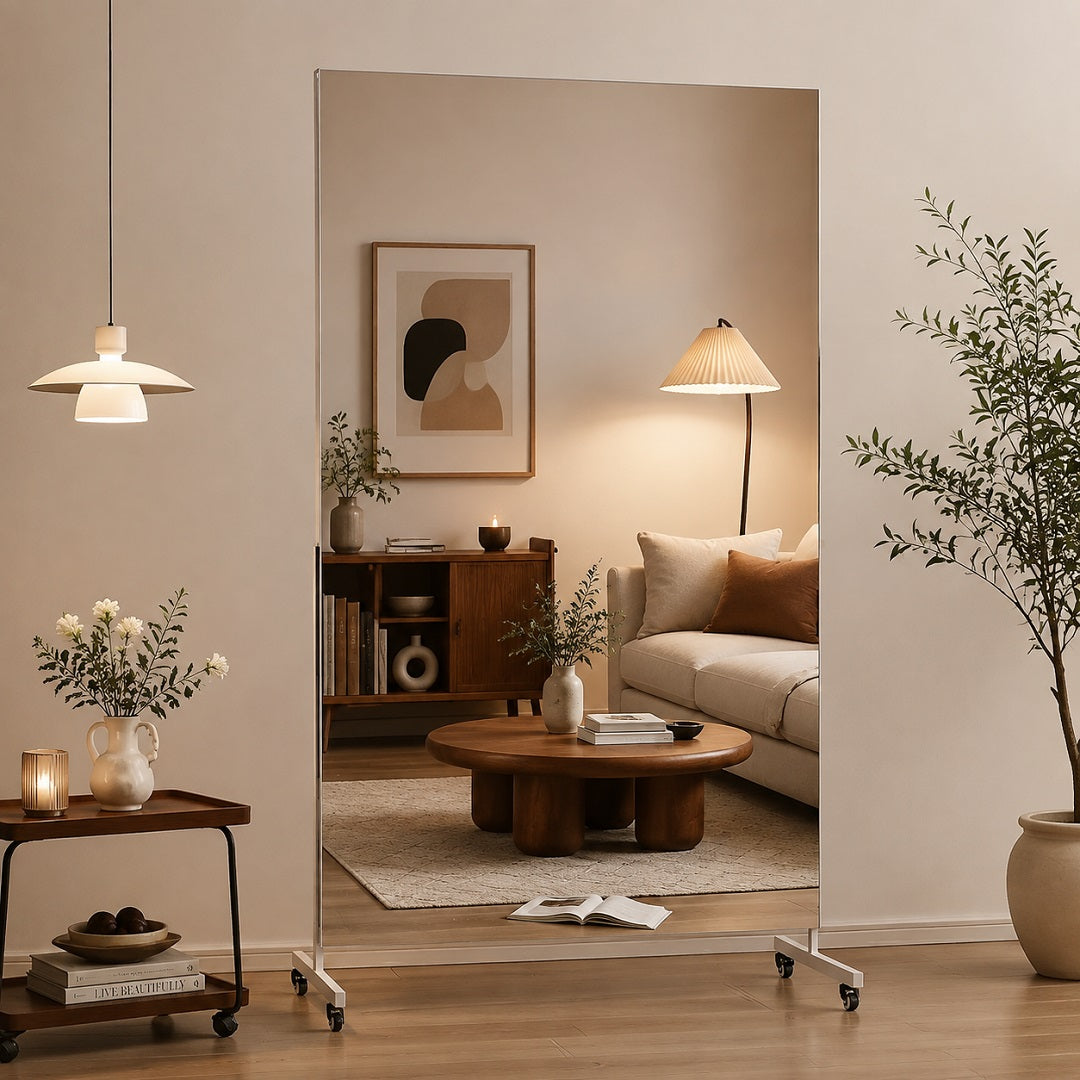
| Mirror on wheels | How to lock the wheels and whether separate restraints are required while parked |
A rear stand does not mean the mirror is suitable for wall mounting, and a hanging fitting may not be an approved anti-tip attachment point. Confirm both in the instructions before making changes.
For a Hasipu mirror, follow the manual for your exact model and size. Missing the instructions? Contact Hasipu with the model number, order details, and photos of accessible labels or fittings. Avoid moving a large unsecured mirror alone to photograph its back.

How to Secure a Floor Mirror: Step by Step
Use this sequence to plan the job. The actual fasteners, attachment locations, and installation method must come from the mirror and hardware instructions.
1. Keep the work area clear
Keep children and pets out of the room while unpacking, moving, or installing the mirror. Clear a route before lifting it, and arrange help appropriate to its size and weight. Do not leave it temporarily propped where someone can reach it while you look for tools. Keep loose screws and packaging out of reach, too.
2. Inspect the mirror before attaching anything
Look for cracked or chipped glass, a separating frame, loose rear fittings, and a bent or damaged stand. Check accessible parts without dismantling the mirror. Stop when you find damage. Adding a restraint does not repair a weak frame or cracked glass. Keep the area inaccessible and ask the manufacturer how to proceed.
3. Confirm the wall and floor conditions
Choose a position where the approved restraint or mounting system can connect to suitable support. Drywall, wood studs, masonry, and other wall constructions need different installation decisions. An anchor’s weight rating alone does not confirm that it suits your mirror, wall, and intended use. Ask a qualified installer when the wall construction or fixing method is unclear. Check the floor at the same time. A thick rug edge, uneven tile, or baseboard that interferes with the intended position can change how the mirror sits. Follow the model’s placement instructions rather than improvising with wedges.
4. Match the restraint to the mirror
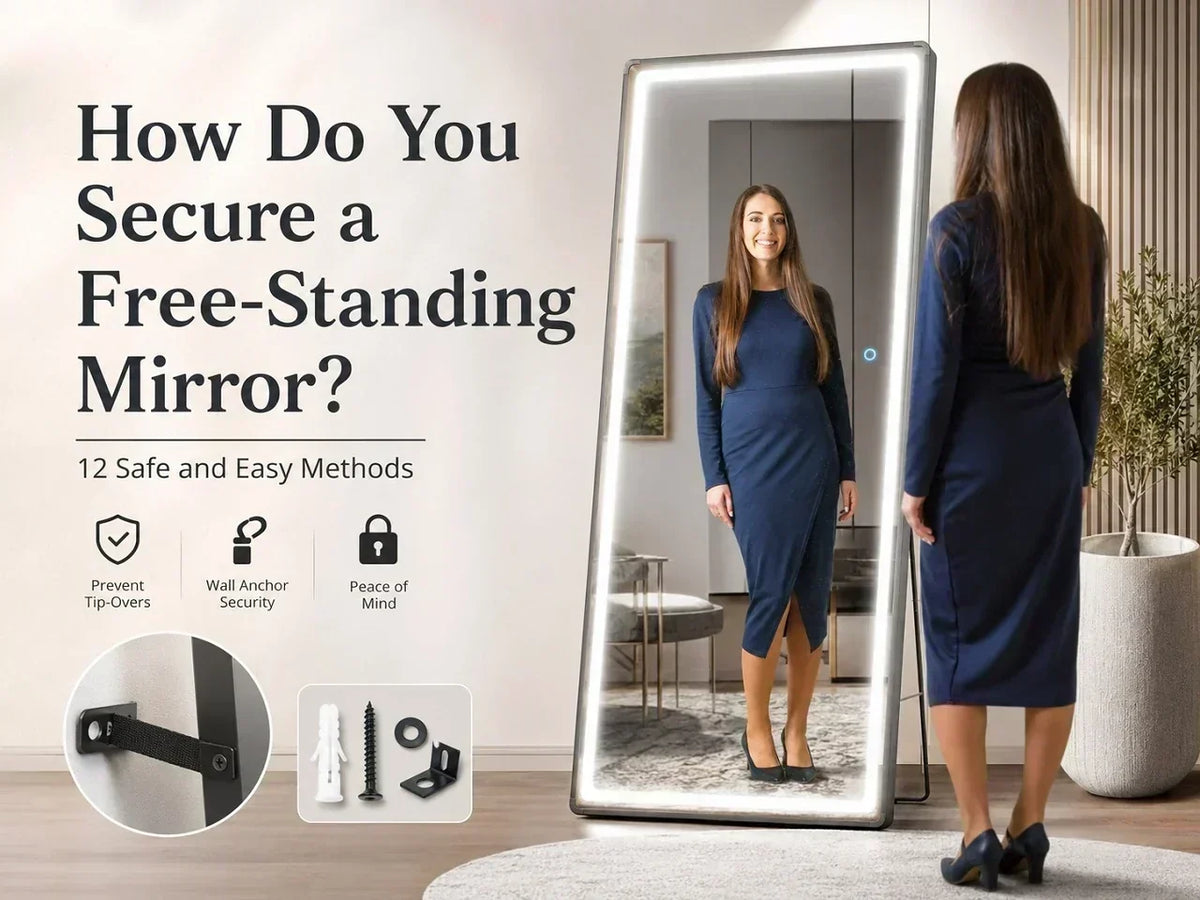
Anti-tip straps for mirrors must be compatible with the mirror’s structure and the wall connection. A kit sold for furniture is not automatically suitable for a thin decorative frame. Confirm which kit is approved, where it connects, and whether additional hardware is needed for your wall. Do not assume every screw in the box is appropriate for every installation. When the instructions leave these questions unanswered, contact the manufacturer before continuing.
5. Install only at designated attachment points
Follow the specified number of attachments, fasteners, positioning, and adjustment instructions. Do not drill the glass or add holes to the frame without explicit manufacturer direction. Avoid connecting a restraint to a decorative edge, thin backing panel, or rear stand unless the instructions designate that location. The connection to the mirror matters as much as the connection to the wall. There is no single leaning angle or screw arrangement that works for every floor mirror.
6. Address the stand, base, wheels, and cord
Open and engage the stand as instructed. Keep the base supported on the required surface. Use non-slip accessories only where appropriate for the product; they cannot take the place of a restraint. For rolling mirrors, follow the wheel-locking instructions. Locked wheels address rolling, not the separate risk of tipping. For lighted mirrors, route the cord away from walking paths and places where children can pull it or pets can chew it. Keep it clear of stand hinges and wheels. Stop using the electrical features if the cord or plug is damaged.
7. Complete the manufacturer’s final checks
Review the finished installation against the instructions, including all connections and stand components. Do not shake the mirror hard or pull on it to imitate a child climbing. Save the manual and hardware details. They will be useful after a move or when a replacement part is needed.

Choose a Location That Fits Your Household
The best-looking spot in a room may sit directly in a dog’s running route or beside a toddler’s favorite climbing stool. Watch how the room is actually used before settling on a location.
Give children fewer reasons to reach or climb
Keep stools, toy bins, and climbable furniture away from the mirror. Avoid hanging bags, necklaces, or decorations from its frame; they can invite pulling and are not part of its intended use.
Look at the space behind it as well. An accessible gap or folding stand can draw a curious child into an awkward area. Do not treat the space behind a mirror as a toy-storage nook.
A corner can help keep the mirror out of a walkway, but it still needs appropriate fixing.
Plan around your pet’s habits
For floor mirror safety with pets, start with what your own animal does. Some ignore reflections. Others paw at them, rush toward them, or squeeze behind the stand.
Avoid placing the mirror beside a dog’s fetch route, near a cat’s usual landing spot, or against a door that could strike it. Move toys and feeding stations elsewhere when they repeatedly bring activity close to the glass.
Repeated contact calls for a change in access or placement, followed by an inspection. Do not wait for a pet to “get used to it” while it keeps bumping an unsecured mirror.
Relocation also means setting up the approved restraint again. Moving a mirror to a quieter spot does not finish the job.
What If You Can’t Drill Into the Wall?
Rental restrictions can make securing a floor mirror without drilling difficult. Check whether the manufacturer offers a verified no-drill method for your exact model, wall surface, and intended setup.
Ordinary adhesive hooks, mounting tape, and adhesive pads should not be treated as a universal way to secure a heavy floor mirror. A product’s advertised holding weight does not establish that it can handle this particular restraint task.
Without an approved option, ask the landlord about installing suitable hardware. The American Academy of Pediatrics specifically encourages renters to discuss anchoring with their landlord when lease restrictions are an obstacle. American Academy of Pediatrics.
When reliable fixing is not possible, keep the mirror in an area children and pets cannot access, or take it out of use. Do not wedge it behind a sofa, weigh down its base with books, or assume a closed bedroom is secure when a child or pet can open the door.
A different mirror may fit your installation conditions better. Check its requirements before buying.
Common Floor Mirror Safety Mistakes and When to Recheck
Grip pads, a sturdy-looking stand, or a quiet corner can make a mirror feel secure. A safer setup still depends on compatible hardware, correct installation, and checking for changes over time.
Avoid these common mistakes:
- Relying on grip pads alone. Pads may reduce sliding at the base, but they do not replace an approved anti-tip restraint.
- Choosing hardware only by its weight rating. The hardware must also suit the wall, the mirror’s designated attachment points, and the intended use.
- Wedging the mirror behind furniture. Furniture can shift and may give a child something to climb.
- Assuming wall mounting finishes the job. Mounting points and fittings still need inspection according to the manufacturer’s instructions.
- Expecting children and pets to leave it alone. Reminders cannot replace proper fixing and thoughtful placement.
- Forgetting to reconnect a restraint after cleaning. Keep children and pets away until the mirror is back in position and properly secured.
Follow the manufacturer’s inspection schedule, and recheck your floor mirror after moving it, a significant bump, or an adjustment to its stand or restraint. Reconsider the location when a child starts crawling or a new pet joins the household.
| What you notice | What to do |
|---|---|
| Cracked or chipped glass, or a separating frame | Stop using the mirror, keep children and pets away, and contact the manufacturer. |
| Loose fittings, a damaged restraint, or wall damage around an anchor | Restrict access until the installation has been assessed and corrected. |
| A stand that no longer holds its specified position | Stop freestanding use and seek guidance for that model. |
| Frayed wiring, chew marks, or a damaged plug | Stop powering the mirror and arrange appropriate repair or replacement. |
| Repeated bumps, pawing, or attempts to squeeze behind the mirror | Limit access, choose a more suitable location, and inspect the mirror before reinstalling it. |
Check manufacturer safety notices and the CPSC recall database for the mirror and its restraint. Follow any product-specific remedy rather than attempting an improvised repair.

Frequently Asked Questions
1. Can I use a leaning mirror with a toddler at home?
Only consider that setup when the mirror is designed for leaning and can be secured as directed. Keep climbable items away and assess access to the rear. An unrestrained mirror resting against a wall is not an appropriate toddler-accessible setup.
2. Are freestanding mirrors safer than leaning mirrors?
The label alone does not tell you. Compare the actual stand, approved restraint, installation requirements, and location. A wide-looking base or rear support does not prove that a mirror can withstand pulling or impact.
3. Can non-slip pads replace anti-tip straps?
No. Pads may reduce movement at the base, but they do not provide the same connection as an approved restraint. Use them only as a compatible accessory.
4. Is a “shatterproof” mirror childproof?
No. The term does not rule out tipping, frame impact, stand hazards, or mounting failure. Ask what the glass claim means for that model and follow its fixing requirements.
5. What should I do when my dog or cat keeps hitting the mirror?
Prevent further access, inspect the mirror and attachments, and choose a location away from the repeated activity. Reinstall it properly before use. Avoid treating repeated impacts as harmless because the glass has not broken.