
Table of Contents
A mirror can fill an empty wall, brighten a dark corner, and make a room feel more open. Yet a plain edge can also make an otherwise beautiful mirror feel unfinished—especially on a large bathroom vanity mirror or a builder-grade wall mirror.
Mirror framing is a simple way to change that. A slim black border can make a clean, modern vanity feel sharper. Natural oak can soften a white bathroom. A warm gold frame can bring a little polish to an entryway without changing the entire room.
Before choosing trim or picking up paint, use these eight mirror framing tips to create a look that feels intentional and works with the mirror you already have.
1. Start With the Mirror’s Job in the Room
The best frame is not always the most decorative one. It should fit the mirror’s purpose.
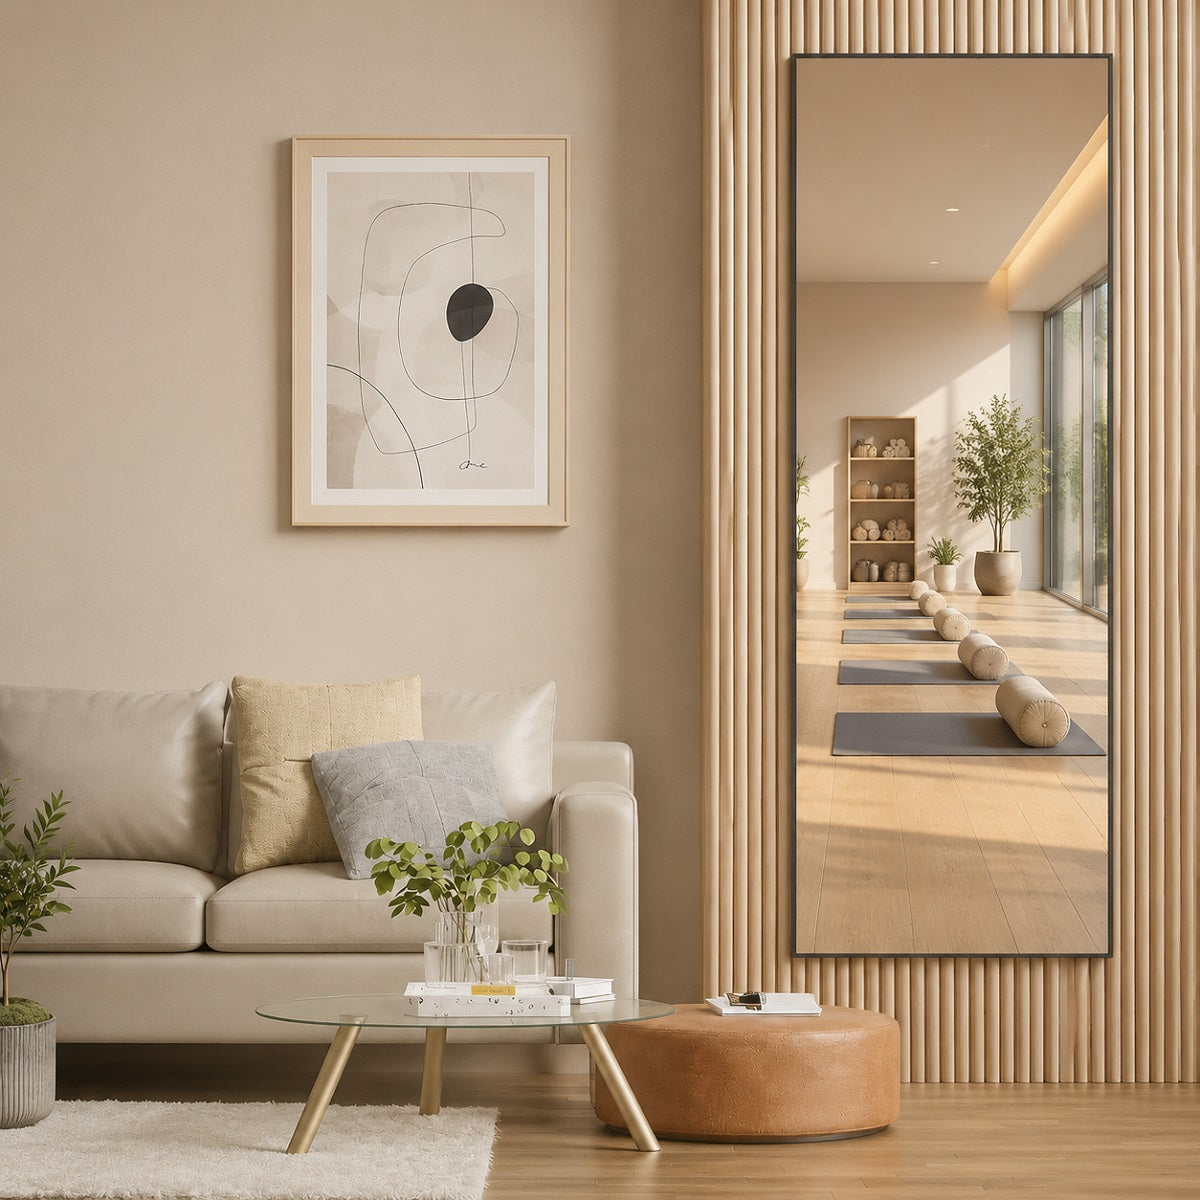
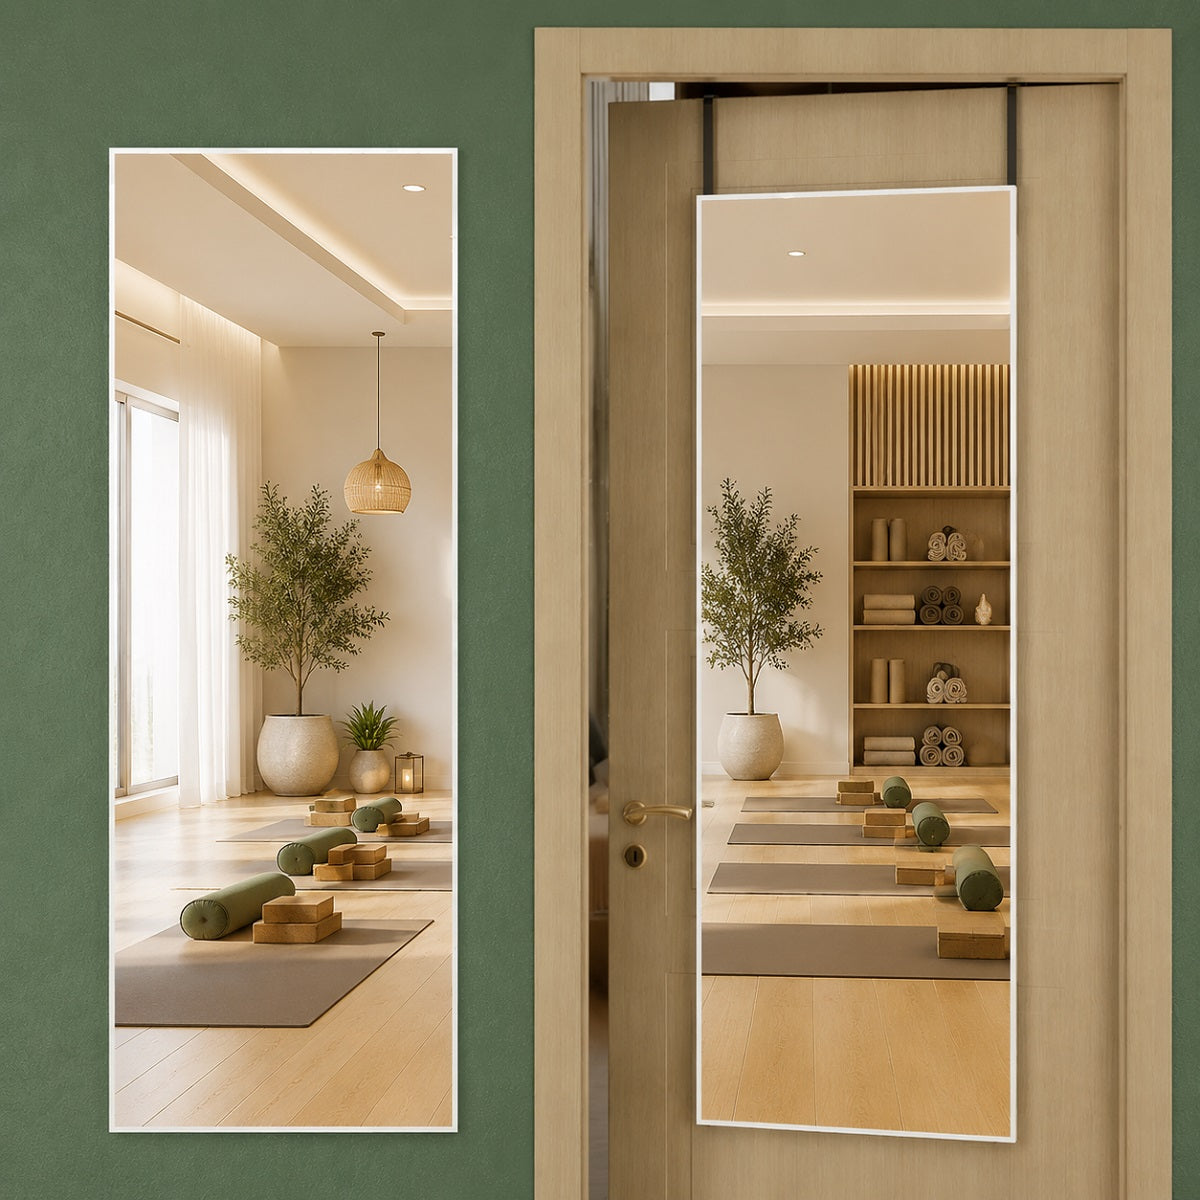
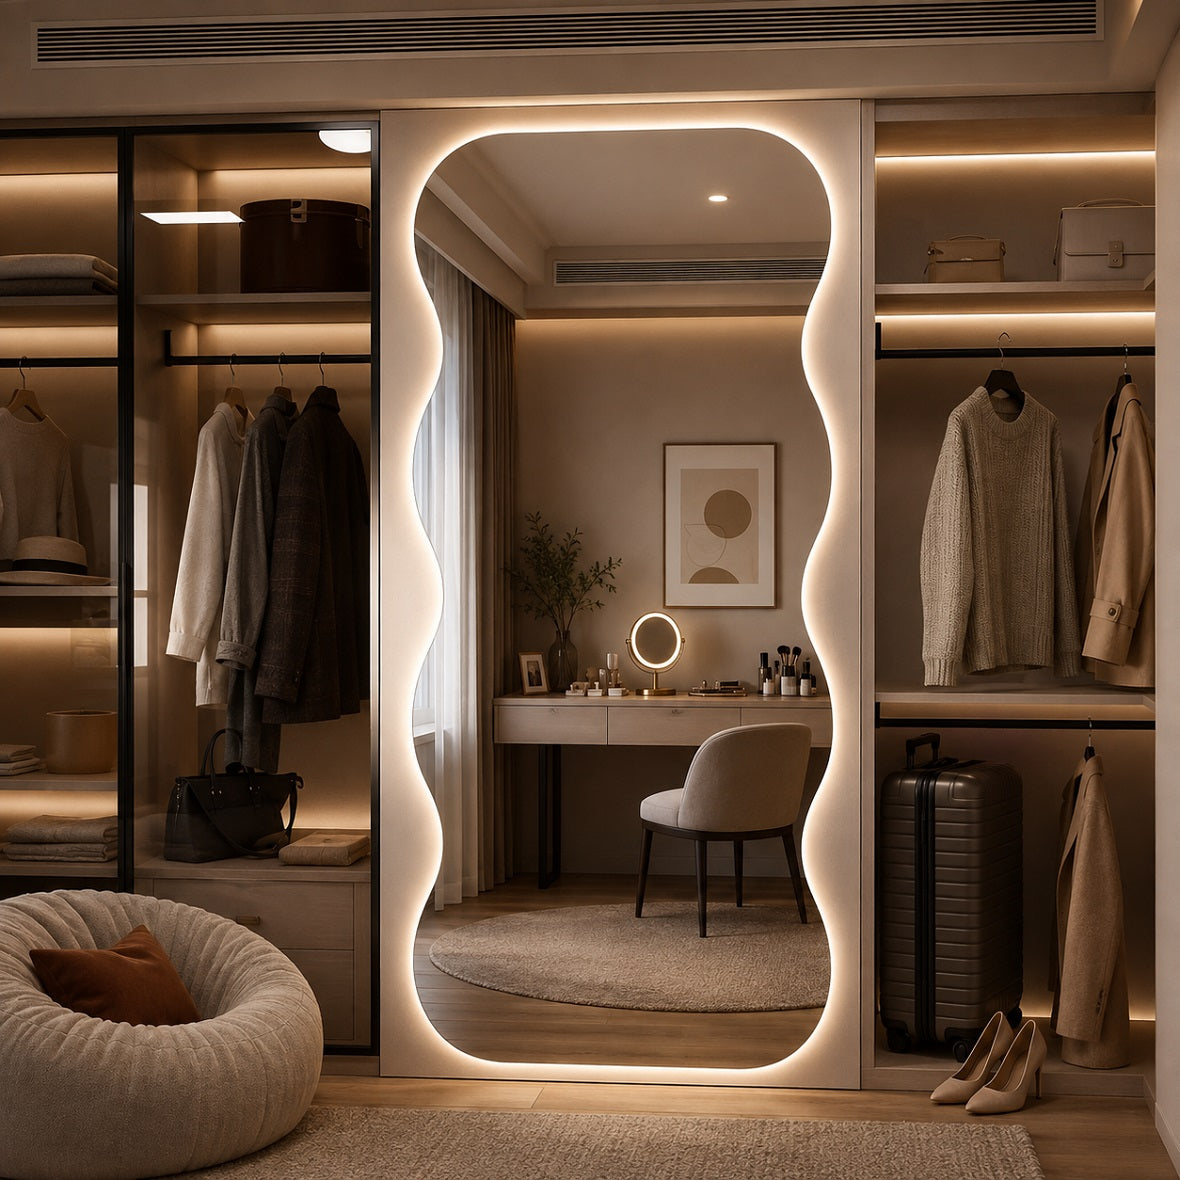
A bathroom mirror above a vanity often benefits from a narrow, easy-to-clean frame that does not crowd the sink area. A full-length mirror in a bedroom or dressing space can carry more visual weight, so a wider wood or metal-look frame may work beautifully. In an entryway, a framed mirror can act almost like wall art.
Ask a few quick questions before you choose a style:
- Is the mirror mainly for getting ready, or is it decorative?
- Will it sit near water, steam, hairspray, or makeup?
- Is the room modern, traditional, coastal, farmhouse, or somewhere in between?
- Does the mirror need to blend in—or become a focal point?
For a minimalist bathroom, a thin black mirror frame or a simple painted wood edge often looks better than ornate molding. In a traditional room, a wider profile with a little detail can give the wall more character.

2. Measure the Space Around the Mirror, Not Just the Glass
This is where many mirror framing projects go wrong. The frame may fit the mirror perfectly but run into a light fixture, backsplash, outlet, cabinet door, or wall sconce.
Measure the mirror’s width and height first. Then measure the clear space around all four sides. Include:
- Distance from the mirror to the vanity backsplash
- Space between the top of the mirror and the light fixture
- Clearance from side walls, cabinets, and sconces
- Mirror clips, mounting hardware, or beveled edges
- The width of the trim you plan to use
A wider frame changes the overall outside dimensions. For example, adding a 2-inch frame to a 36-by-30-inch mirror makes the finished outside size about 40 by 34 inches.
If you are framing a mirror already mounted to the wall, lay painter’s tape around the proposed border before buying materials. It is a quick way to see whether the frame will feel balanced or cramped.
3. Pick a Material That Matches the Room—and the Moisture Level
Wood remains a favorite for a DIY mirror frame because it can be stained, painted, cut to size, and adjusted to suit almost any style. Still, it is not the only option.
| Material | Best for | Things to consider |
|---|---|---|
| Solid wood | Bedrooms, entryways, dry bathrooms | Warm and versatile; seal well in humid rooms |
| Primed MDF | Painted, budget-friendly projects | Smooth finish; protect cut edges from moisture |
| PVC or composite trim | Bathrooms with regular humidity | Resists moisture; often best painted |
| Metal frame | Modern, industrial, or glam spaces | Sleek appearance; usually purchased ready-made |
| Peel-and-stick frame kits | Quick cosmetic upgrades | Check adhesive quality and long-term hold |
For bathrooms, avoid unfinished wood. Even a small amount of repeated moisture can affect the finish over time. Use a moisture-resistant primer, a durable paint, or a clear protective topcoat where appropriate.
A natural wood frame can look lovely beside warm tile, stone, or linen textures. For a painted frame, smoother woods such as poplar and maple tend to create a clean finish, while oak and cedar show more grain when stained. Lowe’s mirror-frame guide offers a useful overview of wood choices and finishing approaches.
4. Choose Frame Width Based on Mirror Size
A frame should support the mirror, not overpower it.
For a smaller powder-room mirror, a narrow 1- to 2-inch border often feels proportionate. A large double-vanity mirror can handle a 3- to 4-inch frame, especially when the vanity is wide and the wall has substantial lighting.
Here is a practical starting point:
- Small mirrors: 1–2 inch frame width
- Medium vanity mirrors: 2–3 inch frame width
- Large wall or full-length mirrors: 3–5 inch frame width
This is only a guide. A chunky frame can be the right choice in a farmhouse bedroom, while a large contemporary mirror may look better with a very slim profile.
Also look at the vanity and cabinet hardware. If the vanity has delicate pulls and a small faucet, a heavy frame can make the whole setup feel top-heavy. If the vanity has bold black hardware, a wider black frame may create a stronger connection.
5. Match the Frame Finish to Existing Details
A mirror frame does not need to match every finish in the room exactly. It just needs to look like it belongs there.
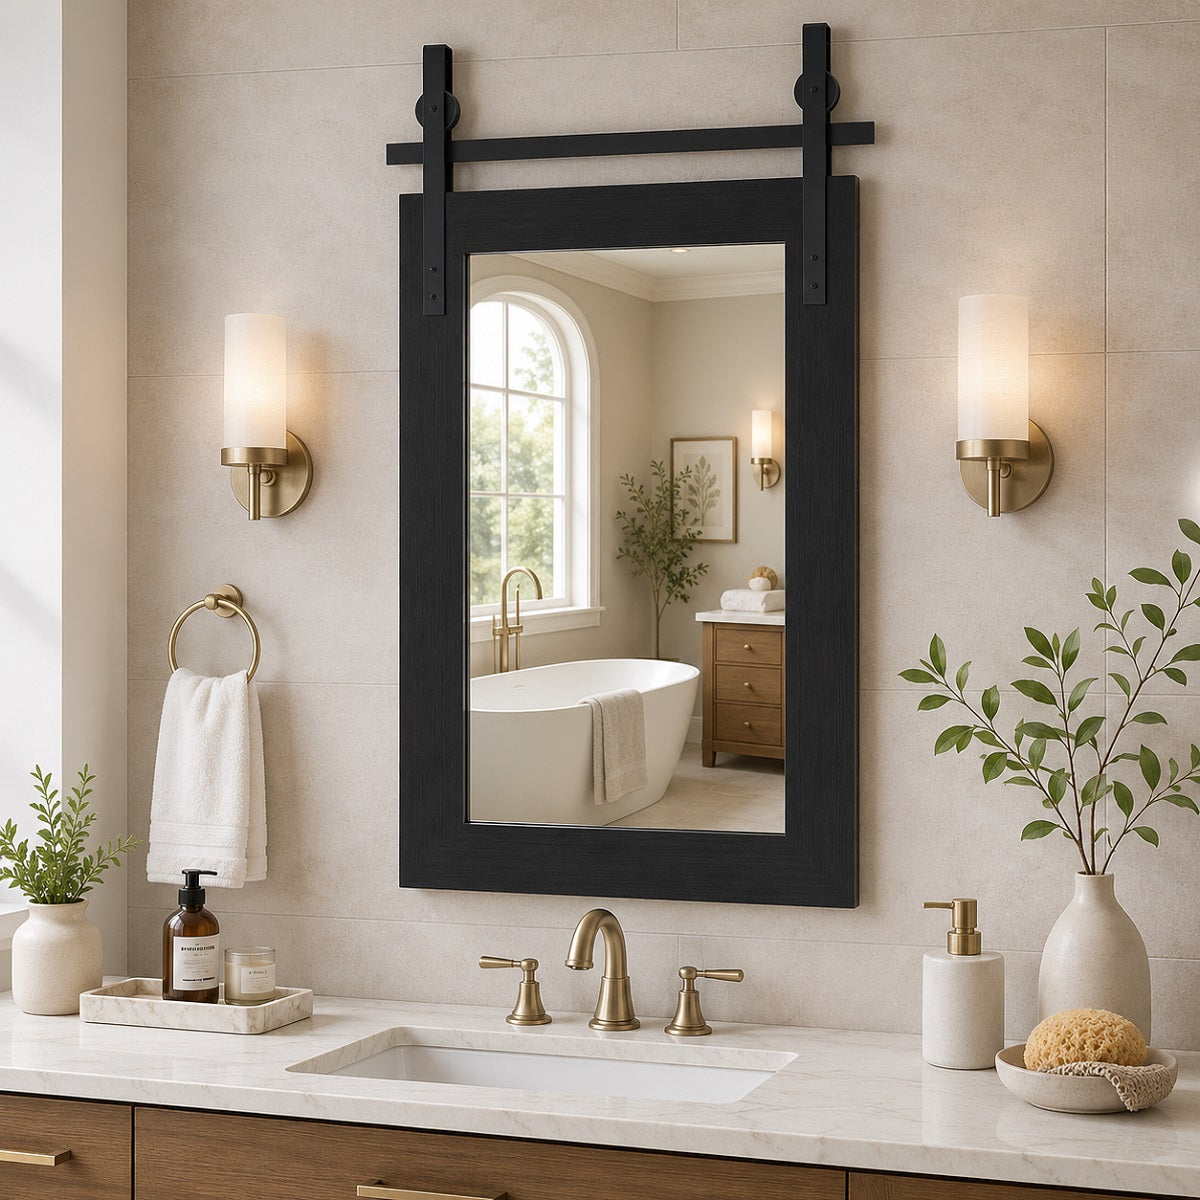
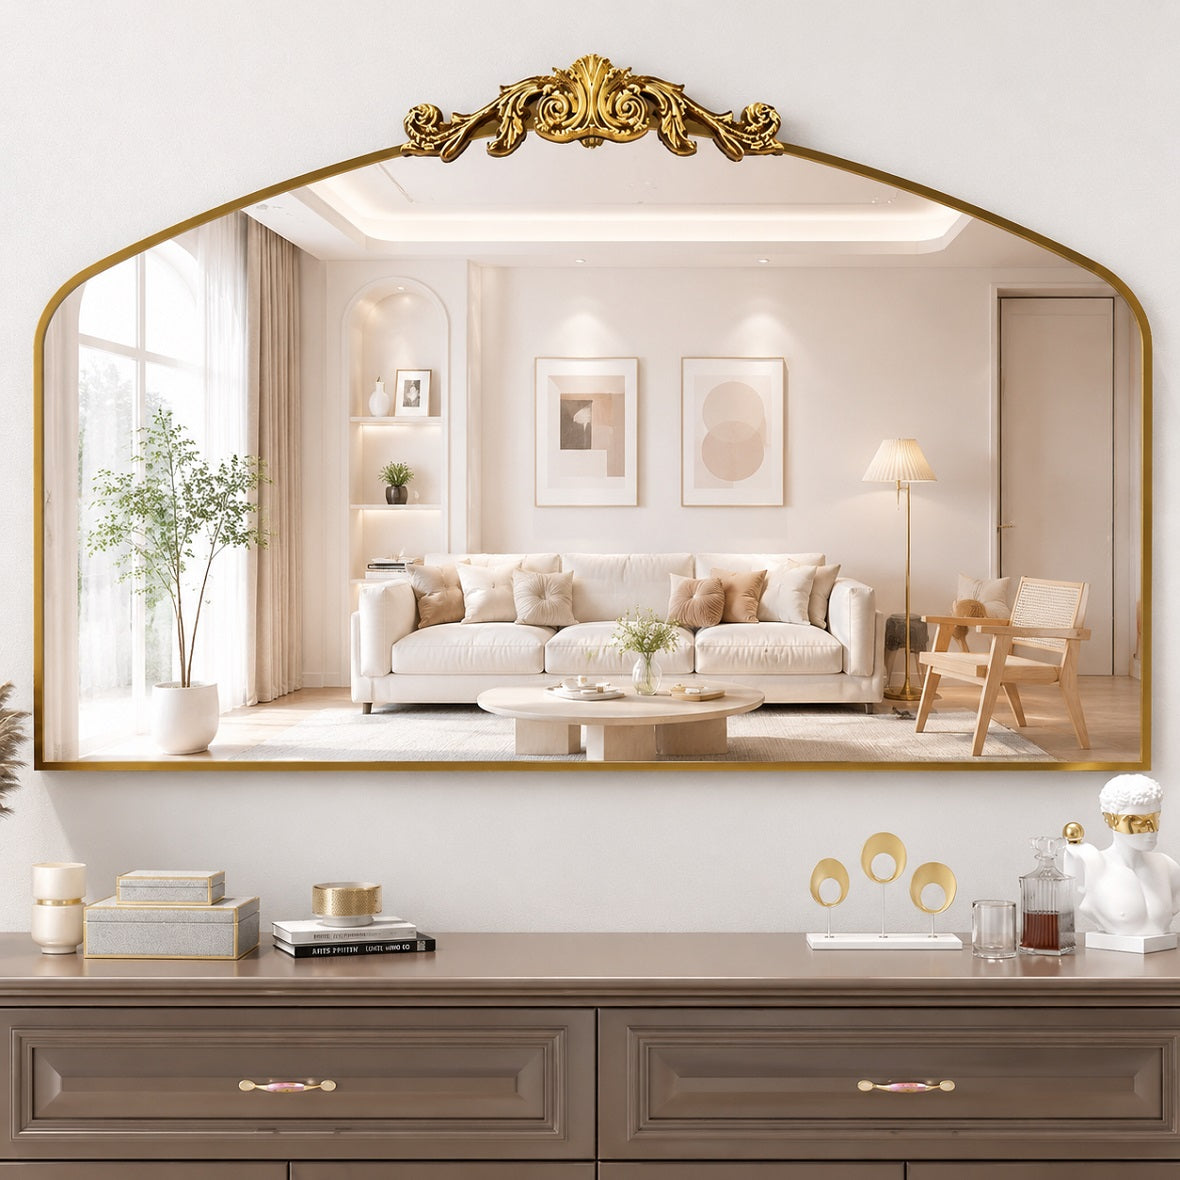
Black works well with black faucets, shower frames, vanity hardware, or lighting. Gold and brass-toned frames can echo warm fixtures without making the room feel overly formal. Wood tones are especially useful when a room has white walls, cool tile, or a simple vanity that needs warmth.
A few easy combinations:
- Matte black frame + white vanity: crisp and modern
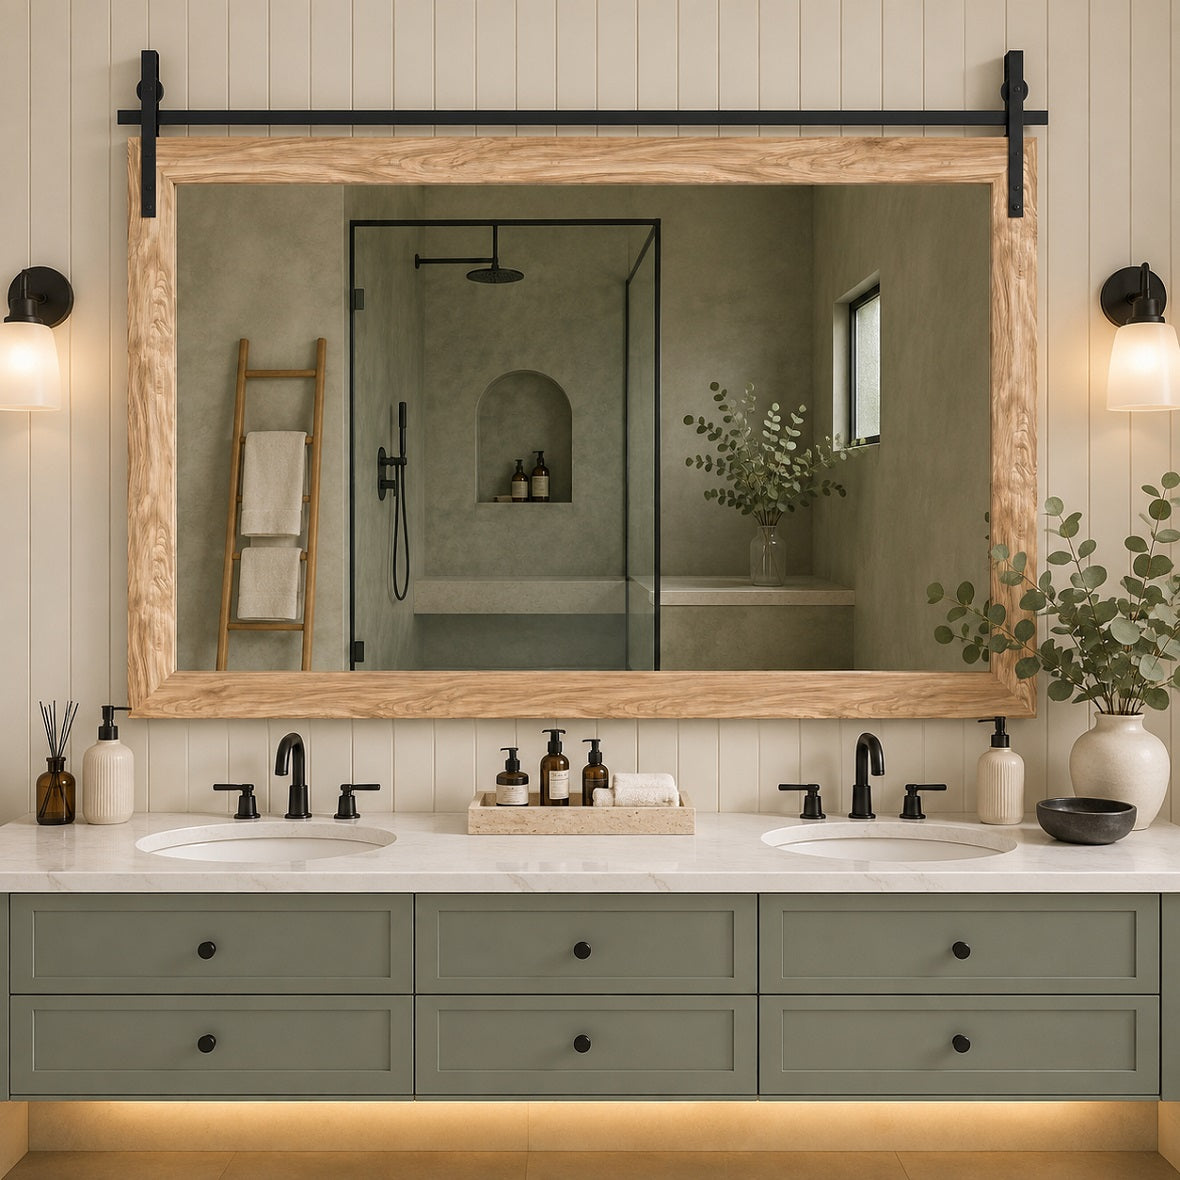
- Natural oak frame + soft gray tile: relaxed and warm
- Antique gold frame + classic sconces: polished without feeling too flashy
- White painted frame + colorful wallpaper: clean and subtle
- Dark walnut frame + warm brass hardware: rich and traditional
For a more collected look, do not worry about finding an exact match. A black metal light fixture and a dark-stained wood mirror frame can work together when they share a similar visual weight.
6. Decide Between Mitered Corners and Straight Cuts
Mitered corners give a frame the classic 45-degree picture-frame look. They are polished and work well for clean, finished designs. They do require accurate cutting, though.
Straight-cut or butt-joint corners are easier for beginners. One board overlaps another at a square corner, creating a simple, sturdy shape. This approach can look especially good in modern, rustic, and farmhouse spaces.
Choose mitered corners when:
- You want a traditional or refined appearance
- The trim has a decorative profile
- You have access to a miter saw or precise cuts
Choose straight cuts when:
- You want a simple framed bathroom mirror
- You are using flat boards
- You want to avoid complicated measurements
- You prefer a slightly more casual, architectural style
Always dry-fit the pieces before attaching anything. Place them around the mirror, check the corners, and make sure the frame looks level from a normal viewing distance.
7. Use Mirror-Safe Adhesive and Keep It Away From the Edge
Not every construction adhesive is suitable for mirrors. Some products can damage the reflective backing or create visible spots through the glass.
When attaching trim directly to an existing mirror, use an adhesive clearly labeled as safe for mirrors. Follow the manufacturer’s instructions, including cure time and recommended application method.
Apply adhesive in controlled beads rather than coating the entire back of the frame. Keep it away from the inner edge where it could show in the reflection. Painter’s tape can hold lightweight trim in place while the adhesive cures.
A few safety checks matter here:
- Do not cover electrical access points behind a lighted mirror.
- Do not glue a heavy frame onto a damaged or loose mirror.
- Do not block mirror clips unless the new frame is designed to account for them.
- Let paint, stain, and sealers dry fully before installation.
- For a large, heavy, or wall-mounted mirror, ask a qualified installer for help.
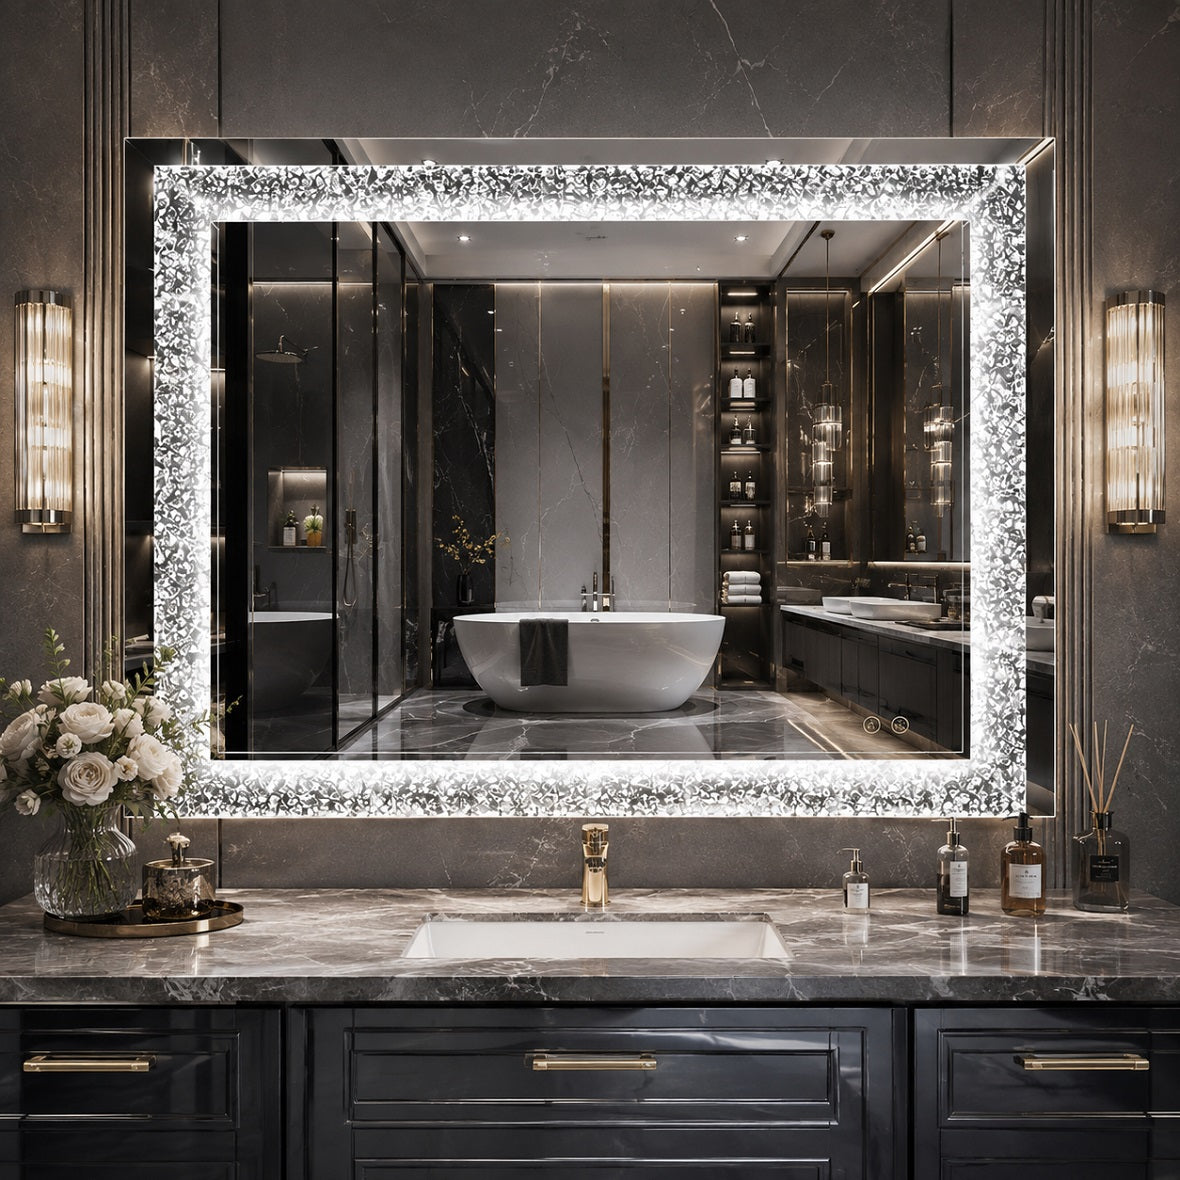
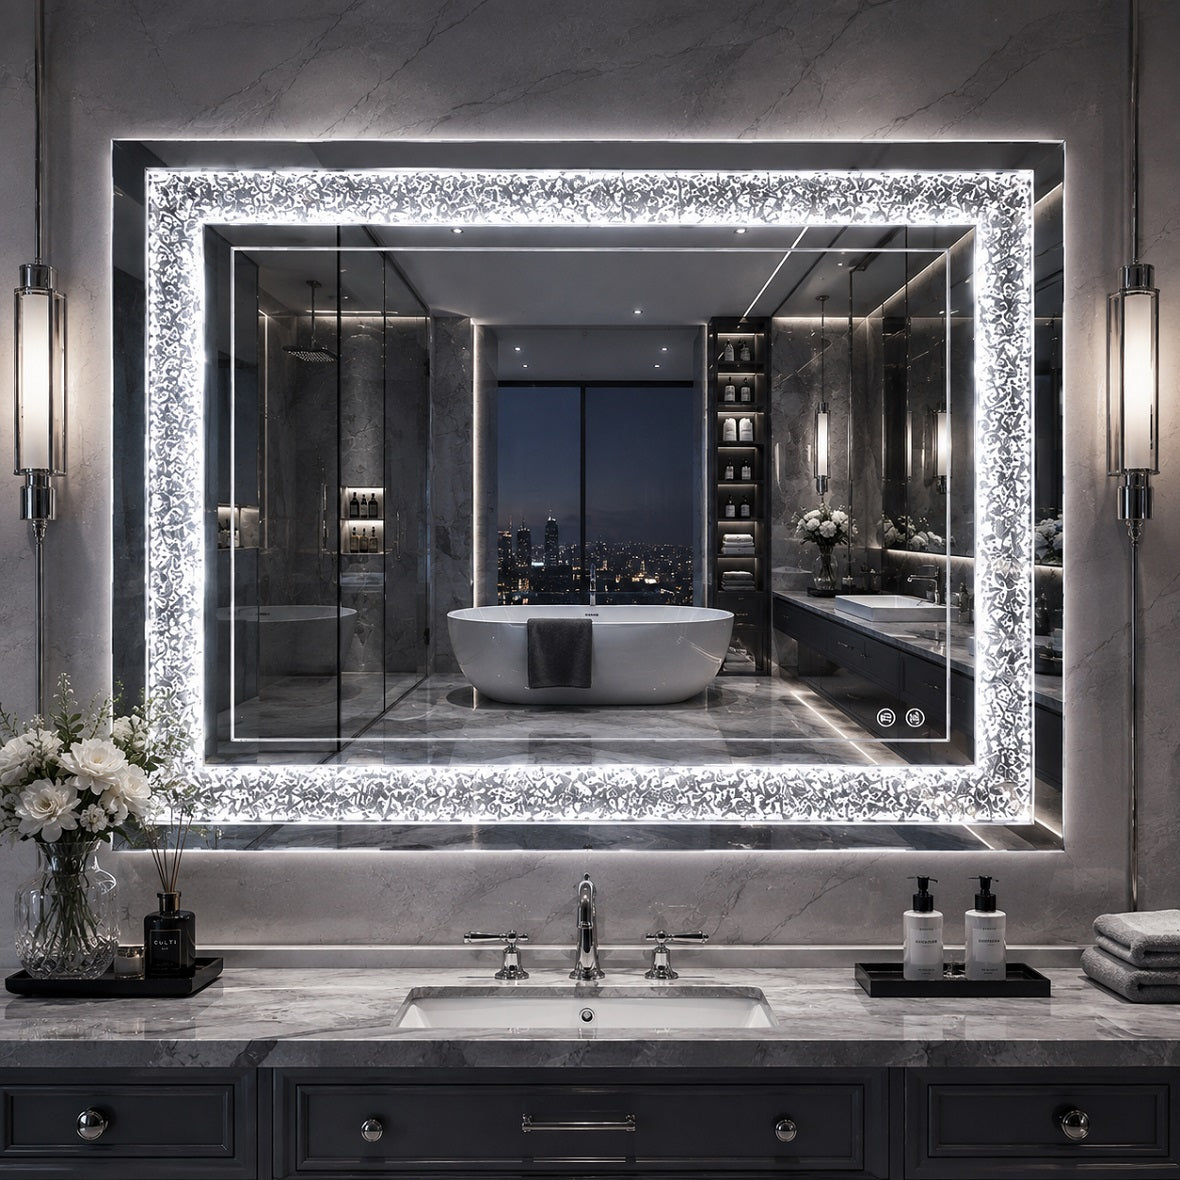
If the mirror has LED lighting, a touch sensor, an anti-fog pad, or a built-in outlet, framing may not be the best upgrade. In that case, choosing a finished LED bathroom mirror from Hasipu can give the room a clean border and practical lighting without creating clearance or service issues.

8. Treat the Frame as Part of the Whole Wall
A framed mirror looks its best when the surrounding wall is considered too.
Look at the height of the lighting, the width of the vanity, the color of the wall, and what appears in the reflection. A nice frame cannot fix a mirror that is hung too high, too low, or off-center.
For a bathroom vanity, center the mirror with the sink or the full vanity layout—not automatically with the wall. In a double-sink bathroom, one long framed mirror can create a sleek shared look, while two matching mirrors can make the room feel more balanced and personal.
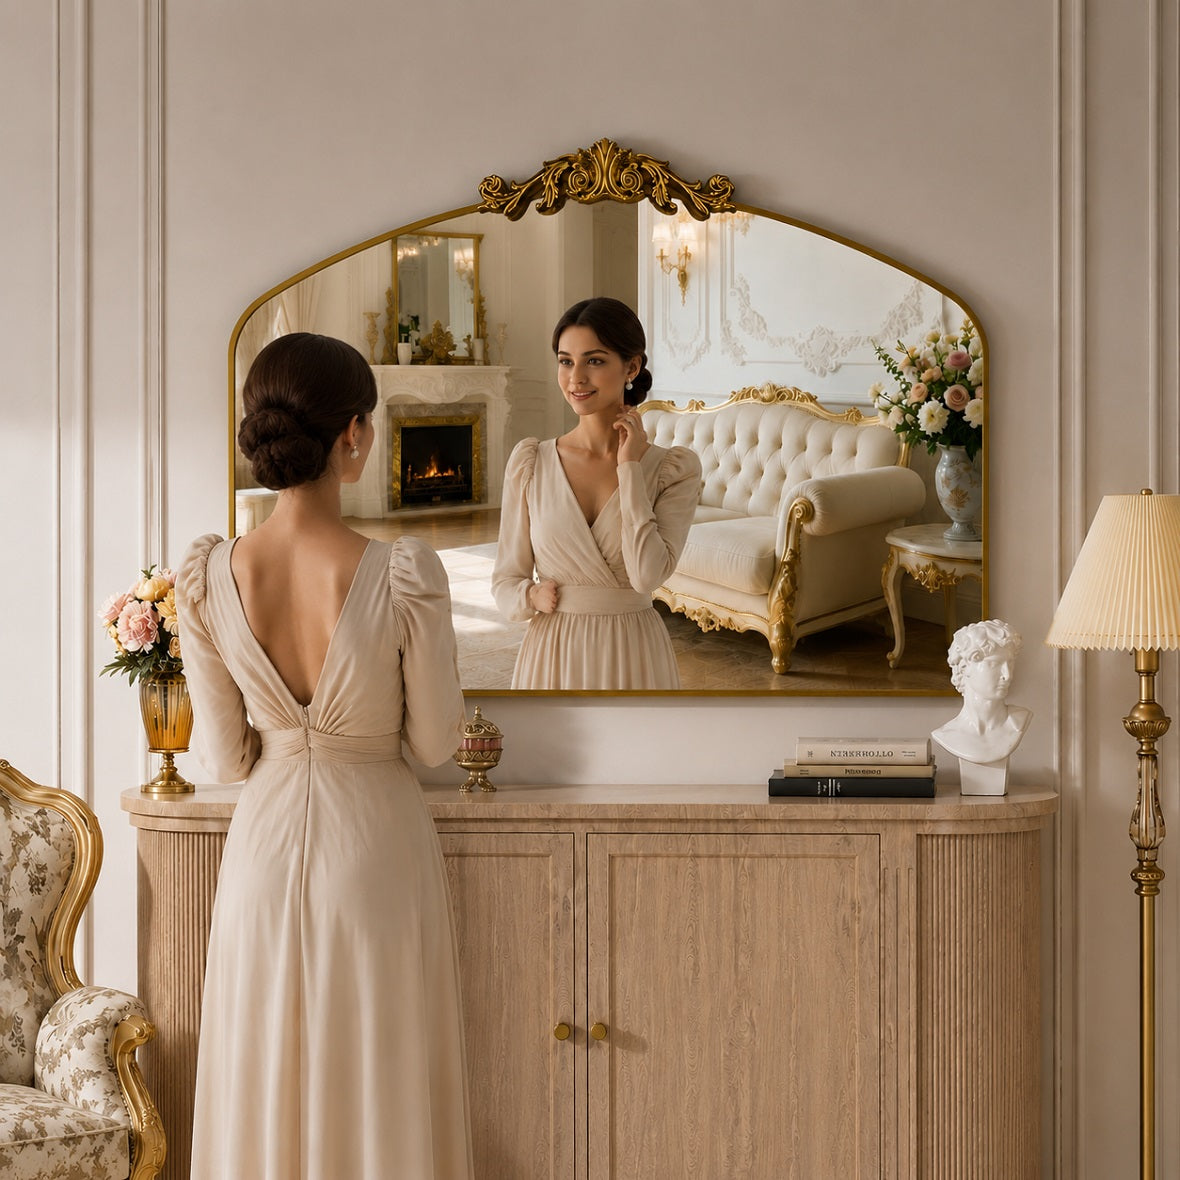
For an entryway or bedroom, give the mirror room to breathe. A large framed mirror near a narrow console table often works best when it is centered above the furniture and paired with one or two simple accessories rather than a crowded collection of wall décor.
The reflection matters, too. Position the mirror to reflect a window, artwork, soft lighting, or a visually calm part of the room whenever possible.
Is Framing a Mirror Worth It?
It can be—especially when the mirror itself is still in good shape, but the room feels a little unfinished around it. A simple frame can make a plain bathroom mirror look more connected to the vanity, light fixture, and hardware without turning the project into a full renovation.
Keep the proportions in mind. A very wide frame around a small mirror can look heavy, while unfinished wood may not hold up well near a steamy shower. Before installing anything, place the frame pieces around the mirror and step back a few feet. This makes it easier to spot an uneven wall, a slightly crooked mirror, or a frame width that feels too large.
Finish the edges that face the glass, too. They can show up in the reflection, particularly on a wide vanity mirror, and raw edges tend to make an otherwise neat project look incomplete.
If the mirror has dark spots along the edges, cracked glass, loose hardware, or poor lighting, replacing it may be more practical. A Hasipu LED bathroom mirror can be a good fit when you also want dimmable light, an anti-fog feature, or a cleaner built-in look.
A mirror frame does not need to steal attention. When it works, it simply makes the room look more put together.
Frequently Asked Questions
1. Can you frame a mirror without taking it off the wall?
Yes. Many wall-mounted mirrors can be framed in place with lightweight trim and a mirror-safe adhesive. Measure around mounting clips, leave access to any necessary hardware, and use painter’s tape to hold the frame while the adhesive cures.
2. What is the best material for a bathroom mirror frame?
For a humid bathroom, sealed wood, PVC trim, composite trim, or a ready-made metal frame are practical choices. If you use wood, apply a moisture-resistant primer and durable paint or protective finish, especially near showers and sinks.
3. How wide should a mirror frame be?
A 1- to 2-inch frame usually suits smaller mirrors. Medium vanity mirrors often look balanced with a 2- to 3-inch border, while larger wall mirrors can support a wider 3- to 5-inch frame. Check the available space around the mirror before deciding.
4. Can I glue a wood frame directly onto a mirror?
Yes, but only use adhesive made specifically for mirrors. Regular construction adhesive may damage the mirror backing or show through the glass. Apply the adhesive away from the inner edge and allow it to cure fully before removing support tape.
5. Should a mirror frame match the vanity?
It does not need to match exactly. The frame should connect with at least one finish in the room, such as cabinet hardware, faucets, lighting, tile, or a wood accent. A black frame with black sconces or an oak frame with a wood vanity both create a cohesive look.